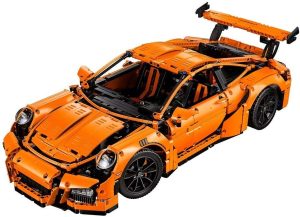
Discover how to enhance your LEGO Technic supercar using third-party parts for improved performance and customization. Unleash your creativity today!
Upgrading your LEGO Technic supercar with third-party parts can enhance its functionality, aesthetics, and overall performance. Here’s a step-by-step guide to help you through the process:
### 1. **Research and Planning**
– **Identify Goals**: Determine what aspects of your supercar you want to upgrade. This could include improved performance, better aesthetics, or additional features (like working lights or a more detailed interior).
– **Explore Options**: Look for third-party parts from reputable brands such as BrickLink, Shapeways, or other custom LEGO part suppliers. Check forums and communities for recommendations on specific parts.
### 2. **Select Compatible Parts**
– **Check Compatibility**: Ensure that the third-party parts you choose are compatible with LEGO Technic pieces. Look for parts that fit well with the existing structure and design of your supercar.
– **Consider Quality**: Opt for high-quality materials that match the durability of LEGO bricks. Avoid parts that may break easily or don’t fit well.
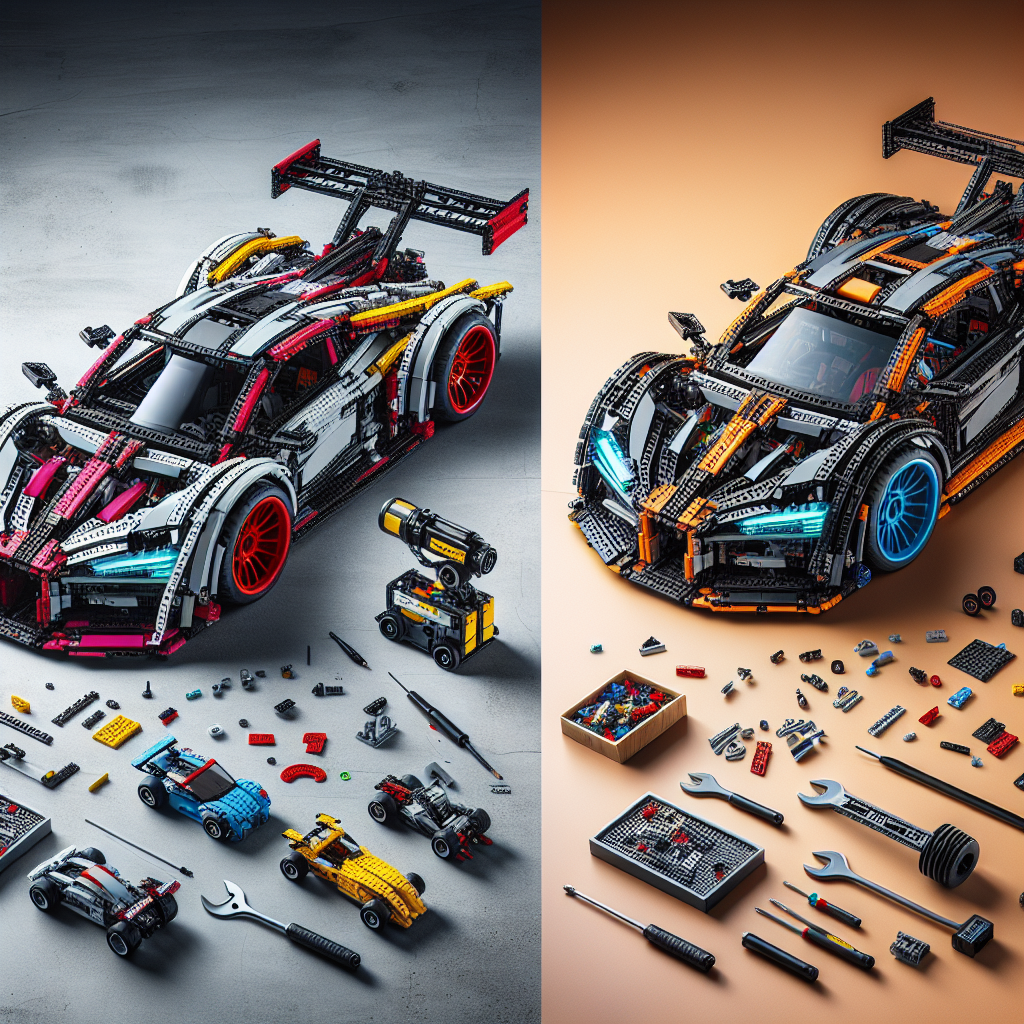
### 3. **Gather Tools and Materials**
– **Basic Tools**: You may need a small screwdriver, pliers, or other tools depending on the modifications you plan to make.
– **Additional LEGO Parts**: Sometimes, you may need extra LEGO pieces to complete your upgrades, so keep a selection of spare parts on hand.
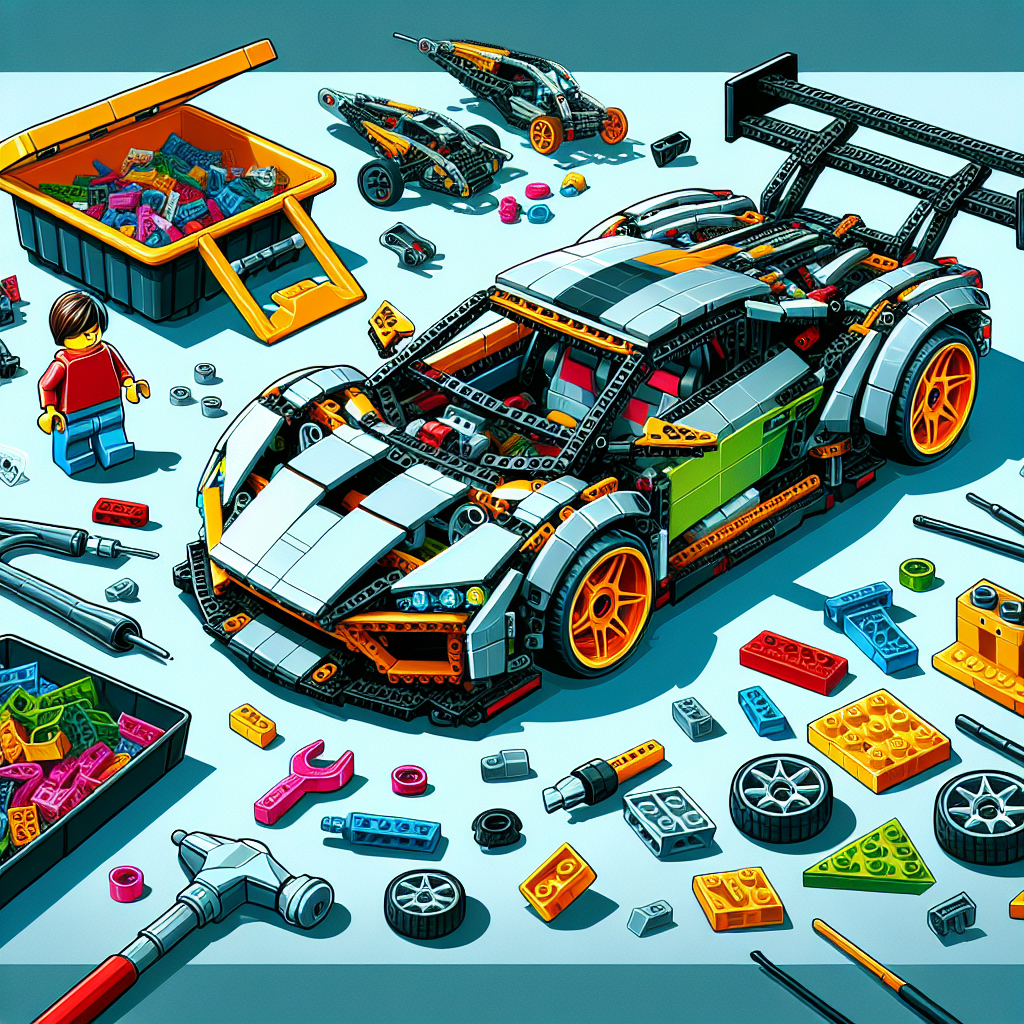
### 4. **Disassemble the Supercar**
– Carefully take apart the sections of your supercar that you plan to upgrade. Keep track of the pieces and their arrangement to make reassembly easier.
### 5. **Install Third-Party Parts**
– **Follow Instructions**: If the third-party parts come with instructions, follow them closely. If not, use your creativity to integrate the new parts into your design.
– **Test Fit**: Before securing everything, do a test fit to ensure that the new parts work well with the existing structure.
### 6. **Enhance Functionality**
– **Add Features**: Consider adding features like:
– **Working Lights**: Use LED kits designed for LEGO models.
– **Motorization**: Integrate motors for remote control or enhanced movement.
– **Suspension Upgrades**: Improve the suspension system for better handling.
### 7. **Aesthetic Improvements**
– **Custom Decals**: Use custom stickers or decals to give your supercar a unique look.
– **Color Changes**: If you want a different color scheme, look for third-party parts in your desired colors.
### 8. **Reassemble and Test**
– Once all upgrades are installed, carefully reassemble your supercar.
– Test all new features to ensure they work as intended. Make adjustments as necessary.
### 9. **Showcase Your Work**
– Share your upgraded supercar with the LEGO community. Take photos and post them on social media or forums to inspire others.
### 10. **Maintain and Iterate**
– Keep an eye on the performance of your upgrades. If something doesn’t work as expected, consider further modifications or replacements.
– Stay updated on new third-party parts and innovations that could enhance your model even more.
### Tips:
– **Join Communities**: Engage with LEGO Technic communities online for advice, inspiration, and support.
– **Document Your Process**: Take notes or photos during the upgrade process for future reference or to share with others.
– **Be Creative**: Don’t be afraid to experiment with different designs and modifications.
By following these steps, you can successfully upgrade your LEGO Technic supercar with third-party parts, making it a unique and enhanced model that reflects your personal style and creativity.
Upgrading your LEGO Technic supercar with third-party parts can enhance its performance, aesthetics, and functionality. Here’s a step-by-step guide on how to do it effectively:
### Upgrading Your LEGO Technic Supercar with Third-Party Parts: A Step-by-Step Guide
Upgrading your LEGO Technic supercar with third-party components can significantly enhance its performance, aesthetics, and functionality. This guide provides a structured approach to effectively implement these upgrades.
#### Step 1: Research and Planning
1. **Identify Objectives**: Determine what aspects of your supercar you wish to enhance—performance (speed, handling), aesthetics (color, design), or functionality (additional features).
2. **Select Compatible Parts**: Research third-party manufacturers that offer compatible LEGO Technic parts. Popular brands include BrickLink, Shapeways, and other custom LEGO part suppliers. Ensure that the parts are designed to fit seamlessly with existing LEGO components.
3. **Budgeting**: Establish a budget for your upgrades. Consider the cost of individual parts, shipping, and any additional tools you may need.
#### Step 2: Disassembly
1. **Careful Disassembly**: Gently disassemble your existing LEGO Technic supercar. Take care to keep track of all pieces and their configurations. It may be helpful to take photographs during this process for reference.
2. **Organize Components**: Sort the disassembled parts into categories (e.g., chassis, wheels, bodywork) to facilitate easier reassembly later.
#### Step 3: Upgrading Components
1. **Chassis Enhancements**:
– Consider upgrading the chassis with reinforced parts for improved stability and durability.
– Explore options for lightweight materials to enhance speed and performance.
2. **Suspension and Wheels**:
– Upgrade the suspension system with advanced shock absorbers or springs for better handling.
– Replace standard wheels with high-performance alternatives that offer improved traction and aesthetics.
3. **Power and Mechanisms**:
– Integrate third-party motors or battery packs to enhance speed and power.
– Add features such as remote control capabilities or advanced steering mechanisms.
4. **Aesthetic Modifications**:
– Use custom decals, paint, or unique parts to personalize the appearance of your supercar.
– Consider adding LED lights or other visual enhancements for a more striking look.
#### Step 4: Reassembly
1. **Careful Reassembly**: Begin reassembling your supercar, incorporating the upgraded parts. Refer to the photographs taken during disassembly to ensure accuracy.
2. **Testing Fit and Functionality**: As you reassemble, periodically test the fit and functionality of the new components. Make adjustments as necessary to ensure optimal performance.
#### Step 5: Final Testing and Adjustments
1. **Performance Testing**: Once reassembled, conduct thorough performance tests. Evaluate speed, handling, and any new features you have integrated.
2. **Make Adjustments**: Based on your testing, make any necessary adjustments to improve performance or functionality. This may involve fine-tuning the suspension, adjusting motor settings, or modifying the bodywork.
#### Step 6: Documentation and Sharing
1. **Document Changes**: Keep a record of the upgrades made, including part numbers and sources. This documentation can be useful for future reference or additional upgrades.
2. **Share Your Experience**: Consider sharing your upgraded supercar and the process you followed on social media or LEGO enthusiast forums. This can provide inspiration and guidance to other builders.
### Conclusion
Upgrading your LEGO Technic supercar with third-party parts can be a rewarding endeavor that enhances both its performance and visual appeal. By following this structured approach, you can ensure a successful upgrade process that results in a unique and high-performing model.
### 1. **Research and Planning**
### 1. Research and Planning
#### Introduction
Research and planning are critical components of any successful project or initiative. This phase involves gathering relevant information, analyzing data, and formulating a strategic approach to achieve desired outcomes. A well-structured research and planning process lays the foundation for effective decision-making and resource allocation.
#### Objectives
– To identify the goals and objectives of the project.
– To gather and analyze relevant data and information.
– To develop a comprehensive plan that outlines the steps necessary to achieve the project goals.
#### Steps in Research and Planning
1. **Define the Problem or Opportunity**
– Clearly articulate the issue at hand or the opportunity to be explored.
– Establish the scope of the research and planning efforts.
2. **Conduct Background Research**
– Review existing literature, studies, and reports related to the topic.
– Identify key stakeholders and their interests.
3. **Gather Data**
– Utilize qualitative and quantitative research methods to collect data.
– Employ surveys, interviews, focus groups, and secondary data analysis as appropriate.
4. **Analyze Data**
– Organize and interpret the collected data to identify trends, patterns, and insights.
– Use statistical tools and software for quantitative analysis, and thematic analysis for qualitative data.
5. **Identify Goals and Objectives**
– Based on the research findings, establish clear, measurable goals and objectives.
– Ensure that the objectives align with the overall mission and vision of the organization.
6. **Develop a Strategic Plan**
– Outline the strategies and actions required to achieve the identified goals.
– Include timelines, resource allocation, and responsible parties for each action item.
7. **Risk Assessment**
– Identify potential risks and challenges that may arise during the implementation of the plan.
– Develop mitigation strategies to address these risks.
8. **Review and Revise**
– Solicit feedback from stakeholders on the proposed plan.
– Make necessary adjustments based on input and new information.
9. **Documentation**
– Compile all research findings, analyses, and the strategic plan into a comprehensive document.
– Ensure that the documentation is clear, concise, and accessible to all relevant parties.
#### Conclusion
Effective research and planning are essential for the success of any project. By following a structured approach, organizations can make informed decisions, allocate resources efficiently, and ultimately achieve their objectives. Continuous evaluation and adaptation of the plan will further enhance the likelihood of success in a dynamic environment.
– **Identify Goals**: Determine what you want to improve (e.g., speed, aesthetics, features)
**Identify Goals**: Establish clear objectives for improvement by specifying the desired outcomes in key areas such as performance (e.g., speed), visual appeal (e.g., aesthetics), and functionality (e.g., features). This process involves a thorough assessment of current capabilities and a strategic vision for enhancements, ensuring that all stakeholders are aligned with the intended improvements.
Explore the fascinating world of LEGO cars, from their evolution and building techniques to customization and educational benefits. Discover how these models blend creativity and engineering, offering endless fun for builders of all ages.
Explore the exciting world of LEGO cars! This article delves into their history, design principles, educational benefits, and the vibrant community surrounding LEGO car building.