Discover expert tips to repair and restore vintage LEGO car sets, bringing your cherished models back to life with simple techniques and creative solutions.
Repairing and restoring vintage LEGO car sets can be a rewarding project for collectors and enthusiasts. Here’s a step-by-step guide to help you through the process:
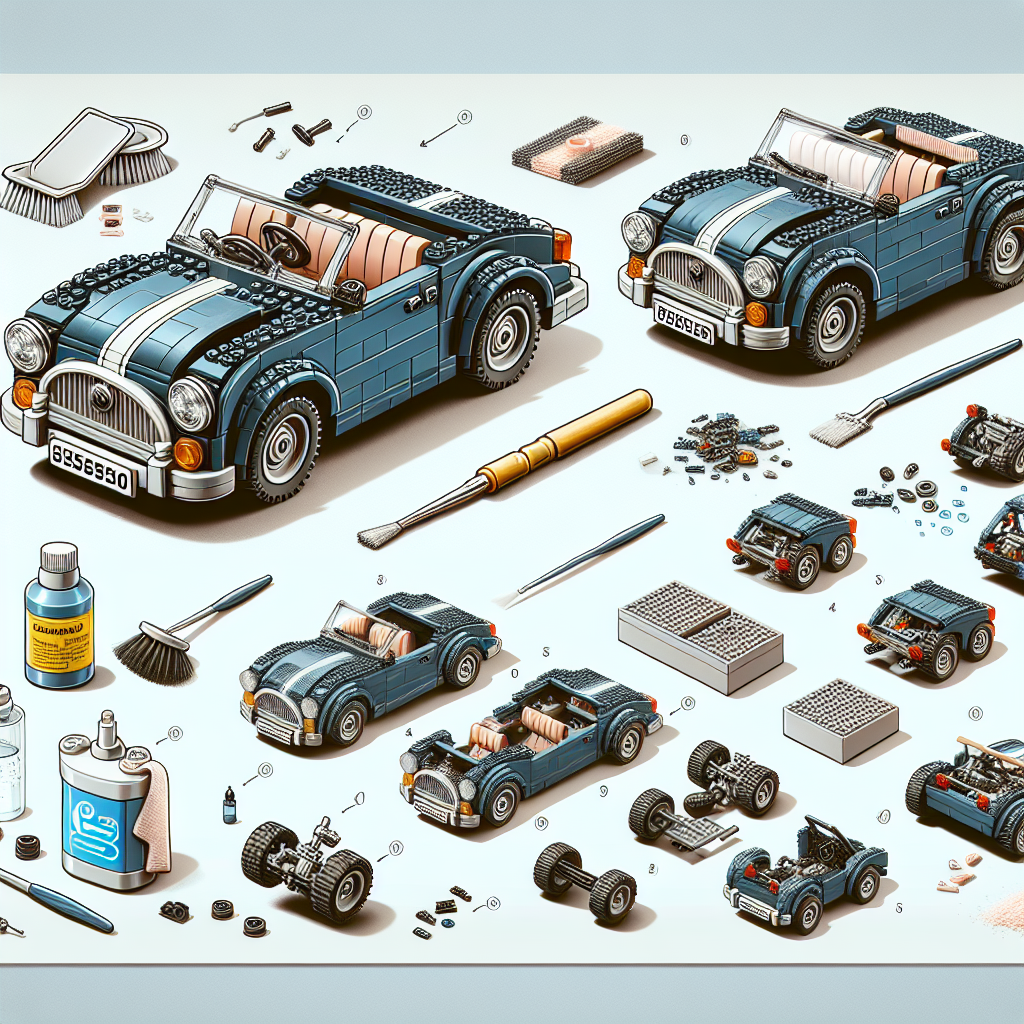
### 1. Gather Your Materials
– **Tools**: A small screwdriver (if needed), tweezers, and a soft brush.
– **Cleaning Supplies**: Mild soap, water, a soft cloth, and possibly a toothbrush for detailed cleaning.
– **Replacement Parts**: Check online marketplaces, LEGO’s official site, or specialty stores for missing or damaged pieces.
– **Storage Containers**: For organizing pieces during the restoration.
### 2. Disassemble the Set
– Carefully take apart the car set. If you have the original instructions, use them as a guide. If not, take photos as you disassemble to help with reassembly later.
### 3. Clean the Pieces
– **Dust and Dirt**: Use a soft brush or cloth to remove dust and dirt from the pieces.
– **Soaking**: For more stubborn grime, soak the pieces in a solution of warm water and mild soap for about 10-15 minutes. Avoid soaking any stickers or printed pieces.
– **Scrubbing**: Use a soft toothbrush to gently scrub the pieces, especially in crevices. Rinse thoroughly with clean water and let them air dry completely.
### 4. Inspect for Damage
– Check each piece for cracks, discoloration, or other damage. Pay special attention to the wheels, axles, and any unique parts that may be harder to replace.
### 5. Replace Missing or Damaged Parts
– Use online resources like BrickLink, Brick Owl, or LEGO’s Pick a Brick service to find replacement parts. You can also check local LEGO user groups or forums for help.
### 6. Restore Stickers and Decals
– If the stickers are peeling or damaged, you can try to carefully remove them and replace them with new ones. Some enthusiasts create custom stickers using printable adhesive paper.
– For faded stickers, consider using a clear sealant to protect them, but be cautious as this can alter their appearance.
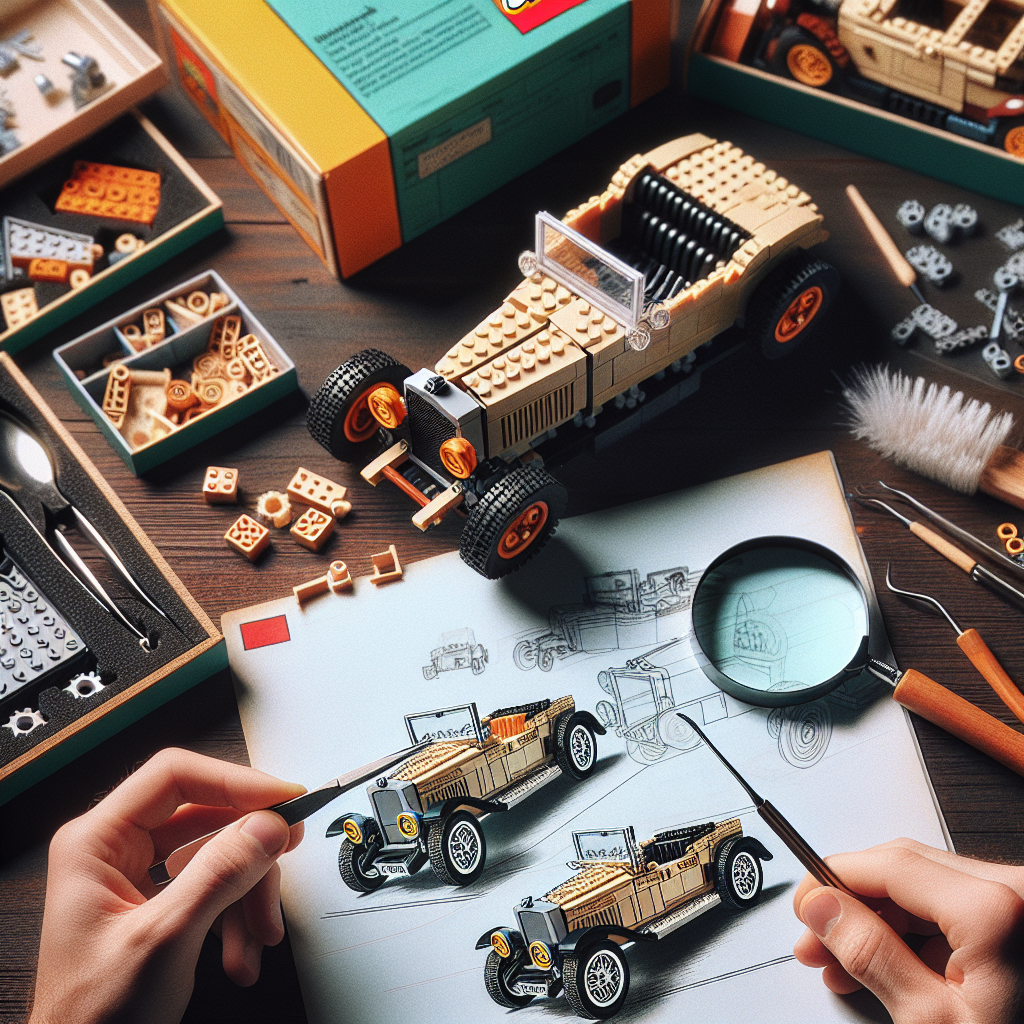
### 7. Reassemble the Set
– Using your photos or instructions, carefully reassemble the car. Ensure that all pieces fit snugly and that moving parts function properly.
### 8. Display or Store Properly
– If you plan to display the restored set, consider using a display case to protect it from dust and damage.
– If storing, keep it in a cool, dry place away from direct sunlight to prevent fading and warping.
### 9. Document the Restoration
– Take photos before, during, and after the restoration process. This can be valuable for your records and for sharing with other LEGO enthusiasts.
### 10. Join the Community
– Engage with other LEGO collectors and restorers through online forums, social media groups, or local clubs. Sharing your experience and learning from others can enhance your restoration skills.
### Tips
– Be patient and take your time during the cleaning and restoration process.
– If you’re unsure about a specific repair, seek advice from experienced collectors or restoration experts.
– Enjoy the process! Restoring vintage LEGO sets can be a fun and nostalgic journey.
By following these steps, you can successfully repair and restore your vintage LEGO car sets, preserving their history and enhancing their value.
Repairing and restoring vintage LEGO car sets can be a rewarding project for collectors and enthusiasts. Here’s a step-by-step guide to help you through the process:
### Step-by-Step Guide to Repairing and Restoring Vintage LEGO Car Sets
Restoring vintage LEGO car sets can be a fulfilling endeavor for collectors and enthusiasts alike. This guide outlines a systematic approach to ensure that your restoration project is both effective and respectful of the original design.
#### Step 1: Gather Materials and Tools
Before beginning the restoration process, assemble the necessary materials and tools:
– **Cleaning Supplies**: Mild soap, water, soft brushes, and microfiber cloths.
– **Repair Tools**: Tweezers, small screwdrivers, and pliers.
– **Replacement Parts**: Identify missing or damaged pieces and source replacements from reputable sellers or LEGO-specific marketplaces.
– **Storage Containers**: Use small bins or bags to organize pieces during the restoration.
#### Step 2: Disassemble the Set
Carefully take apart the vintage LEGO car set. Document the assembly process by taking photographs or referring to the original instruction manual, if available. This will aid in reassembly later.
#### Step 3: Clean the Components
– **Washing**: Submerge the LEGO pieces in a solution of warm water and mild soap. Use a soft brush to gently scrub away dirt and grime. Avoid using harsh chemicals or abrasive materials that could damage the plastic.
– **Drying**: Rinse the pieces thoroughly with clean water and lay them out on a soft cloth to air dry completely.
#### Step 4: Inspect for Damage
Examine each piece for cracks, discoloration, or other forms of damage. Pay special attention to the wheels, axles, and any unique components that may be prone to wear.
#### Step 5: Repair Damaged Parts
– **Cracks**: For minor cracks, consider using a plastic adhesive specifically designed for LEGO. Apply sparingly and allow adequate time for curing.
– **Discoloration**: If pieces are discolored, you may attempt gentle cleaning methods or consider replacement if the damage is extensive.
#### Step 6: Replace Missing Parts
Utilize your inventory of replacement parts to substitute any missing components. Ensure that replacements are compatible with the original set in terms of color and design.
#### Step 7: Reassemble the Set
Refer to your documentation from Step 2 to carefully reassemble the LEGO car. Take your time to ensure that each piece fits correctly and securely.
#### Step 8: Final Touches
Once reassembled, conduct a final inspection to ensure that all parts are in place and functioning as intended. If applicable, apply any decals or stickers that may have been part of the original design.
#### Step 9: Display or Store
Decide whether to display your restored vintage LEGO car set or store it for future enjoyment. If displaying, consider using a protective case to prevent dust accumulation and potential damage.
#### Step 10: Document the Restoration
Keep a record of the restoration process, including before-and-after photographs and notes on any repairs made. This documentation can enhance the value of the set for future collectors and serve as a reference for your own projects.
### Conclusion
Restoring vintage LEGO car sets requires patience and attention to detail, but the satisfaction of bringing a piece of history back to life is immensely rewarding. By following this guide, you can ensure that your restoration efforts are both effective and respectful of the original craftsmanship. Happy building!
### 1. Gather Your Materials
### 1. Gather Your Materials
To ensure a successful and organized process, it is essential to collect all necessary materials prior to commencing your project or task. This step will facilitate a smoother workflow and minimize interruptions. Below is a list of items you may need to consider:
– **Documentation**: Ensure you have all relevant documents, including guidelines, manuals, or reference materials.
– **Tools and Equipment**: Identify and gather any tools or equipment required for the task at hand, such as computers, software, or specialized instruments.
– **Supplies**: Collect any necessary supplies, including stationery, materials, or components that will be utilized during the process.
– **Workspace**: Prepare a suitable workspace that is organized and conducive to productivity, ensuring that all materials are easily accessible.
– **Support Resources**: Identify any additional resources or personnel that may be needed for assistance or collaboration.
By meticulously gathering these materials, you will be well-prepared to proceed with your project efficiently and effectively.
– **Tools**: A small screwdriver (if needed for any mechanical parts), tweezers, and a soft brush
Certainly! Here’s a formal description of the tools you mentioned:
—
**Tools Required:**
1. **Small Screwdriver**: This tool may be necessary for the adjustment or removal of any mechanical components. It is advisable to select a screwdriver that is appropriately sized for the screws in question to ensure a secure fit and to prevent damage to the screw heads.
2. **Tweezers**: A pair of precision tweezers will be useful for handling small parts or components that require careful placement or adjustment. The fine tips of the tweezers allow for enhanced dexterity and control, making them ideal for intricate tasks.
3. **Soft Brush**: A soft brush is recommended for cleaning delicate surfaces or components. It can effectively remove dust and debris without scratching or damaging the materials involved, ensuring that all parts remain in optimal condition.
—
If you need further assistance or additional information, please let me know!
Explore the fascinating world of LEGO cars, from their evolution and building techniques to customization and educational benefits. Discover how these models blend creativity and engineering, offering endless fun for builders of all ages.
Explore the exciting world of LEGO cars! This article delves into their history, design principles, educational benefits, and the vibrant community surrounding LEGO car building.