Discover tips and techniques for capturing stunning photos of your LEGO 42096 Porsche 911 RSR. Elevate your photography skills and showcase your build!
Photographing your LEGO 42096 Porsche 911 RSR can be a fun and rewarding experience. Here are some tips to help you capture stunning images of your model:
### 1. **Choose the Right Setting**
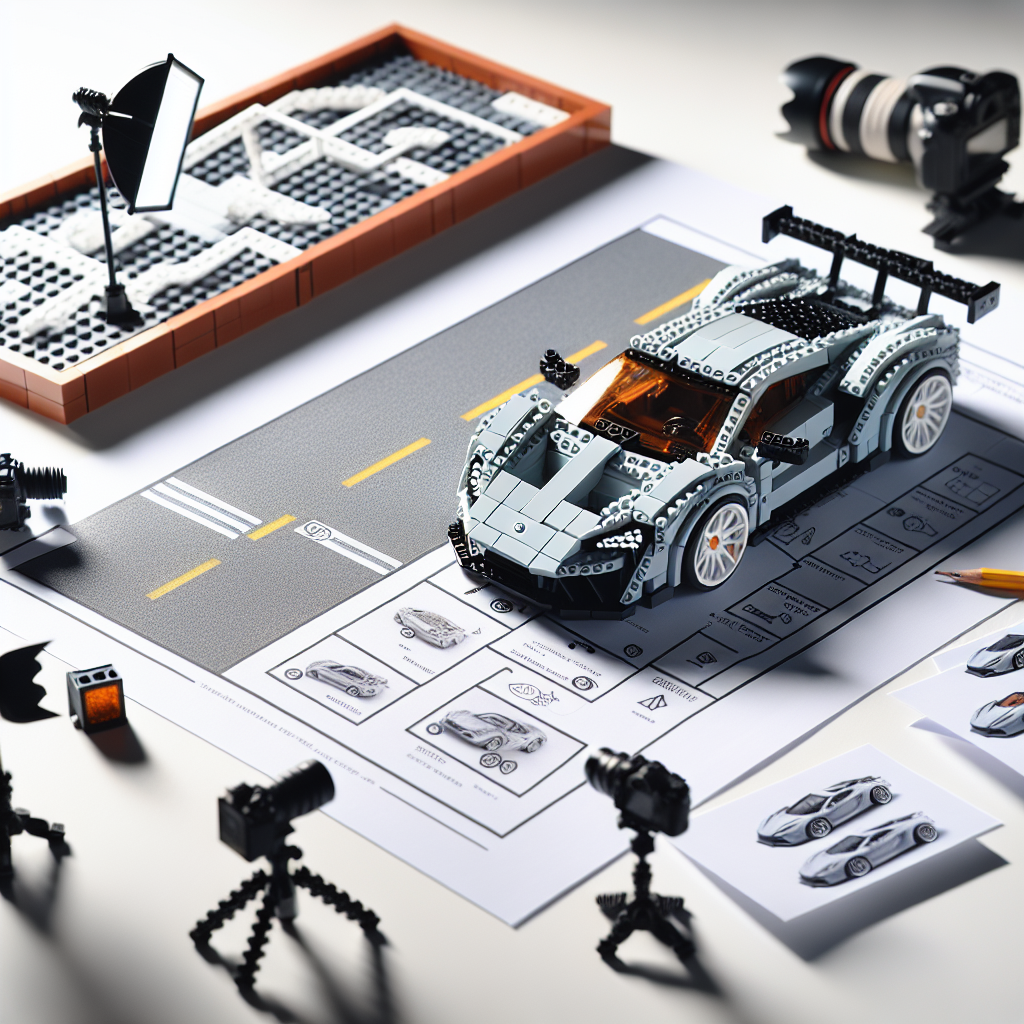
– **Background:** Use a clean, uncluttered background to keep the focus on the model. A plain white or black backdrop works well, or you can use a textured surface like wood or fabric for added interest.
– **Lighting:** Natural light is ideal, so consider photographing near a window during the day. If using artificial light, use soft diffused lighting to avoid harsh shadows.
### 2. **Camera Setup**
– **Use a Tripod:** This will help stabilize your camera and prevent blurriness, especially in low light conditions.
– **Camera Settings:** If using a DSLR or mirrorless camera, set a low ISO (100-200) for better image quality. Use a small aperture (f/8 to f/11) for a greater depth of field, ensuring the entire model is in focus.
### 3. **Angles and Composition**
– **Eye Level:** Shoot at the model’s eye level to create a more engaging perspective.
– **Different Angles:** Experiment with various angles—front, side, and top views—to find the most flattering perspective.
– **Rule of Thirds:** Use the rule of thirds to compose your shot. Place the model off-center to create a more dynamic image.
### 4. **Details and Close-Ups**
– **Focus on Details:** Capture close-up shots of unique features, such as the headlights, wheels, and interior details. This highlights the craftsmanship of the model.
– **Macro Lens:** If you have one, a macro lens can help you get stunning close-up shots.
### 5. **Post-Processing**
– **Editing Software:** Use photo editing software (like Adobe Lightroom or Photoshop) to enhance your images. Adjust brightness, contrast, and saturation to make the colors pop.
– **Crop and Straighten:** Crop your images to remove any distractions and straighten them if necessary.
### 6. **Experiment with Props**
– **Environment:** Consider adding props or a themed background (like a racetrack or garage) to create a story around your model.
– **Lighting Effects:** Use small LED lights or colored gels to create interesting lighting effects.
### 7. **Share Your Work**
– **Social Media:** Share your photos on platforms like Instagram or LEGO fan forums. Use relevant hashtags to reach a wider audience.
– **Join Communities:** Engage with other LEGO enthusiasts to get feedback and tips on your photography.
### 8. **Practice**
– **Take Multiple Shots:** Don’t hesitate to take several photos from different angles and settings. The more you shoot, the better your skills will become.
By following these tips, you can create beautiful photographs that showcase your LEGO 42096 Porsche 911 RSR in all its glory. Happy shooting!
Photographing your LEGO 42096 Porsche 911 RSR can be a fun and rewarding experience. Here are some tips to help you capture stunning images of your model:
Photographing your LEGO 42096 Porsche 911 RSR can be a delightful endeavor, allowing you to showcase the intricate details and craftsmanship of the model. Here are some formal tips to help you capture stunning images:
### 1. **Lighting**
– **Natural Light**: Utilize natural light whenever possible. Soft, diffused light from a window can enhance the colors and details of your model.
– **Artificial Lighting**: If shooting indoors, consider using softbox lights or LED panels to create even lighting. Avoid harsh shadows by positioning lights at different angles.
### 2. **Background**
– **Simple Backdrops**: Use a plain, uncluttered background to keep the focus on the model. Neutral colors like white, gray, or black work well.
– **Thematic Settings**: Alternatively, consider a background that complements the car, such as a racetrack or a garage scene, to add context.
### 3. **Camera Settings**
– **Aperture**: Use a wide aperture (low f-stop number) to create a shallow depth of field, which blurs the background and emphasizes the model.
– **ISO**: Keep the ISO as low as possible to reduce noise, especially in well-lit conditions.
– **Shutter Speed**: Use a faster shutter speed to avoid motion blur, particularly if you are shooting handheld.
### 4. **Angles and Composition**
– **Variety of Angles**: Experiment with different angles—shoot from above, below, and at eye level to find the most dynamic perspectives.
– **Rule of Thirds**: Use the rule of thirds to compose your shots. Position the model off-center to create a more engaging image.
– **Close-ups**: Capture close-up shots of intricate details, such as the wheels, headlights, and interior, to highlight the craftsmanship.
### 5. **Stability**
– **Tripod**: Use a tripod to stabilize your camera and prevent blurriness, especially in low-light conditions.
– **Remote Shutter Release**: If available, use a remote shutter release or the camera’s timer function to minimize camera shake.
### 6. **Post-Processing**
– **Editing Software**: Utilize photo editing software to enhance your images. Adjust brightness, contrast, and saturation to make the colors pop.
– **Cropping**: Crop your images to improve composition and remove any distracting elements from the frame.
### 7. **Showcase the Model**
– **Action Shots**: If possible, create a sense of motion by photographing the model on a surface that mimics a road or racetrack.
– **Contextual Shots**: Include other LEGO models or accessories to create a scene that tells a story about the Porsche 911 RSR.
By following these tips, you can create visually appealing photographs that highlight the beauty and detail of your LEGO 42096 Porsche 911 RSR. Enjoy the process and let your creativity shine!
### 1. **Choose the Right Setting**
Choosing the right setting is crucial for any formal event or occasion. Here are some key considerations to ensure that the environment aligns with the purpose and tone of the gathering:
1. **Purpose of the Event**: Understand the primary objective of the event. Is it a business meeting, a formal dinner, a conference, or a wedding? The setting should reflect the nature of the occasion.
2. **Capacity and Space**: Ensure that the venue can comfortably accommodate the expected number of attendees. Consider the layout, seating arrangements, and accessibility for all guests.
3. **Ambiance and Decor**: The decor should complement the formality of the event. Choose a venue that offers an appropriate ambiance, whether it be elegant, sophisticated, or understated.
4. **Location**: Select a location that is convenient for attendees. Consider factors such as transportation, parking availability, and proximity to accommodations if guests are traveling from out of town.
5. **Facilities and Amenities**: Ensure that the venue is equipped with necessary facilities, such as audio-visual equipment, Wi-Fi, restrooms, and catering services, to support the event’s requirements.
6. **Acoustics and Lighting**: Pay attention to the acoustics of the space, especially for presentations or speeches. Adequate lighting is also essential to create the right atmosphere and ensure visibility.
7. **Reputation and Reviews**: Research the venue’s reputation and read reviews from previous clients. A well-regarded venue can enhance the overall experience of the event.
8. **Budget Considerations**: Finally, ensure that the chosen setting aligns with your budget. Consider all associated costs, including rental fees, catering, and any additional services required.
By carefully considering these factors, you can select a setting that enhances the formality and success of your event.
– **Background:** Use a clean, uncluttered background to keep the focus on the model. A plain white or black backdrop works well, or you can use a textured surface like wood or fabric for added interest
When setting up a photoshoot with a formal theme, it’s essential to create a background that enhances the overall aesthetic without distracting from the model. Here are some tips to achieve that:
1. **Choose a Solid Color Backdrop:** A plain white or black backdrop is classic and timeless. White provides a clean, bright look, while black adds depth and sophistication. Both options allow the model’s attire and features to stand out.
2. **Incorporate Textured Surfaces:** If you want to add a bit of interest, consider using textured surfaces like wood or fabric. A wooden backdrop can bring warmth and a touch of rustic charm, while a soft fabric can add elegance and a sense of luxury.
3. **Maintain Simplicity:** Ensure that the background remains uncluttered. Avoid busy patterns or overly bright colors that could draw attention away from the model. The goal is to create a harmonious balance that highlights the subject.
4. **Lighting Considerations:** Use soft, diffused lighting to avoid harsh shadows and create a flattering look. Natural light can work well, but if you’re using artificial lights, consider softboxes or diffusers to achieve a similar effect.
5. **Positioning the Model:** Place the model a few feet away from the backdrop to create depth and separation. This technique can help to blur the background slightly, further emphasizing the model.
6. **Props and Accessories:** If you choose to include props, keep them minimal and relevant to the theme. A single elegant chair or a simple table can add context without overwhelming the scene.
By following these guidelines, you can create a formal photoshoot environment that is both visually appealing and focused on the model.
Explore the fascinating world of LEGO cars, from their evolution and building techniques to customization and educational benefits. Discover how these models blend creativity and engineering, offering endless fun for builders of all ages.
Explore the exciting world of LEGO cars! This article delves into their history, design principles, educational benefits, and the vibrant community surrounding LEGO car building.