Discover tips and techniques for filming a stunning time-lapse of your LEGO Technic supercar build, capturing every intricate detail in motion!
Filming a time-lapse of your LEGO Technic supercar build can be a fun and rewarding project. Here’s a step-by-step guide to help you capture the process effectively:
### 1. **Gather Your Equipment**
– **Camera**: A DSLR, mirrorless camera, or a smartphone with a good camera.
– **Tripod**: To keep the camera steady and in a fixed position.
– **Lighting**: Ensure you have good lighting to avoid shadows and ensure clarity.
– **Time-Lapse App/Software**: If using a smartphone, consider apps like Lapse It or TimeLapse. For cameras, check if your camera has a built-in time-lapse feature or use software like Dragonframe or Adobe Premiere Pro for post-processing.
### 2. **Set Up Your Workspace**
– **Clean Area**: Choose a clean, clutter-free workspace to build your LEGO set.
– **Background**: Use a neutral background to keep the focus on the build.
– **Lighting**: Position your lights to minimize shadows. Soft, diffused lighting works best.
### 3. **Position Your Camera**
– **Angle**: Choose an angle that captures the entire build area. A top-down view or a slight angle can work well.
– **Distance**: Ensure the camera is far enough to capture the entire build but close enough to see details.
– **Stability**: Use a tripod to keep the camera stable throughout the build.
### 4. **Plan Your Build**
– **Break It Down**: Consider breaking the build into sections (e.g., chassis, body, wheels) to make it easier to film and edit later.
– **Time Management**: Decide how long you want to film. A longer build may require more frequent breaks to adjust the camera or lighting.
### 5. **Start Filming**
– **Frame Rate**: If using a camera with a time-lapse feature, set the interval (e.g., one frame every few seconds). If using a smartphone app, set the desired frame rate.
– **Manual Focus**: If possible, set your focus manually to avoid the camera refocusing during the build.
– **Record**: Start recording before you begin building. Make sure to capture the entire process.
### 6. **Build Your LEGO Technic Supercar**
– **Enjoy the Process**: As you build, make sure to keep the camera in the same position. Avoid moving it unless necessary.
– **Take Breaks**: If you need to step away, pause the recording to avoid capturing unnecessary footage.
### 7. **Edit Your Time-Lapse**
– **Import Footage**: Once the build is complete, import your footage into your editing software.
– **Speed Up**: Adjust the speed of the footage to create a smooth time-lapse effect. You can speed it up significantly to condense hours of building into a few minutes.
– **Add Music/Voiceover**: Consider adding background music or a voiceover to narrate your building experience.
### 8. **Export and Share**
– **Export Settings**: Choose the appropriate resolution and format for your video (e.g., 1080p for YouTube).
– **Share**: Upload your time-lapse video to platforms like YouTube, Instagram, or TikTok to share your creation with others.
### 9. **Engage with Your Audience**
– **Comments and Feedback**: Encourage viewers to leave comments and feedback. Engage with your audience by answering questions or sharing tips about building LEGO Technic sets.
### Tips for Success
– **Practice**: If you’re new to time-lapse filming, consider doing a test run with a smaller set.
– **Battery Life**: Ensure your camera or smartphone has enough battery life for the duration of the build.
– **Storage Space**: Make sure you have enough storage space on your device to capture all the footage.
By following these steps, you’ll be able to create an engaging time-lapse video of your LEGO Technic supercar build that showcases your skills and creativity! Enjoy the process!
Filming a time-lapse of your LEGO Technic supercar build can be a fun and rewarding project. Here’s a step-by-step guide to help you create an engaging time-lapse video:
Creating a time-lapse video of your LEGO Technic supercar build can be an enjoyable and fulfilling endeavor. Below is a structured guide to assist you in producing an engaging time-lapse video:
### Step 1: Gather Your Materials
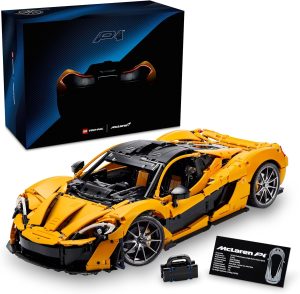
– **LEGO Technic Supercar Set**: Ensure you have the complete set and instructions.
– **Camera**: Use a smartphone, DSLR, or any camera capable of taking still images.
– **Tripod or Stable Surface**: To keep the camera steady throughout the filming process.
– **Lighting**: Ensure adequate lighting to enhance video quality. Natural light or softbox lights can be effective.
– **Time-lapse Software**: Choose software or an app that can compile images into a video (e.g., iMovie, Adobe Premiere Pro, or dedicated time-lapse software).
### Step 2: Set Up Your Workspace
– **Choose a Location**: Select a clean, well-lit area with minimal distractions.
– **Organize Your LEGO Pieces**: Sort the pieces for easy access during the build.
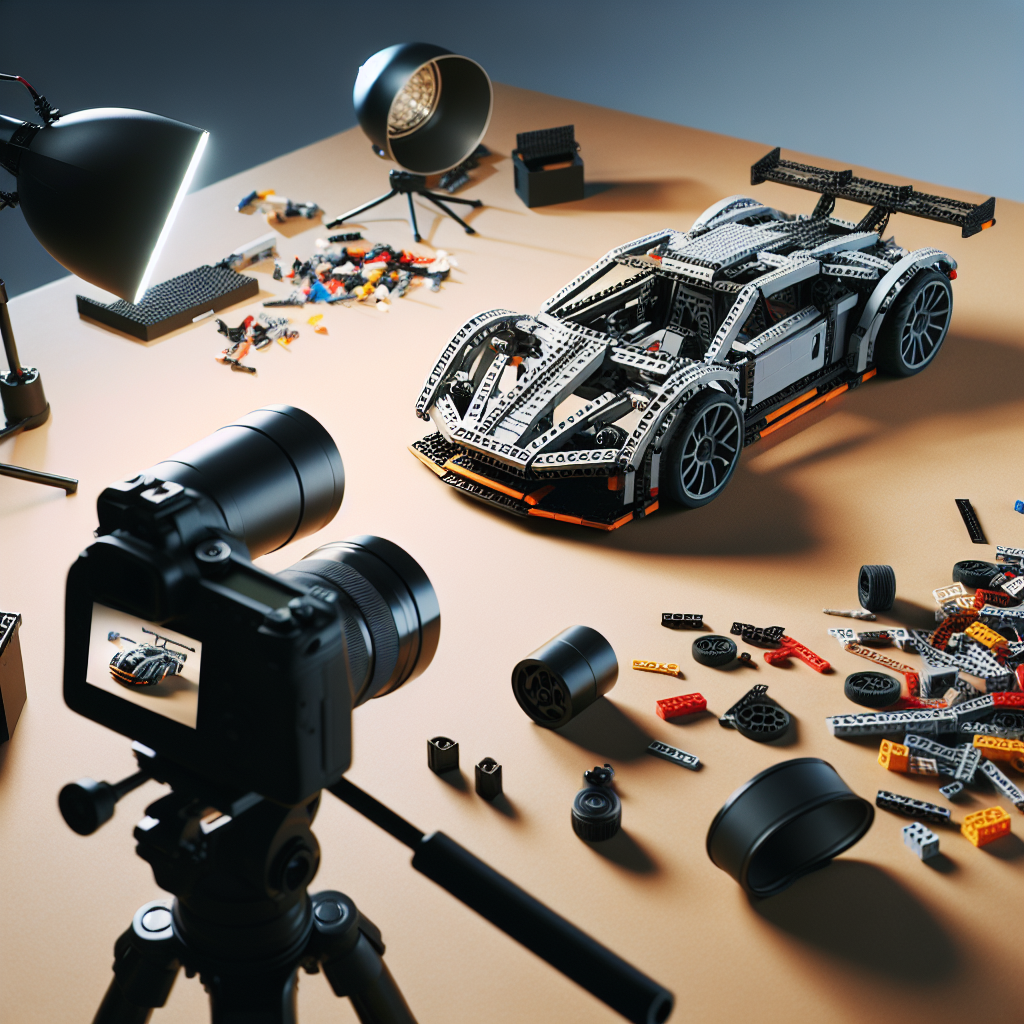
– **Position Your Camera**: Set up your camera on a tripod or stable surface, ensuring it captures the entire building area. Adjust the angle for the best view of the construction process.
### Step 3: Configure Your Camera Settings
– **Resolution**: Set your camera to a high resolution for better video quality.
– **Interval Shooting**: If your camera has a time-lapse mode, set the interval for capturing images (e.g., every 5-10 seconds).
– **Manual Focus**: If possible, set the focus manually to avoid changes during the shoot.
– **White Balance**: Adjust the white balance to maintain consistent color throughout the video.
### Step 4: Begin Filming
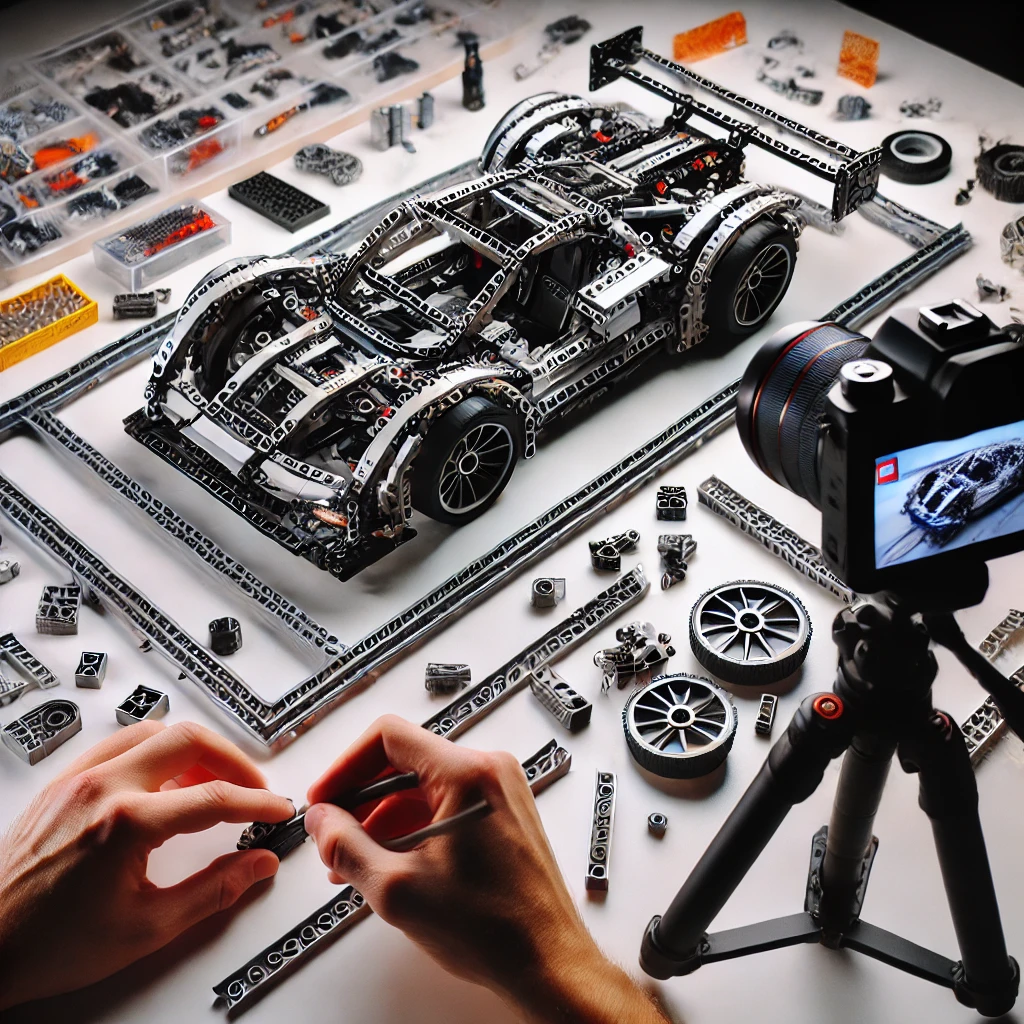
– **Start the Build**: Begin assembling your LEGO Technic supercar while the camera captures images at the set intervals.
– **Maintain Consistency**: Try to keep your movements within the frame and avoid excessive background movement.
– **Monitor Progress**: Periodically check the camera to ensure it is functioning correctly and capturing the build process.
### Step 5: Compile the Images
– **Transfer Images**: Once the build is complete, transfer the images to your computer.
– **Import to Software**: Open your chosen time-lapse software and import the images.
– **Adjust Frame Rate**: Set the frame rate to determine how quickly the images will play (e.g., 24 or 30 frames per second).
### Step 6: Edit Your Video
– **Add Music or Voiceover**: Consider adding background music or a voiceover to enhance the viewing experience.
– **Incorporate Text**: You may want to include text overlays, such as the name of the set or interesting facts about the build.
– **Trim and Cut**: Edit the video to remove any unnecessary footage or pauses.
### Step 7: Export and Share
– **Export the Final Video**: Save your time-lapse video in a suitable format (e.g., MP4).
– **Share Your Creation**: Upload the video to platforms such as YouTube, Instagram, or TikTok to share with fellow LEGO enthusiasts.
### Conclusion
By following these steps, you can create a captivating time-lapse video of your LEGO Technic supercar build. This project not only showcases your building skills but also allows you to share your passion for LEGO with a wider audience. Enjoy the process and happy building!
### Equipment Needed:
Certainly! Here’s a formal list of equipment needed for various contexts. Please specify the context if you have a particular one in mind (e.g., a formal event, a business meeting, a presentation, etc.). For now, I will provide a general list for a formal event:
### Equipment Needed for a Formal Event
1. **Audio-Visual Equipment**
– Projector and screen
– Microphones (wireless and handheld)
– Speakers
– Laptop or computer for presentations
– Cables and adapters
2. **Seating Arrangements**
– Tables (round or rectangular)
– Chairs (with or without covers)
– Tablecloths and centerpieces
5. **Catering Supplies**
– Serving tables
– Utensils and dishware
– Glassware
– Napkins and table settings
6. **Registration and Information**
– Registration desk
– Name tags or badges
– Brochures or informational materials
7. **Safety and Accessibility**
– First aid kit
– Accessibility equipment (e.g., ramps)
– Fire extinguishers
8. **Miscellaneous**
– Notepads and pens for attendees
– Cloakroom or coat check facilities
– Waste disposal bins
Please let me know if you need a more specific list or if you have a different context in mind!
**Camera or Smartphone**: A DSLR, mirrorless camera, or a smartphone with a good camera
When considering the choice between a DSLR, a mirrorless camera, or a smartphone equipped with a high-quality camera, several factors must be taken into account, including image quality, versatility, ease of use, and intended purpose.
**DSLR Cameras**: Digital Single-Lens Reflex (DSLR) cameras are renowned for their exceptional image quality, particularly in low-light conditions, due to their larger sensors. They offer a wide range of interchangeable lenses, allowing for greater creative control over composition and depth of field. However, DSLRs tend to be bulkier and heavier, which may hinder portability. Additionally, they often require a steeper learning curve for those unfamiliar with manual settings.
**Mirrorless Cameras**: Mirrorless cameras have gained popularity for their compact design and advanced technology. They provide similar image quality to DSLRs, often featuring larger sensors and the ability to interchange lenses. The absence of a mirror mechanism allows for a lighter and more compact body, making them more portable. Furthermore, many mirrorless models offer superior autofocus systems and video capabilities. However, battery life can be a concern, as mirrorless cameras typically consume more power.
**Smartphones**: Modern smartphones are equipped with sophisticated camera technology, including multiple lenses, advanced image processing, and features such as night mode and portrait mode. They are incredibly convenient for everyday photography, as they are lightweight and always within reach. While smartphones may not match the image quality of dedicated cameras in certain scenarios, they excel in ease of use and accessibility. Additionally, the integration of social media and instant sharing capabilities makes smartphones an appealing choice for casual photographers.
In conclusion, the decision between a DSLR, mirrorless camera, or smartphone ultimately depends on the user’s specific needs and preferences. For professional photographers or serious enthusiasts seeking the highest image quality and creative control, a DSLR or mirrorless camera may be the preferred option. Conversely, for casual users who prioritize convenience and ease of use, a smartphone with a good camera may suffice. Each option has its merits, and the best choice will vary based on individual circumstances and photographic goals.
Explore the fascinating world of LEGO cars, from their evolution and building techniques to customization and educational benefits. Discover how these models blend creativity and engineering, offering endless fun for builders of all ages.
Explore the exciting world of LEGO cars! This article delves into their history, design principles, educational benefits, and the vibrant community surrounding LEGO car building.