Discover tips to customize your LEGO F1 car for an authentic look, from decals to color schemes, and elevate your build to the next level!
Customizing your LEGO F1 car for an authentic look can be a fun and rewarding project. Here are some tips to help you achieve a more realistic design:
### 1. **Research Real F1 Cars**
– **Study the Details**: Look at images of real F1 cars to understand their shapes, colors, and details. Pay attention to the aerodynamics, wing designs, and sponsor logos.
– **Choose a Team**: Decide which F1 team you want to replicate (e.g., Ferrari, Mercedes, Red Bull). Each team has distinct colors and designs.
### 2. **Select the Right Base Set**
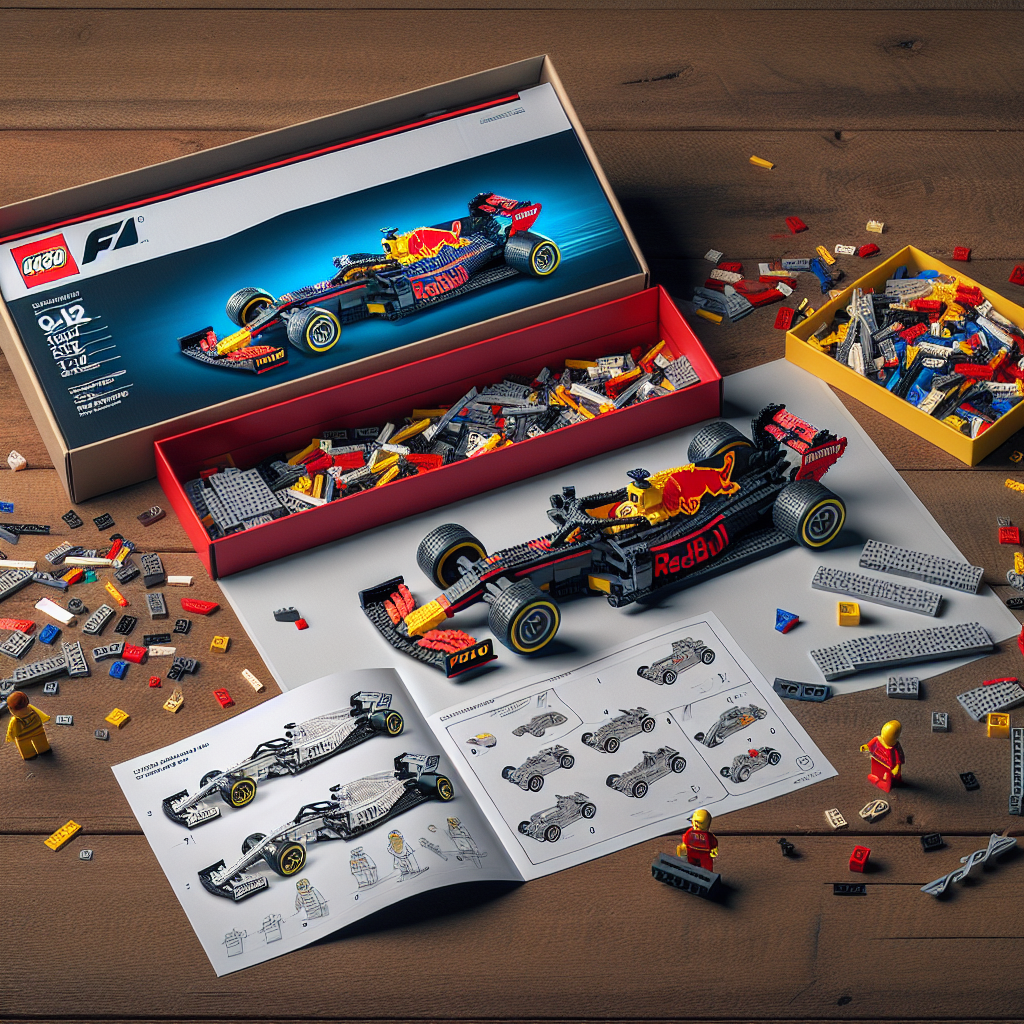
– **Start with a Good Base**: Use a LEGO F1 set as your starting point. Sets like the LEGO Technic F1 car or any other racing car set can provide a solid foundation.
### 3. **Modify the Chassis**
– **Adjust the Size**: If you want a more accurate scale, consider modifying the chassis. You can add or remove pieces to make it longer or wider.
– **Add Details**: Use additional LEGO pieces to create features like side pods, exhausts, and cooling vents.
### 4. **Customize the Bodywork**
– **Use Stickers and Decals**: Create or print custom stickers for sponsor logos, numbers, and team colors. You can also use LEGO-compatible decals.
– **Color Scheme**: Change the color of the bricks to match the team’s livery. You can paint or use colored bricks to achieve the desired look.
### 5. **Enhance the Aerodynamics**
– **Wings and Spoilers**: Add or modify front and rear wings. Use flat pieces to create a more aerodynamic shape.
– **Diffusers**: Incorporate a rear diffuser using flat and angled pieces to mimic the real car’s design.
### 6. **Add Realistic Features**
– **Tires and Rims**: Use LEGO tires that resemble those used in F1. You can also paint or modify existing tires for a more authentic look.
– **Cockpit Details**: Create a detailed cockpit with a steering wheel, seat, and dashboard. You can use small pieces to represent controls and displays.
### 7. **Incorporate Functional Elements**
– **Working Suspension**: If you’re up for a challenge, try to create a working suspension system using LEGO Technic pieces.
– **Steering Mechanism**: Implement a simple steering mechanism that allows the front wheels to turn.
### 8. **Add Driver Minifigure**
– **Custom Minifigure**: Create or customize a minifigure to represent your chosen driver. Use a helmet and racing suit that match the team’s colors.
– **Accessories**: Consider adding accessories like a trophy or a pit board for added realism.
### 9. **Display and Showcase**
– **Create a Diorama**: Build a small diorama that represents a pit stop or a racetrack to display your customized car.
– **Lighting**: Use LED lights to highlight your car, especially if you have added intricate details.
### 10. **Document Your Work**
– **Take Photos**: Capture the different stages of your customization process. Share your work on social media or LEGO forums to inspire others.
### Conclusion
Customizing your LEGO F1 car can be a creative outlet that allows you to express your passion for motorsport. By paying attention to detail and incorporating authentic elements, you can create a stunning replica that stands out in your collection. Enjoy the building process!
Customizing your LEGO F1 car for an authentic look can be a fun and rewarding project. Here are some steps and tips to help you achieve that:
Customizing your LEGO Formula 1 car for an authentic look can be an enjoyable and fulfilling endeavor. Below are some structured steps and tips to guide you through the process:
### 1. Research and Reference
– **Study Real F1 Cars**: Gather images and specifications of the specific F1 car you wish to replicate. Pay attention to details such as color schemes, sponsor logos, and aerodynamic features.
– **Identify Key Features**: Note the unique characteristics of the car, including wing designs, tire types, and cockpit details.
### 2. Gather Materials
– **LEGO Bricks**: Collect a variety of LEGO bricks in the colors and shapes that match your reference car. Consider using specialized pieces for aerodynamic elements.
– **Decals and Stickers**: Look for custom decals or stickers that represent the sponsors and branding of the F1 team. You can also create your own using printable sticker paper.
– **Additional Accessories**: Consider adding elements such as mini-figures for the driver, pit crew, or even a display stand.
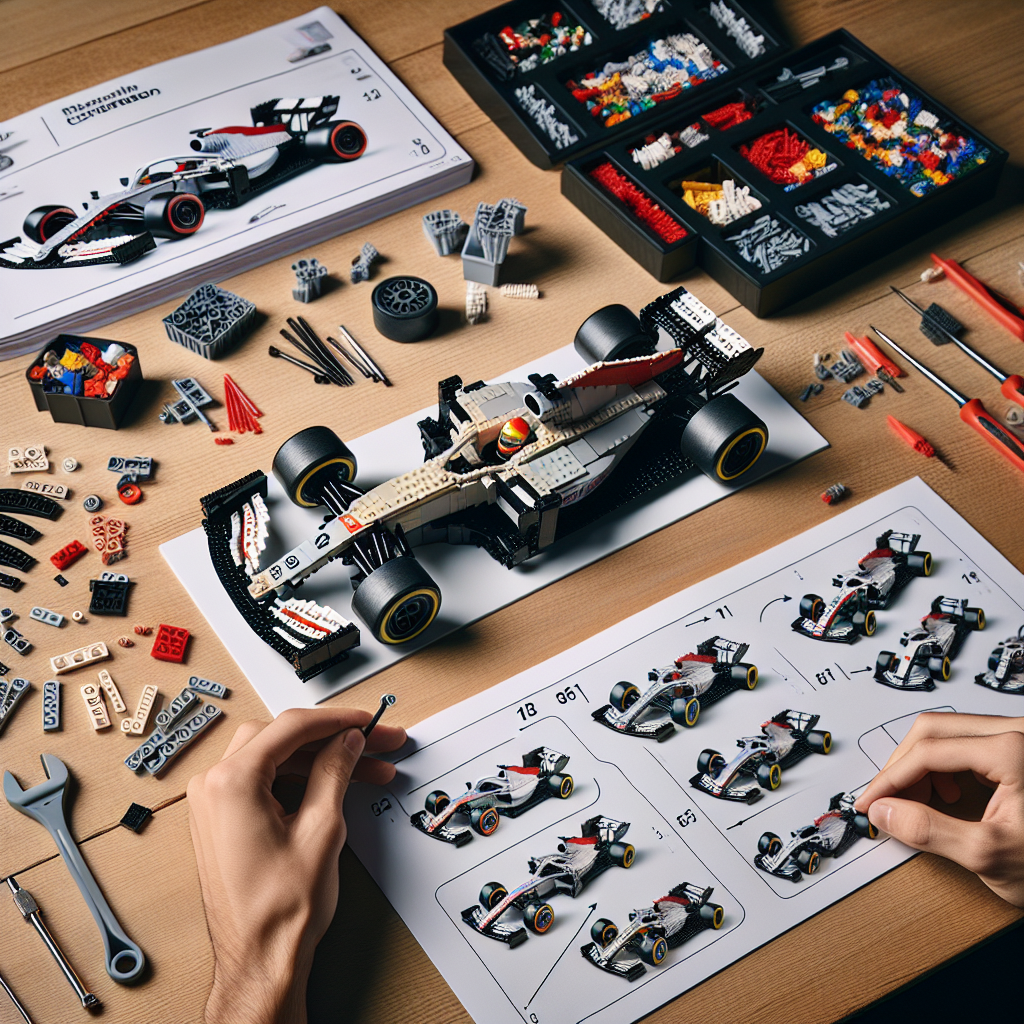
### 3. Design and Build
– **Base Structure**: Start with the basic chassis of the LEGO car. Ensure it is sturdy enough to support additional features.
– **Aerodynamics**: Incorporate elements such as front and rear wings, side pods, and a detailed nose cone. Use sloped and angled bricks to mimic the aerodynamic shapes.
– **Color Scheme**: Apply the appropriate colors to your car, ensuring that the paint job reflects the real-life counterpart. Use consistent color patterns for a professional look.
### 4. Detail Work
– **Cockpit and Driver**: Create a detailed cockpit with a steering wheel, seat, and dashboard. Position the mini-figure driver to enhance realism.
– **Tires and Rims**: Use LEGO wheels that closely resemble those used in F1 racing. Consider adding custom tire decals for added authenticity.
– **Sponsorship Logos**: Apply the decals or stickers to the appropriate areas of the car, ensuring they are placed accurately according to your reference images.
### 5. Final Touches
– **Quality Check**: Review your model for any missing details or areas that may need refinement. Make adjustments as necessary.
– **Display Options**: Consider how you will display your customized LEGO F1 car. A clear case or a dedicated shelf can enhance its presentation.
### 6. Share and Enjoy
– **Showcase Your Work**: Share your customized LEGO F1 car with fellow enthusiasts, either online or at local events. Engaging with the community can provide valuable feedback and inspiration for future projects.
– **Document the Process**: Take photos of your build process and the final product. This can serve as a portfolio of your work and inspire others.
By following these steps and incorporating your creativity, you can create a stunning and authentic-looking LEGO Formula 1 car that reflects your passion for both LEGO and motorsport. Enjoy the process and let your imagination drive your design!
### 1. **Research Real F1 Cars**
When conducting research on real Formula 1 (F1) cars, it is essential to consider various aspects that define their design, performance, and technological advancements. Below is a structured approach to understanding the intricacies of F1 cars.
#### 1. **Historical Context**
– **Evolution of F1 Cars**: Examine the historical development of F1 cars from the early days of the sport in the 1950s to the present. Key milestones include the introduction of aerodynamics, the use of hybrid power units, and advancements in materials science.
– **Regulatory Changes**: Investigate how changes in FIA regulations have influenced car design, including safety standards, engine specifications, and aerodynamic restrictions.
#### 2. **Technical Specifications**
– **Chassis Design**: Analyze the structure and materials used in the chassis, focusing on weight distribution, rigidity, and safety features. Common materials include carbon fiber and aluminum alloys.
– **Power Units**: Study the hybrid power units used in modern F1 cars, which combine internal combustion engines with energy recovery systems (ERS). Understand the role of turbocharging and the impact of fuel efficiency.
– **Aerodynamics**: Explore the aerodynamic features of F1 cars, including front and rear wings, diffusers, and bargeboards. Assess how these elements contribute to downforce and drag reduction.
#### 3. **Performance Metrics**
– **Speed and Acceleration**: Review the performance metrics of F1 cars, including top speed, acceleration times, and lap times on various circuits.
– **Tire Technology**: Investigate the different types of tires used in F1, including their compounds and how they affect grip, wear, and performance under varying conditions.
#### 4. **Team Dynamics and Strategy**
– **Engineering Teams**: Examine the role of engineering teams in the design and development of F1 cars. Highlight key figures and their contributions to car performance.
– **Race Strategy**: Understand how car performance influences race strategy, including pit stop timing, tire selection, and fuel management.
#### 5. **Technological Innovations**
– **Data Analytics**: Explore the use of telemetry and data analytics in optimizing car performance during races. Discuss how teams utilize real-time data to make strategic decisions.
– **Simulation Technologies**: Investigate the role of computer simulations and wind tunnel testing in the design process of F1 cars.
#### 6. **Environmental Considerations**
– **Sustainability Initiatives**: Research the efforts made by F1 teams to enhance sustainability, including the development of hybrid technologies and the use of biofuels.
#### 7. **Future Trends**
– **Emerging Technologies**: Speculate on future trends in F1 car design, such as the potential for fully electric power units, advanced aerodynamics, and the integration of artificial intelligence in race strategy.
### Conclusion
Researching real F1 cars involves a comprehensive analysis of their technical specifications, historical context, performance metrics, and the evolving landscape of motorsport technology. By understanding these elements, one can appreciate the complexity and innovation that define Formula 1 racing.
– **Choose a Team and Model**: Start by selecting a specific F1 team and car model you want to replicate. Look for images and videos to understand the car’s design, colors, and sponsor logos
To begin the process of replicating a specific Formula 1 team and car model, it is essential to follow a structured approach. Here are the steps to guide you through this endeavor:
1. **Select a Team and Model**:
– Choose a Formula 1 team that interests you. Consider factors such as historical performance, design aesthetics, and personal preference.
– Once you have selected a team, identify a specific car model from their recent seasons. For example, you might choose the Mercedes-AMG Petronas Formula One Team and their W12 model from the 2021 season.
2. **Research and Gather Resources**:
– Look for high-quality images and videos of the chosen car model. Official team websites, motorsport news outlets, and social media platforms are excellent sources for visual references.
– Pay attention to various angles of the car, including front, rear, side, and top views, to capture the intricate details of its design.
3. **Analyze Design Elements**:
– Focus on the car’s color scheme, sponsor logos, and any unique design features. Note the placement and size of sponsor logos, as well as the overall color palette used by the team.
– Consider the aerodynamic elements of the car, such as the front and rear wings, side pods, and any distinctive features that contribute to its performance.
4. **Document Findings**:
– Create a comprehensive document or digital folder that compiles all your research findings. Include images, notes on design elements, and any relevant specifications or technical details about the car model.
5. **Plan Your Replication Approach**:
– Determine the medium through which you will replicate the car (e.g., scale model, digital rendering, or artwork).
– Outline the materials and tools you will need, as well as the timeline for your project.
By following these steps, you will be well-prepared to replicate your chosen Formula 1 team and car model with accuracy and attention to detail.
Explore the fascinating world of LEGO cars, from their evolution and building techniques to customization and educational benefits. Discover how these models blend creativity and engineering, offering endless fun for builders of all ages.
Explore the exciting world of LEGO cars! This article delves into their history, design principles, educational benefits, and the vibrant community surrounding LEGO car building.