"Learn how to design and apply custom decals for your LEGO Porsche RSR, adding a personal touch to your build with step-by-step tips and tricks!"
Creating custom decals for your LEGO Porsche RSR can be a fun and rewarding project. Here’s a step-by-step guide to help you design and apply your own decals:
### Materials Needed:
1. **Design Software**: Use software like Adobe Illustrator, Photoshop, or free alternatives like GIMP or Inkscape.
2. **Printable Decal Paper**: Choose between inkjet or laser printer decal paper, depending on your printer type.
3. **Clear Sealer Spray**: To protect your decals after printing.
4. **Scissors or Craft Knife**: For cutting out your decals.
5. **Ruler and Cutting Mat**: For precise measurements and cuts.
6. **LEGO Porsche RSR Model**: The model you want to customize.
### Step-by-Step Guide:
#### Step 1: Research and Inspiration
– Look for reference images of the Porsche RSR to understand the design elements you want to replicate or modify.
– Gather inspiration from real-life racing liveries, other LEGO models, or custom designs online.
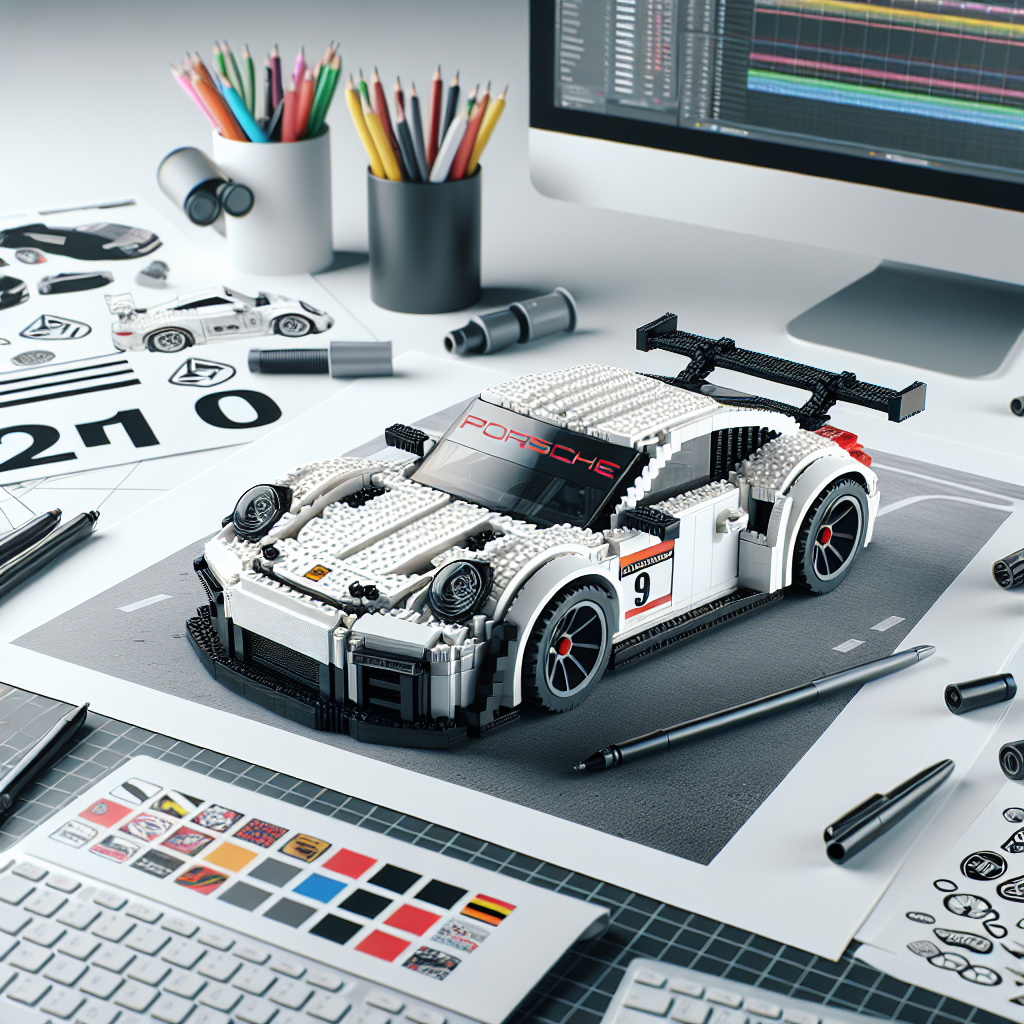
#### Step 2: Design Your Decals
1. **Open Your Design Software**: Start a new project with the dimensions that match your decal paper.
2. **Create Your Design**: Use shapes, text, and images to create your custom decals. Consider including:
– Racing numbers
– Logos
– Stripes or patterns
– Sponsor logos
3. **Use Layers**: If your software supports layers, use them to separate different elements of your design for easier editing.
4. **Scale Your Design**: Make sure your decals are scaled appropriately for the LEGO model. Measure the areas where you want to apply the decals to ensure a good fit.
#### Step 3: Print Your Decals
1. **Test Print**: Print a test page on regular paper to check the size and design.
2. **Print on Decal Paper**: Once satisfied, print your design on the decal paper. Make sure to follow the instructions for your specific type of decal paper.
3. **Allow to Dry**: Let the printed decals dry completely to avoid smudging.
#### Step 4: Seal Your Decals
– Spray a clear sealer over the printed decals to protect them from water and wear. Allow it to dry completely according to the product instructions.
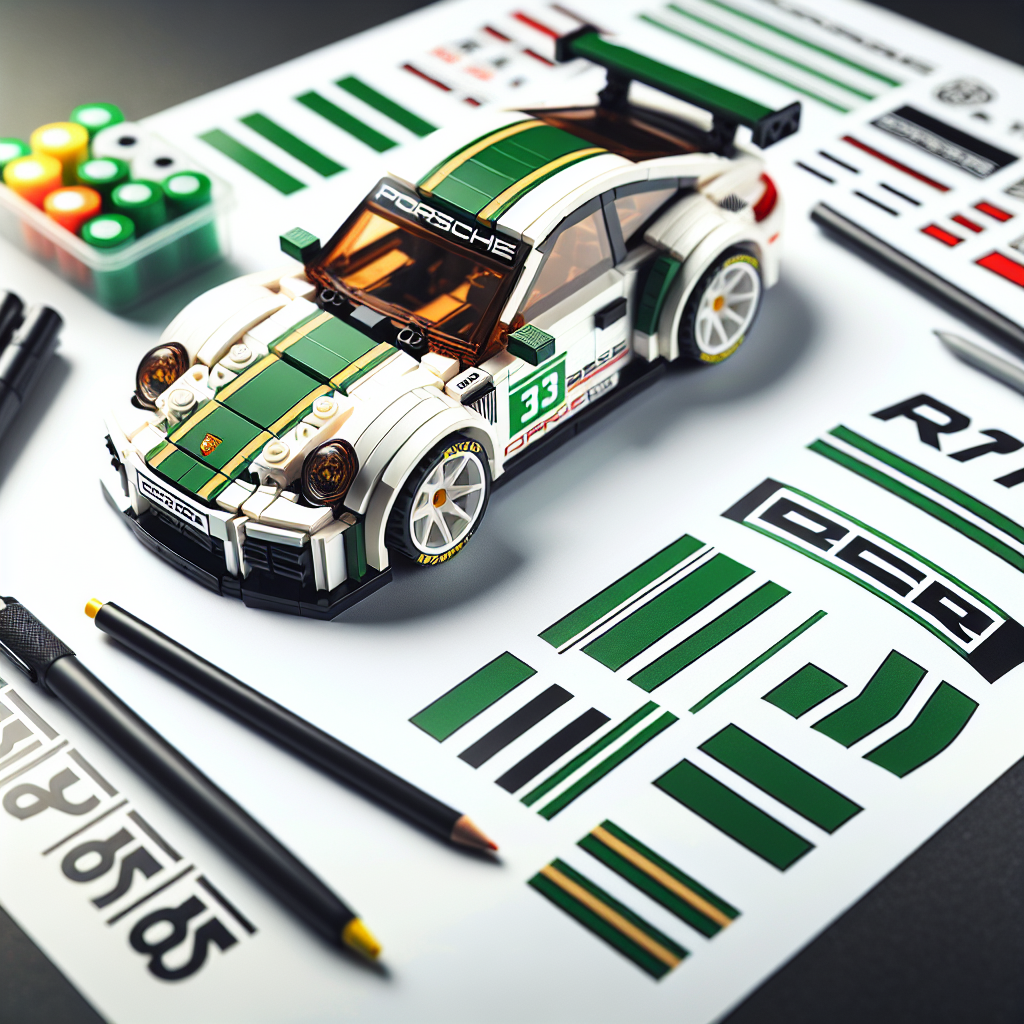
#### Step 5: Cut Out Your Decals
– Carefully cut out each decal using scissors or a craft knife. Take your time to ensure clean edges.
#### Step 6: Apply Your Decals
1. **Prepare the LEGO Surface**: Clean the surface of the LEGO pieces where you will apply the decals to ensure good adhesion.
2. **Apply the Decals**: Peel off the backing and carefully place the decals on the model. Use tweezers for precision if needed.
3. **Smooth Out Air Bubbles**: Use a soft cloth or your fingers to smooth out any air bubbles and ensure the decal adheres well.
#### Step 7: Final Touches
– Allow the decals to set for a few hours or overnight. If desired, you can apply another layer of clear sealer over the decals for extra protection.
### Tips:
– **Experiment**: Don’t hesitate to try different designs and colors. You can always print more decals if needed.
– **Use High-Quality Images**: If you’re incorporating logos or images, ensure they are high resolution to avoid pixelation.
– **Practice**: If you’re new to decal making, practice on a less important LEGO model first.
By following these steps, you can create unique and personalized decals for your LEGO Porsche RSR, making it a standout piece in your collection! Enjoy the creative process!
Creating custom decals for your LEGO Porsche RSR can be a fun and rewarding project. Here’s a step-by-step guide to help you design and apply your own decals:
Creating custom decals for your LEGO Porsche RSR can be an enjoyable and fulfilling project. Below is a step-by-step guide to assist you in designing and applying your own decals in a formal manner:
### Step 1: Gather Materials
Before you begin, ensure you have the following materials:
– High-quality printer (inkjet or laser)
– Printable decal paper (clear or white, depending on your design)
– Design software (such as Adobe Illustrator, Photoshop, or free alternatives like GIMP or Inkscape)
– Craft knife or scissors
– Ruler
– Cutting mat
– Clear sealant spray (optional, for added durability)
### Step 2: Design Your Decals
1. **Research and Inspiration**: Look for inspiration from real Porsche RSR models, racing liveries, or other LEGO customizations.
2. **Create a Template**: Measure the areas on your LEGO Porsche RSR where you want to apply the decals. Create a digital template in your design software that matches these dimensions.
3. **Design Your Decals**: Use the design software to create your decals. Consider incorporating elements such as:
– Logos
– Racing numbers
– Stripes or patterns
– Custom text
4. **Color Selection**: Choose colors that complement the existing colors of your LEGO model. Ensure that the colors will print well on your chosen decal paper.
### Step 3: Print Your Decals
1. **Test Print**: Before printing on decal paper, do a test print on regular paper to check the design and size.
2. **Print on Decal Paper**: Once satisfied with the test print, print your design onto the decal paper. Follow the manufacturer’s instructions for your specific printer and decal paper type.
3. **Allow to Dry**: If using inkjet decal paper, allow the printed decals to dry completely to prevent smudging.
### Step 4: Cut Out the Decals
1. **Precision Cutting**: Use a craft knife or scissors to carefully cut out each decal. For intricate designs, a craft knife may provide more precision.
2. **Trim Edges**: Ensure that the edges are smooth and clean to achieve a professional look.
### Step 5: Apply the Decals
1. **Prepare the Surface**: Clean the surface of the LEGO Porsche RSR where you will apply the decals. Ensure it is free from dust and grease.
2. **Position the Decals**: Before removing the backing, position the decals on the model to determine the best placement.
3. **Apply the Decals**: Carefully peel off the backing and apply the decal to the model. Use a ruler or a flat tool to smooth out any air bubbles and ensure proper adhesion.
4. **Seal the Decals (Optional)**: For added durability, consider applying a clear sealant spray over the decals once they are fully adhered. Follow the instructions on the sealant for best results.
### Step 6: Final Touches
1. **Inspect the Application**: Check for any imperfections or air bubbles. If necessary, gently lift the decal and reapply.
2. **Allow to Cure**: If you used a sealant, allow it to cure as per the manufacturer’s instructions before handling the model extensively.
### Conclusion
Creating custom decals for your LEGO Porsche RSR can enhance its aesthetic appeal and reflect your personal style. By following these steps, you can achieve a professional-looking result that showcases your creativity. Enjoy the process and take pride in your unique creation!
### Materials Needed:
It seems like your request is incomplete. Could you please provide more context or specify what materials you need? For example, are you looking for materials for a specific project, event, or purpose? This will help me assist you better.
**Design Software**: Use software like Adobe Illustrator, Photoshop, or free alternatives like GIMP or Inkscape
When it comes to designing software, there are several options available that cater to different needs and skill levels. Below is a formal overview of some of the most popular design software, including both paid and free alternatives:
### 1. **Adobe Illustrator**
– **Type**: Vector Graphics Editor
– **Key Features**:
– Precision drawing tools for creating logos, icons, and illustrations.
– Extensive typography options and text manipulation.
– Integration with other Adobe Creative Cloud applications.
– **Use Cases**: Ideal for graphic designers, illustrators, and anyone needing scalable graphics.
### 2. **Adobe Photoshop**
– **Type**: Raster Graphics Editor
– **Key Features**:
– Advanced photo editing and manipulation capabilities.
– Layer-based editing for complex compositions.
– A wide range of filters and effects for creative enhancements.
– **Use Cases**: Best suited for photographers, digital artists, and web designers.
### 3. **GIMP (GNU Image Manipulation Program)**
– **Type**: Raster Graphics Editor (Free)
– **Key Features**:
– Comprehensive photo editing tools similar to Photoshop.
– Customizable interface and extensible through plugins.
– Supports various file formats and has a strong community for support.
– **Use Cases**: A great alternative for users seeking powerful editing tools without the cost.
### 4. **Inkscape**
– **Type**: Vector Graphics Editor (Free)
– **Key Features**:
– Supports SVG (Scalable Vector Graphics) format natively.
– Offers a variety of drawing tools and text support.
– Extensible through extensions and has a user-friendly interface.
– **Use Cases**: Suitable for graphic designers and illustrators looking for a free vector design tool.
### Conclusion
Choosing the right design software depends on your specific needs, budget, and level of expertise. Adobe products are industry standards with robust features, while GIMP and Inkscape provide powerful alternatives for those seeking free options. Each software has its strengths, making it essential to evaluate your requirements before making a decision.
Explore the fascinating world of LEGO cars, from their evolution and building techniques to customization and educational benefits. Discover how these models blend creativity and engineering, offering endless fun for builders of all ages.
Explore the exciting world of LEGO cars! This article delves into their history, design principles, educational benefits, and the vibrant community surrounding LEGO car building.