"Learn how to build a custom LEGO garage for your Technic supercar with step-by-step tips, design ideas, and essential building techniques!"
Creating a custom LEGO garage for your Technic supercar can be a fun and rewarding project. Here’s a step-by-step guide to help you design and build a garage that complements your LEGO Technic supercar:
### Materials Needed:
– **LEGO Bricks**: Various sizes and colors, including plates, bricks, and Technic pieces.
– **Baseplate**: A large baseplate to serve as the foundation of your garage.
– **Technic Elements**: Gears, axles, and other Technic pieces for functional features.
– **Accessories**: Optional items like tools, oil cans, and mini-figures for added detail.
### Step-by-Step Guide:
#### Step 1: Plan Your Design
1. **Sketch Your Garage**: Draw a rough layout of your garage. Consider the size of your supercar and how much space you want for the garage.
2. **Decide on Features**: Think about what features you want in your garage, such as:
– A parking space for the supercar
– A workbench or tool area
– Storage for tools and parts
– A door or ramp for easy access
#### Step 2: Build the Base
1. **Choose a Baseplate**: Select a baseplate that fits your design. A 32×32 or 48×48 baseplate is a good starting point.
2. **Create the Foundation**: Use bricks to outline the walls of your garage on the baseplate. Make sure to leave enough space for the car to fit comfortably.
#### Step 3: Construct the Walls
1. **Build Up the Walls**: Use bricks to build the walls of the garage. You can make them as high as you like, but a height of 4-6 bricks is usually sufficient.
2. **Add Windows and Doors**: Incorporate windows for natural light and a door for access. You can use transparent bricks for windows and hinge pieces for doors.
#### Step 4: Design the Interior
1. **Create a Parking Space**: Leave an open area for the supercar to park. You can use plates to create a smooth surface.
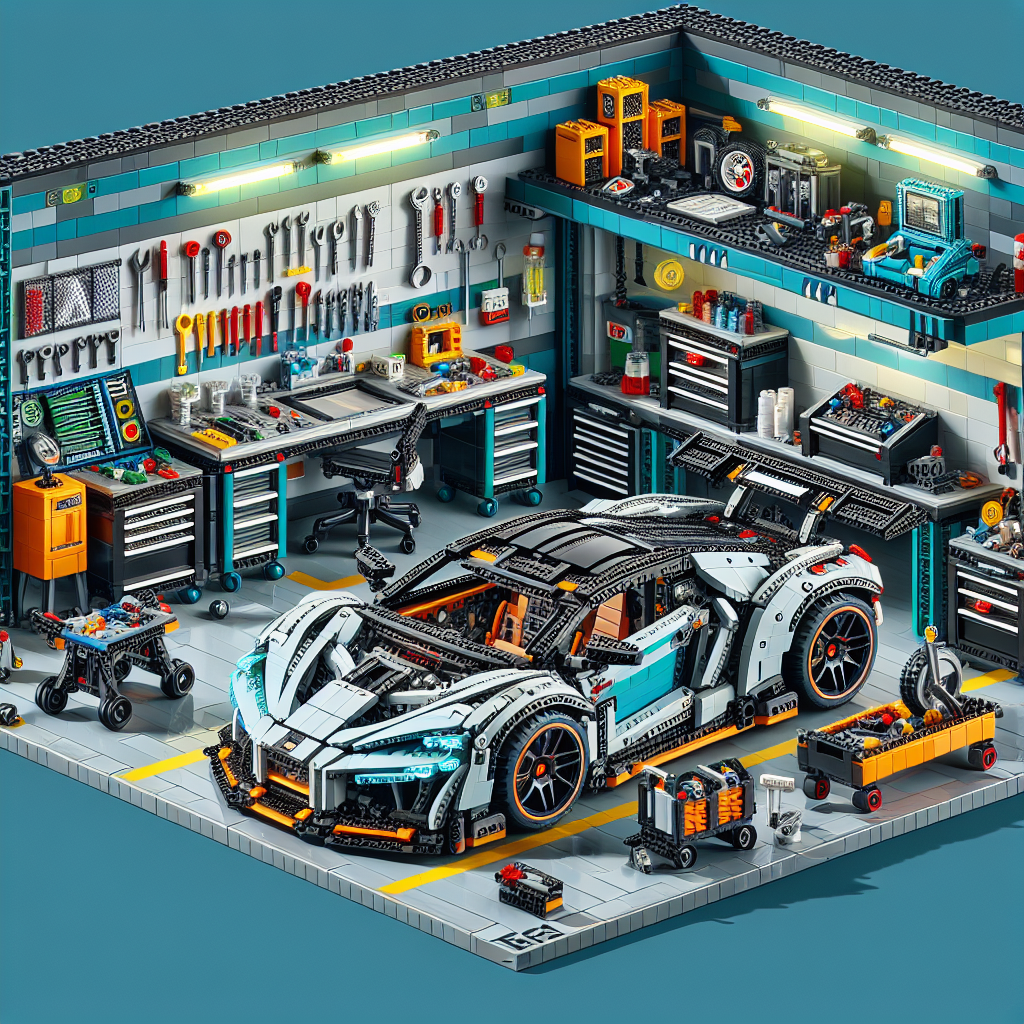
2. **Add a Workbench**: Use smaller bricks to build a workbench against one wall. You can add tools and accessories on top.
3. **Include Storage**: Build shelves or cabinets using bricks to store tools and spare parts.
#### Step 5: Add Functional Features
1. **Garage Door Mechanism**: If you want a functional garage door, consider using Technic pieces to create a sliding or lifting door.
2. **Lighting**: If you have transparent bricks, you can simulate lights by placing them in strategic locations.
#### Step 6: Decorate and Accessorize
1. **Add Details**: Use small pieces to add details like oil cans, tires, or mini-figures working on the car.
2. **Customize Colors**: Paint or use colored bricks to match the theme of your supercar or your personal style.
#### Step 7: Final Touches
1. **Test Fit Your Supercar**: Make sure your supercar fits well in the garage and can be easily driven in and out.
2. **Make Adjustments**: If necessary, adjust the size of the parking space or the height of the garage.
### Tips:
– **Inspiration**: Look for inspiration online or in LEGO sets that feature garages or workshops.
– **Modularity**: Consider making your garage modular so you can easily expand or modify it in the future.
– **Functionality**: Think about how you want to use the garage. If you plan to display your supercar, ensure there’s enough space around it.
### Conclusion
Building a custom LEGO garage for your Technic supercar is a great way to enhance your LEGO experience. With creativity and some planning, you can create a unique space that showcases your supercar and adds to your LEGO collection. Enjoy building!
Creating a custom LEGO garage for your Technic supercar can be a fun and rewarding project. Here’s a step-by-step guide to help you design and build a garage that complements your Technic model:
### Step-by-Step Guide to Creating a Custom LEGO Garage for Your Technic Supercar
Building a custom LEGO garage for your Technic supercar can enhance your display and provide a functional space for your model. Follow this structured guide to design and construct a garage that complements your Technic vehicle.
#### Step 1: Planning and Design
1. **Determine Dimensions**:
– Measure the dimensions of your Technic supercar, including length, width, and height. This will help you establish the size of the garage.
– Consider additional space for opening doors and any accessories you may want to include.
2. **Choose a Style**:
– Decide on the architectural style of your garage. Options include modern, classic, or industrial designs. Look for inspiration in real-life garages or other LEGO builds.
3. **Sketch Your Design**:
– Create a rough sketch of your garage layout, including the placement of doors, windows, and any additional features such as a workbench or storage area.
#### Step 2: Gathering Materials
1. **Select LEGO Bricks**:
– Choose a color scheme that complements your Technic supercar. Common choices include black, gray, or bright colors for a more vibrant look.
– Gather various LEGO bricks, including plates, bricks, slopes, and specialty pieces for doors and windows.
2. **Consider Accessories**:
– Think about additional elements such as tools, a workbench, or a car lift. These can enhance the functionality and aesthetics of your garage.
#### Step 3: Building the Garage
1. **Construct the Base**:
– Start with a sturdy baseplate that matches the dimensions of your garage. Ensure it is large enough to accommodate your supercar and any additional features.
2. **Build the Walls**:
– Erect the walls using bricks, ensuring they are tall enough to accommodate the height of your supercar. Incorporate windows for natural light and visual appeal.
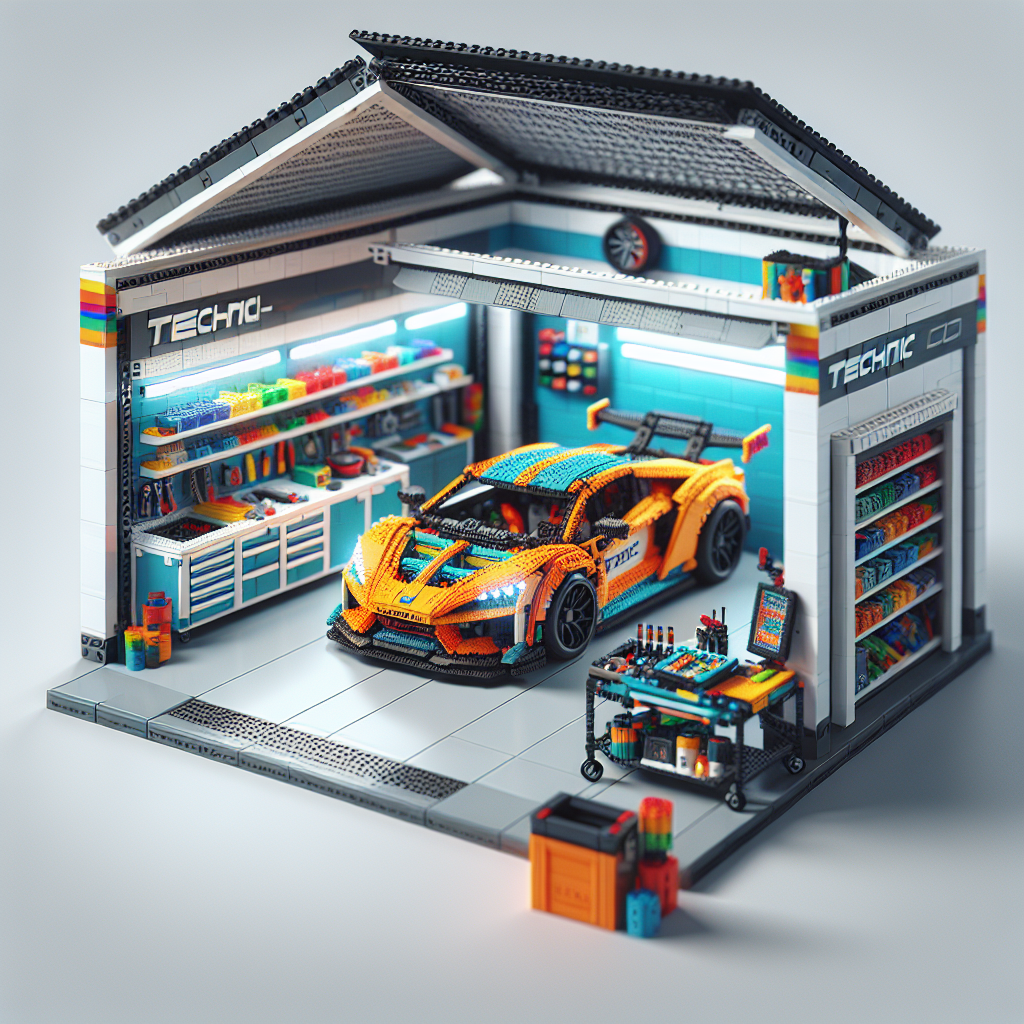
3. **Add the Roof**:
– Design a roof that complements the style of your garage. You may choose a flat roof, sloped roof, or even a removable roof for easy access to the interior.
4. **Install Doors**:
– Create functional garage doors using hinged bricks or sliding mechanisms. Ensure they can open and close smoothly to allow easy access for your supercar.
5. **Incorporate Interior Features**:
– Add a workbench, tool storage, and any other accessories you desire. Consider using smaller LEGO pieces to create detailed elements like tools or car parts.
#### Step 4: Final Touches
1. **Decorate the Exterior**:
– Enhance the exterior with details such as signage, landscaping, or decorative elements that reflect your personal style.
2. **Organize the Interior**:
– Arrange the interior elements to create a functional workspace. Ensure that your supercar fits comfortably within the garage.
3. **Test Functionality**:
– Place your Technic supercar inside the garage and test the functionality of the doors and any other moving parts. Make adjustments as necessary.
#### Step 5: Display Your Creation
1. **Choose a Display Location**:
– Find a suitable location to showcase your garage and supercar. Consider factors such as lighting and visibility.
2. **Share Your Build**:
– Document your creation through photographs or videos and share it with the LEGO community online. Consider joining forums or social media groups dedicated to LEGO building.
### Conclusion
Creating a custom LEGO garage for your Technic supercar is an enjoyable project that allows for creativity and personalization. By following this guide, you can design and build a garage that not only serves as a functional space for your model but also enhances its overall presentation. Happy building!
### Step 1: Gather Materials
### Step 1: Gather Materials
In order to ensure a successful and efficient process, it is imperative to systematically gather all necessary materials prior to commencement. The following items should be collected:
1. **Documentation**:
– Relevant manuals, guidelines, or protocols.
– Any necessary forms or templates.
2. **Tools and Equipment**:
– Specific tools required for the task at hand (e.g., software, hardware, or physical tools).
– Safety equipment, if applicable (e.g., gloves, goggles).
3. **Supplies**:
– Consumables needed for the process (e.g., paper, ink, or other materials).
– Backup supplies to mitigate any unforeseen shortages.
4. **Technology**:
– Ensure that all necessary devices (computers, tablets, etc.) are operational.
– Verify that software applications are installed and updated.
5. **Personnel**:
– Identify and confirm the availability of team members or stakeholders involved in the process.
– Ensure that all participants are briefed on their roles and responsibilities.
6. **Workspace**:
– Prepare a designated area that is organized and conducive to the task.
– Ensure that the workspace is equipped with necessary utilities (e.g., power sources, internet access).
By meticulously gathering these materials, you will lay a solid foundation for the subsequent steps in the process, thereby enhancing overall efficiency and effectiveness.
– **LEGO Bricks**: Collect a variety of LEGO bricks, including plates, bricks, slopes, and Technic pieces. Consider using different colors to match or contrast with your supercar
When embarking on a LEGO supercar project, it is essential to gather a diverse assortment of LEGO bricks to ensure a successful and visually appealing build. Here are some key components to consider:
1. **Bricks**: Collect standard LEGO bricks in various sizes to form the core structure of your supercar. These will serve as the foundation for the chassis and body.
2. **Plates**: Utilize LEGO plates to create a smooth surface for the car’s body and to add detail to the design. Plates can also help in achieving a lower profile for a more aerodynamic look.
3. **Slopes**: Incorporate sloped bricks to shape the contours of the car, giving it a sleek and dynamic appearance. These pieces are crucial for mimicking the curves and angles found in real supercar designs.
4. **Technic Pieces**: Consider including Technic elements for functional components such as the steering system, suspension, and engine details. These pieces can enhance the realism and functionality of your model.
5. **Color Variety**: Select a range of colors that either match or contrast with your envisioned supercar design. This will not only enhance the aesthetic appeal but also allow for creative expression in your build.
By thoughtfully assembling these components, you will be well-equipped to construct a striking and intricate LEGO supercar that captures the essence of high-performance automotive design.
Explore the fascinating world of LEGO cars, from their evolution and building techniques to customization and educational benefits. Discover how these models blend creativity and engineering, offering endless fun for builders of all ages.
Explore the exciting world of LEGO cars! This article delves into their history, design principles, educational benefits, and the vibrant community surrounding LEGO car building.