Discover essential tips and techniques for capturing stunning LEGO car set photography. Elevate your skills and showcase your creations like a pro!
Photographing LEGO car sets can be a fun and rewarding experience, allowing you to showcase your creativity and the intricate details of the models. Here are some tips and techniques to help you capture stunning images of your LEGO car sets:
### 1. **Lighting**
– **Natural Light**: Use natural light whenever possible. Position your setup near a window to take advantage of soft, diffused light.
– **Artificial Lighting**: If shooting indoors, consider using softbox lights or LED panels to create even lighting. Avoid harsh shadows by diffusing the light with a white sheet or umbrella.
– **Golden Hour**: Shoot during the golden hour (early morning or late afternoon) for warm, flattering light.
### 2. **Background and Setting**
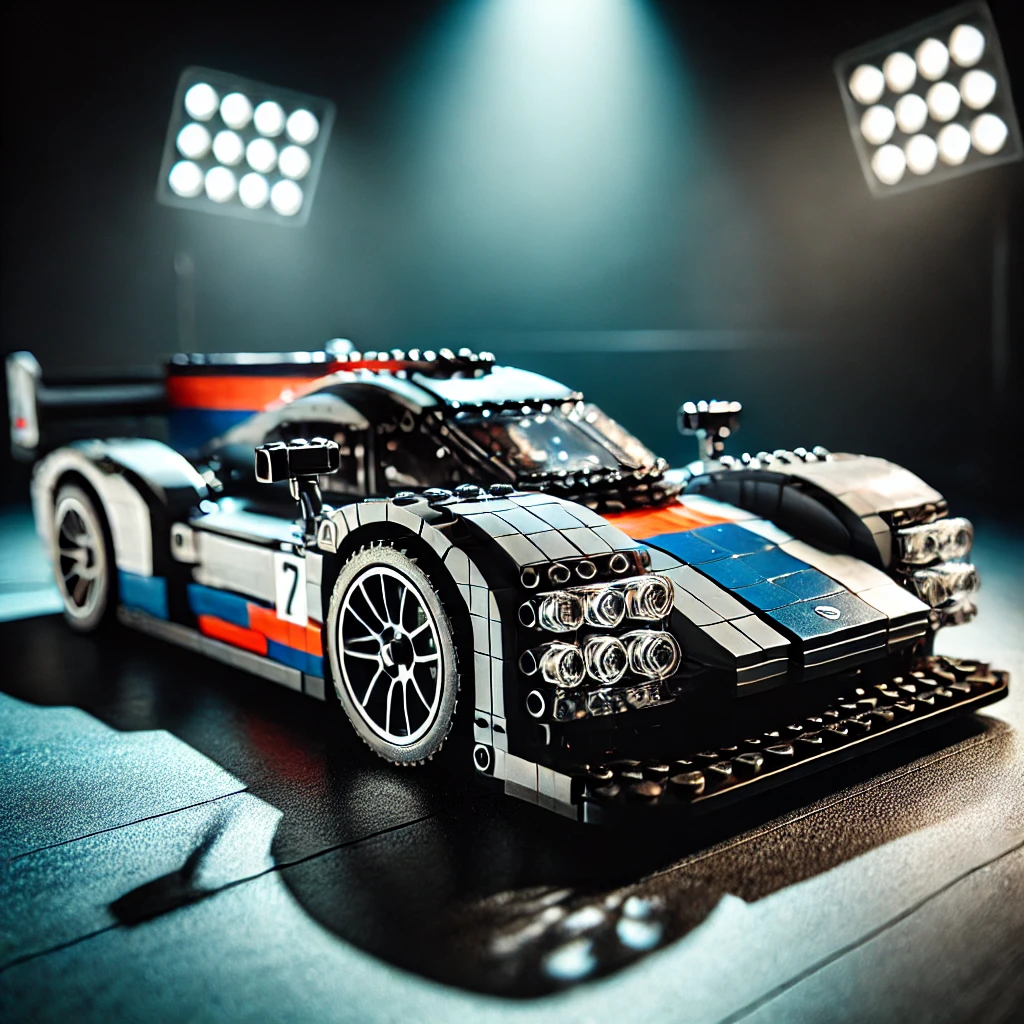
– **Simple Backgrounds**: Use a plain backdrop (white, black, or a solid color) to keep the focus on the LEGO car. You can use poster boards or fabric.
– **Themed Environments**: Create a scene that complements the car, such as a racetrack, city street, or garage. Use miniature props to enhance the setting.
– **Depth of Field**: Use a shallow depth of field to blur the background and draw attention to the car.
### 3. **Camera Settings**
– **Aperture**: Use a wide aperture (small f-number) for a shallow depth of field, or a smaller aperture (larger f-number) for more detail in the background.
– **ISO**: Keep the ISO low (100-400) to reduce noise, especially in well-lit conditions.
– **Shutter Speed**: Use a faster shutter speed to avoid motion blur, especially if you’re shooting in low light.
### 4. **Angles and Composition**
– **Low Angles**: Get down to the level of the car for dynamic shots that emphasize its design.
– **Rule of Thirds**: Use the rule of thirds to compose your shots. Place the car off-center for a more engaging image.
– **Close-Ups**: Capture details by getting close to the car. Focus on unique features like wheels, headlights, or decals.
### 5. **Post-Processing**
– **Editing Software**: Use software like Adobe Lightroom or Photoshop to enhance your images. Adjust brightness, contrast, and saturation to make the colors pop.
– **Cropping**: Crop your images to improve composition and remove distractions from the edges.
– **Sharpening**: Apply sharpening to enhance details, but be careful not to overdo it.
### 6. **Experimentation**
– **Different Perspectives**: Try various angles and perspectives. Shoot from above, below, or at an angle to find the most interesting compositions.
– **Motion Blur**: Experiment with motion blur by panning the camera while the car is in motion (if you have a motorized LEGO car).
– **Long Exposure**: For dynamic shots, consider long exposure techniques to capture movement, like spinning wheels.
### 7. **Storytelling**
– **Narrative Elements**: Create a story around your car set. Use props and backgrounds that tell a story, such as a race scene or a road trip.
– **Character Inclusion**: Include LEGO minifigures to add life to your scenes and create a narrative context.
### 8. **Sharing Your Work**
– **Social Media**: Share your photos on platforms like Instagram, Flickr, or LEGO fan communities. Use relevant hashtags to reach a wider audience.
– **Feedback**: Engage with other LEGO enthusiasts for feedback and tips on improving your photography skills.
By applying these tips and techniques, you can elevate your LEGO car set photography and create visually stunning images that capture the essence of your builds. Happy shooting!
Capturing stunning photographs of LEGO car sets can be a rewarding endeavor, whether you’re sharing your creations online, documenting your collection, or simply enjoying the art of photography. Here are some tips and techniques to help you take great photos of LEGO car sets:
Capturing stunning photographs of LEGO car sets can be a rewarding endeavor, whether you are sharing your creations online, documenting your collection, or simply enjoying the art of photography. Here are some tips and techniques to help you take great photos of LEGO car sets:
### 1. **Lighting**
– **Natural Light**: Utilize natural light whenever possible. Position your setup near a window to take advantage of soft, diffused sunlight. Avoid harsh midday light, which can create unflattering shadows.
– **Artificial Lighting**: If shooting indoors, consider using softbox lights or LED panels to create even lighting. Avoid direct overhead lighting, which can cast unappealing shadows.
### 2. **Background**
– **Simple and Clean**: Choose a neutral background that does not distract from the LEGO car set. A plain white, black, or gray backdrop can work well.
– **Thematic Backgrounds**: For a more dynamic shot, consider using themed backgrounds that complement the car set, such as a cityscape or a racetrack.
### 3. **Composition**
– **Rule of Thirds**: Use the rule of thirds to create a balanced composition. Position the car off-center to draw the viewer’s eye.
– **Angles and Perspectives**: Experiment with different angles and perspectives. Low-angle shots can make the car appear more imposing, while overhead shots can showcase the details of the build.
### 4. **Focus and Depth of Field**
– **Sharp Focus**: Ensure that the car is in sharp focus. Use a tripod to stabilize your camera and avoid blurriness.
– **Depth of Field**: Consider using a shallow depth of field to blur the background, which can help the car stand out. This can be achieved by using a wide aperture setting on your camera.
### 5. **Details and Close-ups**
– **Highlight Features**: Capture close-up shots of unique features, such as intricate designs, decals, or moving parts. This can showcase the craftsmanship of the LEGO set.
– **Textures**: Pay attention to the textures of the bricks and any accessories. Close-up shots can reveal the quality and detail of the build.
### 6. **Post-Processing**
– **Editing Software**: Utilize photo editing software to enhance your images. Adjust brightness, contrast, and saturation to make the colors pop.
– **Cropping**: Crop your images to improve composition and remove any distracting elements from the frame.
### 7. **Experimentation**
– **Variety of Shots**: Take multiple shots from different angles, distances, and lighting conditions. This will give you a range of options to choose from.
– **Incorporate Movement**: If applicable, consider capturing the car in motion or staged in a dynamic setting to add excitement to your photographs.
### 8. **Storytelling**
– **Contextual Scenes**: Create a narrative by placing the LEGO car in a scene that tells a story. This could involve other LEGO figures or elements that enhance the overall composition.
– **Thematic Series**: Consider creating a series of photographs that showcase different aspects of the car or its environment, allowing viewers to engage with the story behind the build.
By applying these techniques, you can elevate your photography of LEGO car sets, capturing their beauty and intricacy in a way that resonates with viewers. Happy shooting!
### 1. **Lighting**
**Lighting** is a crucial element in any formal setting, as it significantly influences the ambiance, mood, and overall aesthetic of the environment. In formal contexts, such as events, ceremonies, or professional gatherings, the lighting should be carefully considered to enhance the experience and convey the appropriate tone.
1. **Types of Lighting**:
– **Ambient Lighting**: This is the general illumination that fills the space, providing a comfortable level of brightness without causing glare. It sets the foundation for the overall lighting scheme.
– **Task Lighting**: Focused lighting that aids in specific activities, such as reading or writing. In formal settings, this may include well-placed lamps or spotlights on podiums or tables.
– **Accent Lighting**: Used to highlight particular features or areas, such as artwork, floral arrangements, or architectural details. This type of lighting adds depth and interest to the space.
2. **Color Temperature**: The color temperature of the lighting can greatly affect the atmosphere. Warmer tones (around 2700K to 3000K) create a cozy and inviting environment, while cooler tones (above 4000K) can evoke a more modern and professional feel.
3. **Layering**: A well-designed lighting scheme often involves layering different types of lighting to create a dynamic and versatile environment. This can include combining ambient, task, and accent lighting to achieve a balanced and visually appealing effect.
4. **Dimming Options**: Incorporating dimmable lighting allows for flexibility in adjusting the brightness according to the time of day or the specific needs of the event. This can help transition from a formal gathering to a more relaxed atmosphere as the evening progresses.
5. **Fixture Selection**: The choice of light fixtures should align with the overall theme and decor of the formal setting. Elegant chandeliers, sconces, and table lamps can enhance the sophistication of the space.
6. **Natural Light**: Whenever possible, utilizing natural light can add a refreshing element to formal settings. Large windows or skylights can create an open and airy feel, while also reducing the need for artificial lighting during the day.
In conclusion, effective lighting in formal settings is not merely a functional necessity but an art form that contributes to the overall experience. Thoughtful consideration of the types, color temperatures, layering, and fixtures can transform a space, making it both inviting and appropriate for the occasion.
– **Natural Light**: Whenever possible, use natural light. Position your setup near a window to take advantage of soft, diffused sunlight. Avoid harsh midday sun, which can create strong shadows
**Natural Light Utilization**: Whenever feasible, prioritize the use of natural light in your setup. Position your workspace or subject near a window to harness the benefits of soft, diffused sunlight. It is advisable to avoid direct exposure to harsh midday sun, as it can result in pronounced shadows and uneven lighting. By strategically utilizing natural light, you can enhance the overall quality and aesthetic of your visual presentations.
Explore the fascinating world of LEGO cars, from their evolution and building techniques to customization and educational benefits. Discover how these models blend creativity and engineering, offering endless fun for builders of all ages.
Explore the exciting world of LEGO cars! This article delves into their history, design principles, educational benefits, and the vibrant community surrounding LEGO car building.