Discover expert tips for photographing your LEGO Porsche RSR, from lighting to angles, to capture stunning images that showcase your masterpiece!
Photographing your LEGO Porsche RSR can be a fun and rewarding experience, especially if you want to showcase your build in the best light. Here are some tips to help you photograph your LEGO model like a pro:
### 1. **Choose the Right Background**
– **Solid Colors**: Use a plain background that contrasts with the colors of your LEGO Porsche. White, black, or gray are great options.
– **Themed Backgrounds**: Consider using a backdrop that complements the car, like a racetrack or a garage scene.
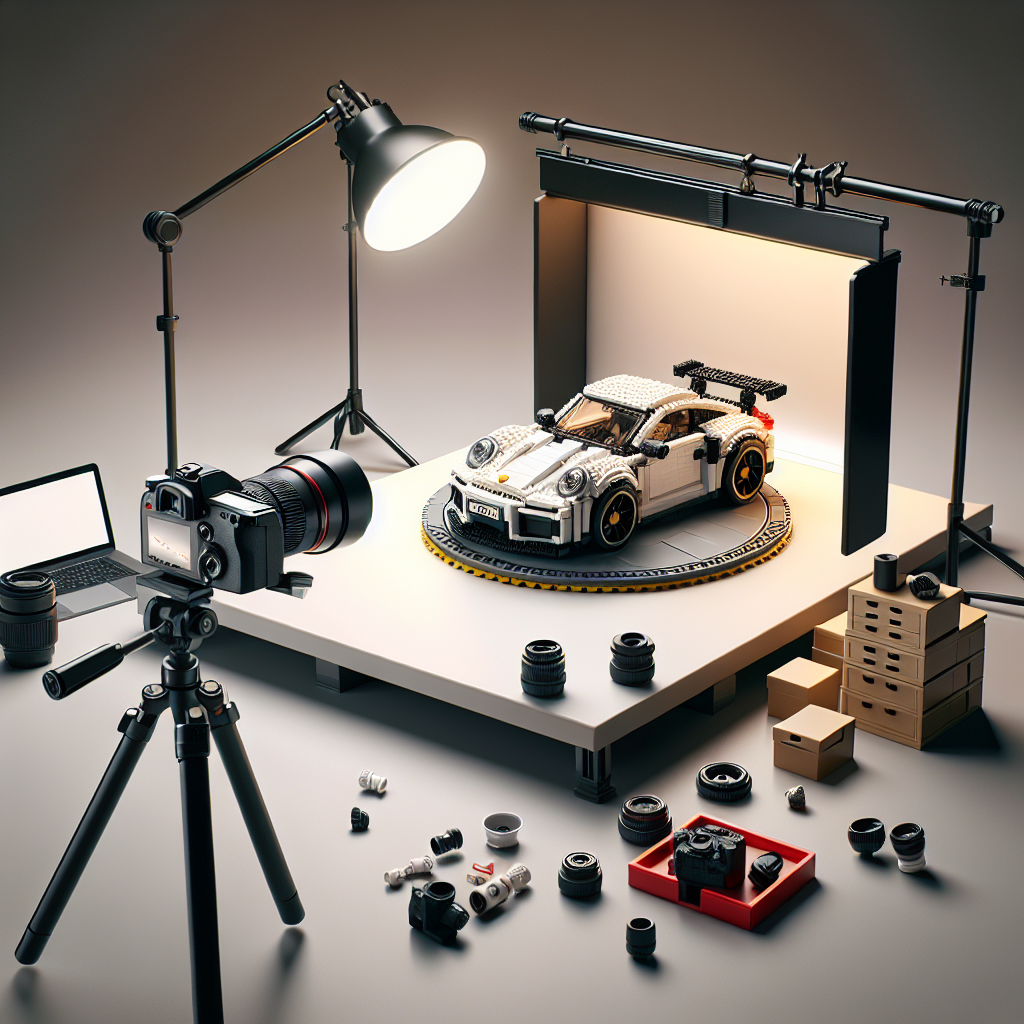
### 2. **Lighting**
– **Natural Light**: Shoot during the day near a window for soft, diffused light. Avoid harsh sunlight that can create strong shadows.
– **Artificial Light**: Use softbox lights or LED panels to create even lighting. Avoid direct flash, as it can create glare and harsh shadows.
– **Reflectors**: Use white reflectors (like foam boards) to bounce light and fill in shadows.
### 3. **Camera Settings**
– **Aperture**: Use a wide aperture (small f-number) to create a shallow depth of field, which will blur the background and focus on the car.
– **ISO**: Keep the ISO low (100-400) to reduce noise and maintain image quality.
– **Shutter Speed**: Use a faster shutter speed to avoid motion blur, especially if you’re shooting handheld.
### 4. **Composition**
– **Rule of Thirds**: Position the car off-center to create a more dynamic composition. Use the grid feature on your camera or smartphone to help with this.
– **Angles**: Experiment with different angles—shoot from low down to emphasize the car’s design or from above for a different perspective.
– **Close-Ups**: Capture details like the wheels, headlights, and interior to highlight the craftsmanship.
### 5. **Staging**
– **Props**: Consider adding props like mini traffic cones, a racetrack, or other LEGO vehicles to create a scene.
– **Positioning**: Place the car on a flat surface, and consider tilting it slightly to give a sense of motion.
### 6. **Post-Processing**
– **Editing Software**: Use software like Adobe Lightroom or Photoshop to enhance your images. Adjust brightness, contrast, and saturation to make the colors pop.
– **Cropping**: Crop your images to improve composition and remove any distractions from the edges.
### 7. **Experiment and Have Fun**
– Don’t be afraid to try different setups, angles, and lighting conditions. The more you experiment, the better your photos will become.
### 8. **Share Your Work**
– Once you’re happy with your photos, share them on social media or LEGO forums. Engaging with the community can provide valuable feedback and inspiration.
By following these tips, you can create stunning photographs of your LEGO Porsche RSR that showcase its details and craftsmanship. Happy shooting!
Photographing your LEGO Porsche RSR can be a fun and rewarding experience, especially if you want to showcase your build in the best light. Here are some tips to help you photograph your LEGO model like a pro:
Photographing your LEGO Porsche RSR can be an enjoyable and fulfilling endeavor, particularly if you aim to present your creation in an appealing manner. Below are some formal tips to enhance your photography skills and effectively showcase your LEGO model:
### 1. **Choose the Right Lighting**
– **Natural Light:** Utilize natural light whenever possible. Position your model near a window during the day to take advantage of soft, diffused light.
– **Artificial Lighting:** If shooting indoors, consider using softbox lights or LED panels to create even lighting. Avoid harsh shadows by diffusing the light source.
### 2. **Select an Appropriate Background**
– **Neutral Backgrounds:** Opt for a plain, neutral background to ensure that the focus remains on your LEGO model. White, black, or gray backdrops work well.
– **Thematic Backgrounds:** Alternatively, consider using a background that complements the theme of the Porsche RSR, such as a racetrack or garage setting.
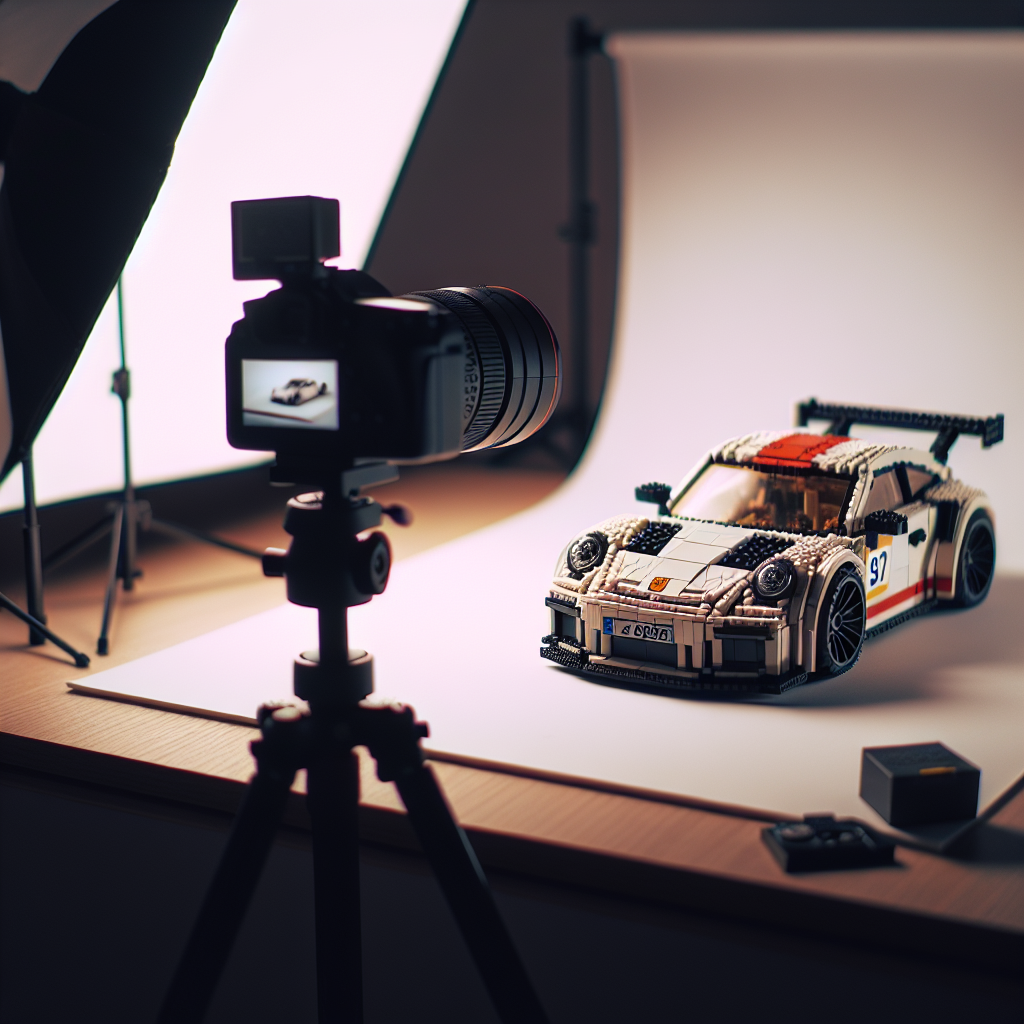
### 3. **Use a Tripod**
– A tripod stabilizes your camera, reducing the risk of blurriness and allowing for longer exposure times in low-light conditions. This is particularly useful for capturing intricate details.
### 4. **Experiment with Angles**
– **Low Angles:** Capture the model from a lower perspective to emphasize its design and make it appear more dynamic.
– **Close-Ups:** Take close-up shots to highlight specific details, such as the wheels, headlights, and unique features of the Porsche RSR.
### 5. **Focus on Composition**
– **Rule of Thirds:** Use the rule of thirds to create a balanced composition. Position the model off-center to draw the viewer’s eye.
– **Leading Lines:** Incorporate leading lines in your composition to guide the viewer’s attention toward the model.
### 6. **Adjust Camera Settings**
– **Aperture:** Use a wider aperture (lower f-stop number) to create a shallow depth of field, which blurs the background and emphasizes the model.
– **ISO Settings:** Keep the ISO as low as possible to reduce noise, especially in well-lit conditions.
### 7. **Post-Processing**
– Utilize photo editing software to enhance your images. Adjust brightness, contrast, and saturation to make the colors of your LEGO model pop.
– Consider cropping the image to improve composition and remove any distractions.
### 8. **Showcase Action**
– If possible, create a sense of motion by photographing the model in a dynamic pose or using props that suggest speed, such as a blurred background.
### 9. **Incorporate Props**
– Use complementary props, such as miniature traffic cones or a racetrack, to create a more engaging scene that tells a story.
### 10. **Practice and Experiment**
– Take multiple shots from various angles and settings. Experimentation will help you discover what works best for your specific model and style.
By following these tips, you can effectively capture the essence of your LEGO Porsche RSR and present it in a visually appealing manner. Happy photographing!
### 1. **Choose the Right Background**
When selecting a background for a formal setting, consider the following guidelines:
1. **Color Palette**: Opt for neutral or muted colors such as navy, gray, beige, or white. These colors convey professionalism and sophistication.
2. **Texture and Material**: Choose backgrounds with subtle textures, such as linen or silk, which can add depth without being distracting. Avoid overly busy patterns.
3. **Lighting**: Ensure the background is well-lit but not overly bright. Soft, diffused lighting can enhance the formal atmosphere.
4. **Simplicity**: A clean and uncluttered background is essential. Avoid any elements that could detract from the main subject or message.
5. **Contextual Relevance**: If the background is related to the subject matter (e.g., a corporate office for a business presentation), ensure it aligns with the theme and purpose of the event.
6. **Professional Imagery**: If using a digital background, select high-quality images that reflect professionalism, such as a corporate skyline or a tasteful office environment.
By carefully considering these elements, you can create a formal background that enhances the overall presentation and conveys the appropriate tone.
– **Solid Colors**: Use a plain background that contrasts with the colors of your LEGO Porsche. White, black, or gray are great options
When photographing your LEGO Porsche, consider the following tips for a formal presentation:
1. **Background Selection**: Choose a solid color background that contrasts well with the colors of your LEGO Porsche. A white, black, or gray backdrop can enhance the visual appeal and make the model stand out.
2. **Lighting**: Use soft, diffused lighting to minimize harsh shadows and highlights. Natural light from a window or softbox lights can create a professional look.
3. **Camera Angle**: Experiment with different angles to find the most flattering perspective of your LEGO Porsche. Low angles can emphasize the car’s design, while eye-level shots can provide a more relatable view.
4. **Focus and Depth of Field**: Use a shallow depth of field to blur the background slightly, drawing attention to the details of your LEGO model. Ensure the focus is sharp on the car itself.
5. **Composition**: Follow the rule of thirds by placing the LEGO Porsche off-center in the frame. This can create a more dynamic and engaging composition.
6. **Post-Processing**: After capturing your images, consider using photo editing software to enhance colors, adjust brightness and contrast, and crop for better framing.
By following these guidelines, you can create a formal and visually appealing presentation of your LEGO Porsche that highlights its intricate details and design.
Explore the fascinating world of LEGO cars, from their evolution and building techniques to customization and educational benefits. Discover how these models blend creativity and engineering, offering endless fun for builders of all ages.
Explore the exciting world of LEGO cars! This article delves into their history, design principles, educational benefits, and the vibrant community surrounding LEGO car building.