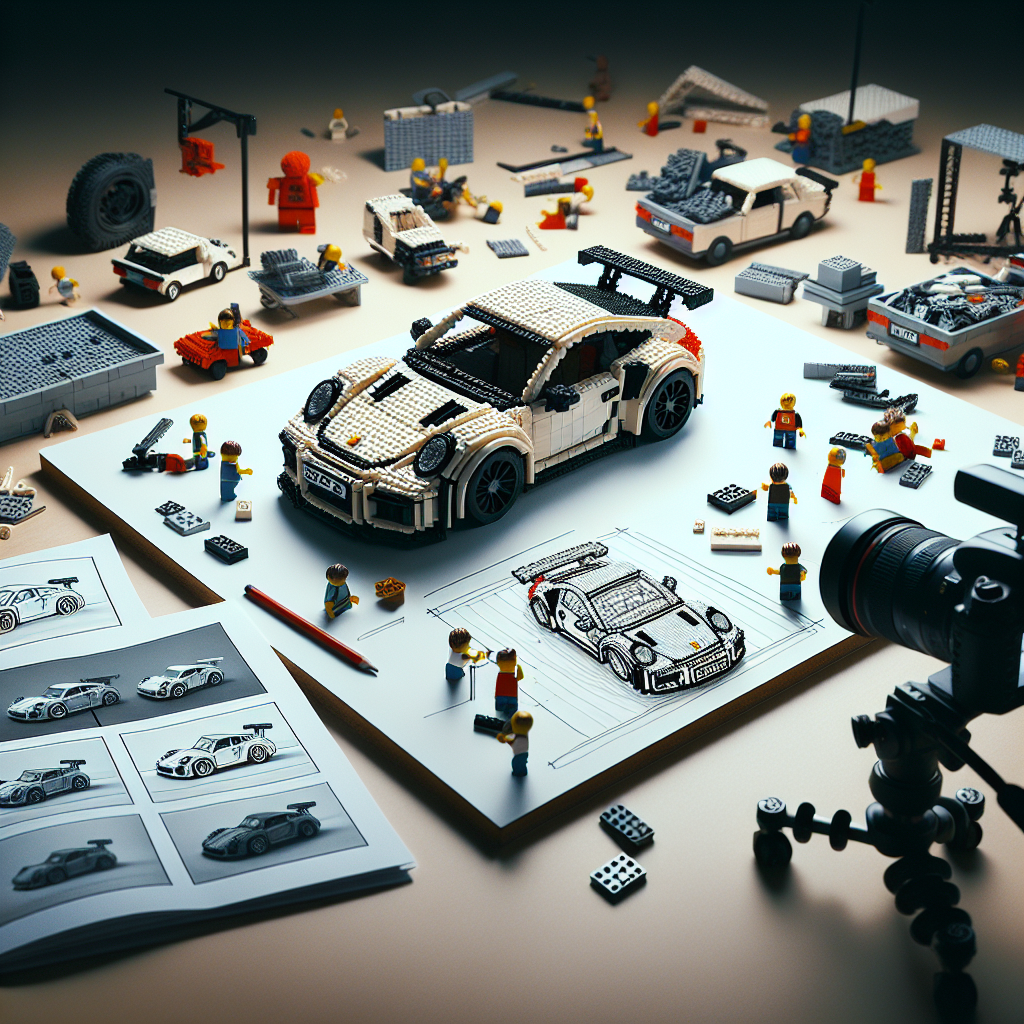
Learn how to create captivating stop-motion animations using the LEGO Porsche RSR. Step-by-step guide for beginners and enthusiasts alike!
Creating a stop-motion animation with the LEGO Porsche RSR can be a fun and creative project! Here’s a step-by-step guide to help you get started:
### Materials Needed:
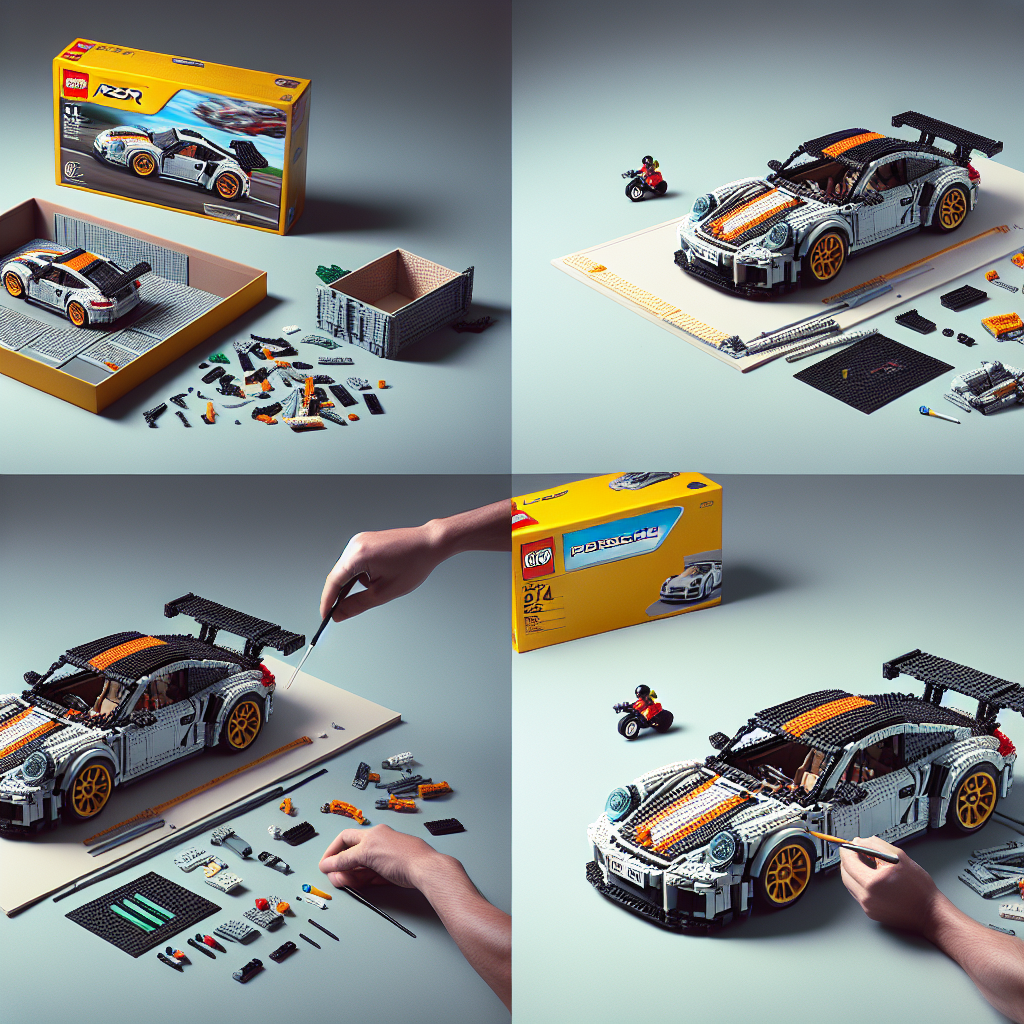
1. **LEGO Porsche RSR Set**: Make sure you have the complete set assembled.
2. **Camera or Smartphone**: A device to capture your images.
3. **Tripod**: To keep your camera steady.
4. **Stop-Motion Software**: There are various apps available, such as Stop Motion Studio, Dragonframe, or iMotion.
5. **Lighting**: Good lighting is essential for clear images. Use natural light or lamps to ensure consistent lighting.
6. **Background**: A simple backdrop can enhance your animation. Consider using a plain color or a themed background.
### Steps to Create Your Stop-Motion Animation:
#### 1. **Plan Your Animation**
– **Storyboard**: Sketch out a simple storyboard of what you want to happen in your animation. This could include the car driving, drifting, or racing against other LEGO vehicles.
– **Decide on the Action**: Think about the movements you want to capture. For example, you might want the Porsche to move forward, turn, or jump.
#### 2. **Set Up Your Scene**
– **Background and Props**: Arrange your background and any additional props (like LEGO buildings, trees, or roads) to create an engaging scene.
– **Position the Porsche**: Place the LEGO Porsche RSR in the starting position for your animation.
#### 3. **Set Up Your Camera**
– **Stabilize Your Camera**: Use a tripod to keep your camera steady. This will help prevent any shaking that can disrupt the animation.
– **Frame Your Shot**: Make sure the entire scene is in the frame. You may want to do a test shot to check the composition.
#### 4. **Lighting**
– Ensure your lighting is consistent throughout the shoot. Avoid shadows and bright spots that can change between frames.
#### 5. **Capture Your Frames**
– **Take Photos**: Move the LEGO Porsche slightly for each frame. A good rule of thumb is to move it a small distance (about 1-2 LEGO studs) for each shot.
– **Consistency**: Keep the camera and lighting consistent for all frames. Take your time to ensure each movement is smooth.
#### 6. **Edit Your Animation**
– **Import Photos**: Load your images into your chosen stop-motion software.
– **Adjust Frame Rate**: Set the frame rate (typically 12-24 frames per second works well). You can adjust this based on how smooth you want the animation to be.
– **Add Sound Effects/Music**: Consider adding sound effects or background music to enhance your animation.
#### 7. **Export and Share**
– Once you’re satisfied with your animation, export it in your desired format (like MP4).
– Share your creation on social media or with friends and family!
### Tips for Success:
– **Patience is Key**: Stop-motion can be time-consuming, so take your time and enjoy the process.
– **Experiment**: Don’t be afraid to try different movements and angles. Experimenting can lead to creative results.
– **Practice**: The more you practice, the better your animations will become.
With these steps, you should be well on your way to creating an exciting stop-motion animation featuring your LEGO Porsche RSR. Have fun and let your creativity shine!
Creating a stop-motion animation with the LEGO Porsche RSR can be a fun and creative project! Here’s a step-by-step guide to help you get started:
Creating a stop-motion animation with the LEGO Porsche RSR can be an enjoyable and rewarding endeavor. Below is a formal step-by-step guide to assist you in the process:
### Step 1: Gather Your Materials
– **LEGO Porsche RSR Set**: Ensure you have the complete set assembled.
– **Camera**: A digital camera or smartphone with a good resolution.
– **Tripod**: To stabilize your camera and maintain consistent framing.
– **Lighting**: Use soft, even lighting to avoid harsh shadows.
– **Stop-Motion Software**: Choose software that suits your needs (e.g., Dragonframe, Stop Motion Studio, or iStopMotion).
### Step 2: Plan Your Animation
– **Concept Development**: Outline the story or sequence you wish to animate. Consider the actions you want the Porsche RSR to perform.
– **Storyboard**: Create a storyboard to visualize key scenes and transitions. This will serve as a guide during filming.
### Step 3: Set Up Your Scene
– **Background**: Choose or create a suitable background that complements your animation. This could be a racetrack, cityscape, or any thematic setting.
– **Props**: Incorporate additional LEGO elements or other props to enhance the scene and provide context.
### Step 4: Position Your Camera
– **Framing**: Set up your camera on a tripod to ensure stability. Frame your shot to include the entire scene.
– **Focus**: Adjust the focus to ensure the Porsche RSR is sharp and clear.
### Step 5: Lighting Setup
– **Consistent Lighting**: Ensure that your lighting remains consistent throughout the animation to avoid flickering effects. Use diffusers if necessary to soften the light.
### Step 6: Start Animating
– **Movement**: Move the LEGO Porsche RSR incrementally for each frame. A common guideline is to move the model slightly (about 1/8 to 1/4 inch) for each frame.
– **Capture Frames**: Take a photo after each movement. Ensure that you maintain the same camera position and settings throughout the process.
### Step 7: Review Your Footage
– **Playback**: After capturing a series of frames, review the footage to assess the flow of the animation. Make adjustments as necessary to improve timing and movement.
### Step 8: Edit Your Animation
– **Software Editing**: Import your images into your chosen stop-motion software. Arrange the frames in sequence and adjust the frame rate to achieve the desired speed of the animation.
– **Add Sound**: Consider adding sound effects or background music to enhance the viewing experience.
### Step 9: Finalize and Export
– **Review**: Watch the entire animation to ensure it meets your expectations. Make any final adjustments to timing or effects.
– **Export**: Once satisfied, export your animation in the desired format (e.g., MP4, AVI) for sharing or presentation.
### Step 10: Share Your Work
– **Showcase**: Share your completed stop-motion animation on social media platforms, video-sharing sites, or with friends and family to showcase your creativity and effort.
By following these steps, you can create an engaging stop-motion animation featuring the LEGO Porsche RSR. Enjoy the process and let your creativity shine!
### Materials Needed:
It seems like your request is incomplete. Could you please provide more context or specify what materials you need? For example, are you looking for materials for a specific project, event, or purpose? This will help me assist you better.
**LEGO Porsche RSR Set**: Ensure you have the complete set assembled
To ensure the complete assembly of the LEGO Porsche RSR set, please follow these formal guidelines:
1. **Inventory Check**: Begin by verifying that all pieces are present. Refer to the instruction manual for a comprehensive list of components included in the set.
2. **Workspace Preparation**: Designate a clean, organized workspace to facilitate the assembly process. Ensure adequate lighting and a flat surface to prevent any pieces from being lost.
3. **Follow Instructions**: Adhere strictly to the step-by-step instructions provided in the manual. Each step is designed to guide you through the assembly process systematically.
4. **Quality Control**: As you assemble, periodically check that each component is securely attached and correctly oriented. This will help avoid any structural issues in the final model.
5. **Final Inspection**: Once the assembly is complete, conduct a thorough inspection of the model to ensure that all pieces are correctly placed and that the model is stable.
6. **Display and Care**: After assembly, consider how you will display the completed model. Ensure it is placed in a safe location to prevent damage.
By following these guidelines, you will ensure that your LEGO Porsche RSR set is fully and correctly assembled.
Explore the fascinating world of LEGO cars, from their evolution and building techniques to customization and educational benefits. Discover how these models blend creativity and engineering, offering endless fun for builders of all ages.
Explore the exciting world of LEGO cars! This article delves into their history, design principles, educational benefits, and the vibrant community surrounding LEGO car building.