"Unleash your creativity with our guide to building the LEGO Porsche RSR! From unboxing to display, discover tips for an epic build experience."
Building the LEGO Porsche RSR is an exciting and rewarding experience for both LEGO enthusiasts and car lovers alike. Here’s a step-by-step guide to help you through the process, from unboxing to displaying your completed model.
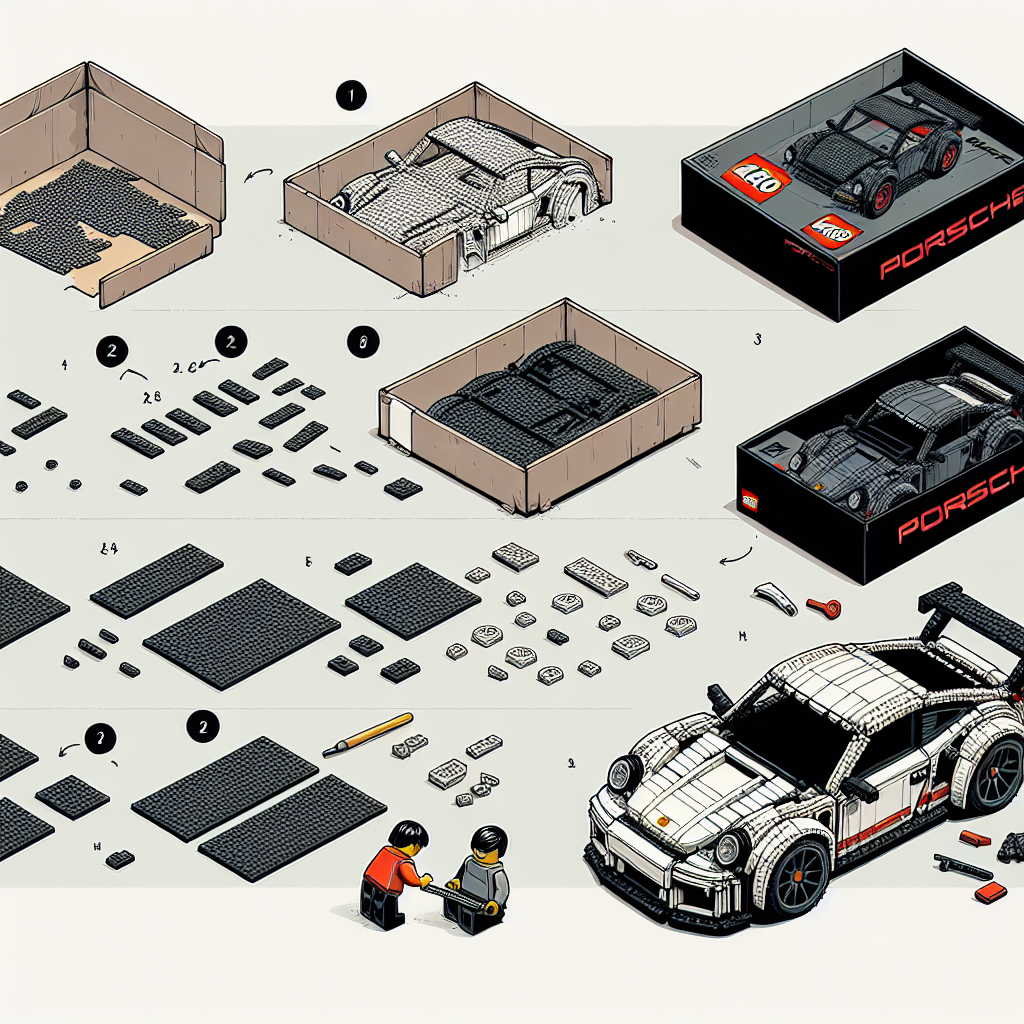
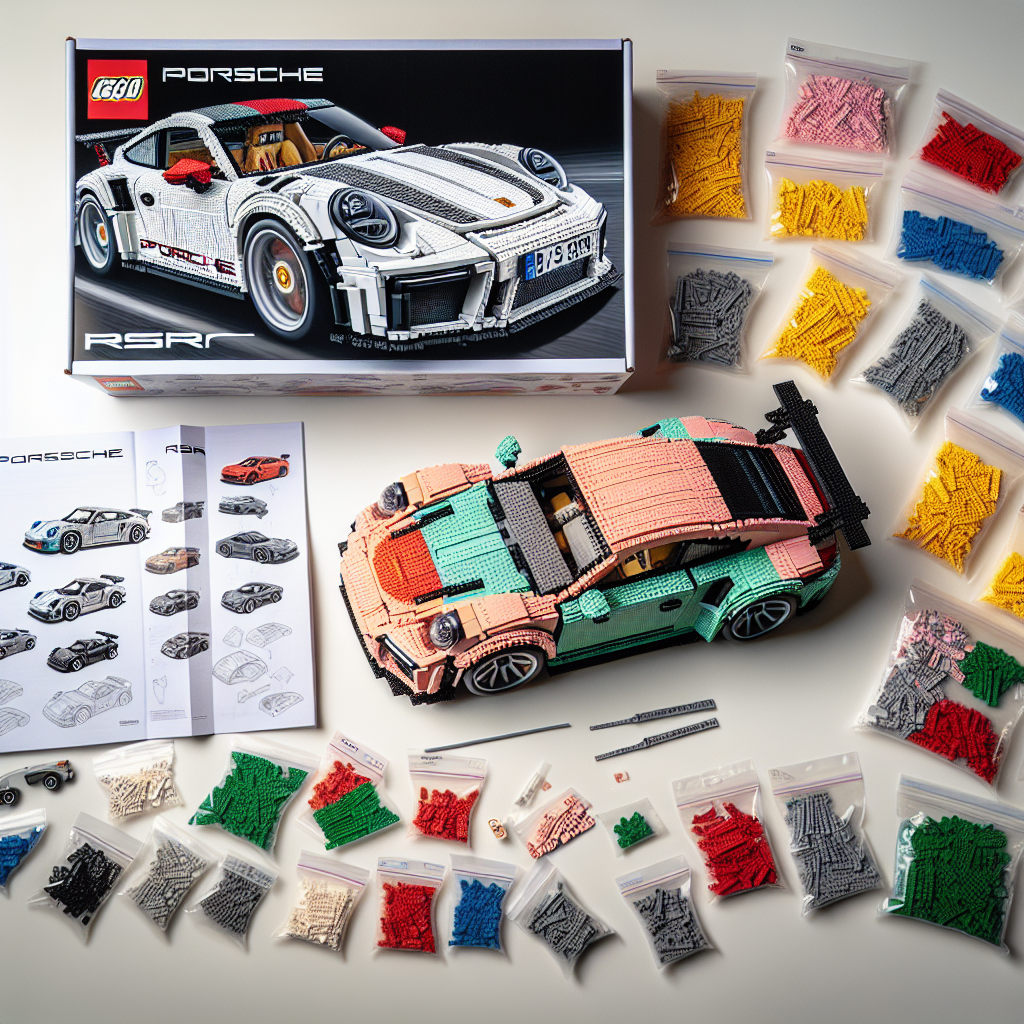
### Step 1: Unboxing the Set
1. **Open the Box**: Carefully cut the tape and open the box. Take a moment to appreciate the artwork and design on the packaging.
2. **Check the Contents**: Lay out all the bags of LEGO pieces, the instruction manual, and any stickers or decals. Ensure you have everything listed on the box.
### Step 2: Organizing Your Pieces
1. **Sort the Pieces**: It can be helpful to sort the pieces by color or type. This will make it easier to find the pieces you need as you build.
2. **Prepare Your Workspace**: Find a clean, flat surface with good lighting to work on. Make sure you have enough space to spread out your pieces.
### Step 3: Following the Instructions
1. **Start Building**: Open the instruction manual and begin with the first step. The instructions are usually broken down into clear, manageable steps.
2. **Take Your Time**: Don’t rush. Enjoy the process of building and take breaks if needed. Building LEGO can be a meditative experience.
### Step 4: Building the Porsche RSR
1. **Chassis and Base**: Begin by constructing the chassis. This is the foundation of your model and will support all other components.
2. **Bodywork**: As you progress, you’ll start adding the iconic bodywork of the Porsche RSR. Pay attention to the details, as they are what make the model stand out.
3. **Interior Details**: If the set includes an interior, take your time to add the seats, dashboard, and any other features that enhance realism.
4. **Wheels and Tires**: Attach the wheels and tires last, as they are often one of the final steps in the building process.
### Step 5: Adding Finishing Touches
1. **Stickers and Decals**: Once the main build is complete, apply any stickers or decals to give your Porsche RSR its authentic look.
2. **Final Inspection**: Go through the model and ensure everything is securely attached and in place.
### Step 6: Displaying Your Model
1. **Choose a Display Location**: Find a suitable spot to showcase your completed Porsche RSR. Consider using a shelf or a display case to protect it from dust.
2. **Lighting**: Good lighting can enhance the appearance of your model. Consider placing it in a well-lit area or using a display case with built-in lighting.
3. **Take Photos**: Capture your completed model with some photos. Share your achievement with friends or on social media!
### Step 7: Enjoying Your Creation
1. **Admire Your Work**: Take a moment to appreciate the time and effort you put into building your LEGO Porsche RSR.
2. **Join the Community**: Consider joining LEGO fan groups or forums to share your build and connect with other enthusiasts.
Building the LEGO Porsche RSR is not just about the final product; it’s about the journey of creation and the joy of working with your hands. Enjoy every step of the process!
Building the LEGO Porsche RSR is an exciting journey that combines creativity, engineering, and attention to detail. Here’s a step-by-step guide to take you from the box to displaying your completed model:
### Step-by-Step Guide to Building the LEGO Porsche RSR
Building the LEGO Porsche RSR is an engaging experience that merges creativity with engineering precision. This guide will lead you through the process from unboxing to displaying your completed model.
#### Step 1: Unboxing and Organization
1. **Open the Box**: Carefully remove the contents of the box, ensuring that all pieces are intact.
2. **Sort the Pieces**: Organize the LEGO bricks by color, size, or type. This will facilitate easier access during the building process.
3. **Review the Instruction Manual**: Familiarize yourself with the instruction manual, noting any special features or techniques highlighted.
#### Step 2: Preparing Your Workspace
1. **Choose a Suitable Workspace**: Select a clean, flat surface with ample lighting to work on your model.
2. **Gather Tools**: While LEGO sets typically do not require tools, having a small container for loose pieces can be helpful.
#### Step 3: Building the Chassis
1. **Follow the Instructions**: Begin by constructing the chassis as outlined in the manual. Pay close attention to the orientation of each piece.
2. **Ensure Stability**: As you build, check that the structure is stable and secure, as this will form the foundation for the rest of the model.
#### Step 4: Assembling the Body
1. **Add Details**: Once the chassis is complete, start adding the body panels. This step often involves intricate detailing, so take your time to ensure accuracy.
2. **Incorporate Functional Elements**: If your model includes movable parts, such as doors or a hood, ensure they are correctly aligned and functional.
#### Step 5: Installing the Interior
1. **Create the Cockpit**: Assemble the interior components, including seats, dashboard, and steering wheel, as per the instructions.
2. **Add Finishing Touches**: Incorporate any additional details, such as decals or stickers, to enhance the realism of the interior.
#### Step 6: Final Assembly
1. **Combine All Sections**: Carefully attach the body to the chassis, ensuring that all connections are secure.
2. **Check for Loose Pieces**: Inspect the model for any loose bricks or components that may need reinforcement.
#### Step 7: Displaying Your Model
1. **Choose a Display Location**: Select a prominent location to showcase your completed Porsche RSR, ensuring it is free from direct sunlight and moisture.
2. **Consider a Display Case**: If desired, place your model in a display case to protect it from dust and damage.
3. **Invite Appreciation**: Share your completed model with friends and family, highlighting the intricate details and your building journey.
### Conclusion
Building the LEGO Porsche RSR is not only a rewarding experience but also an opportunity to hone your skills in creativity and engineering. By following this guide, you can ensure a smooth building process and enjoy the satisfaction of displaying your masterpiece. Happy building!
### Step 1: Unboxing
**Step 1: Unboxing**
Unboxing is the initial phase of the product experience, where the consumer opens the packaging to reveal the contents within. This step is crucial as it sets the tone for the overall impression of the product.
1. **Preparation**: Ensure you have a clean, well-lit workspace to facilitate the unboxing process. Gather any necessary tools, such as scissors or a box cutter, to safely open the packaging.
2. **Inspection of Packaging**: Before opening, examine the exterior of the box for any signs of damage or tampering. This can provide insight into the handling of the product during shipping.
3. **Opening the Box**: Carefully cut through any seals or tape without damaging the contents inside. Take your time to avoid any accidental damage to the product.
4. **Removing Contents**: Gently lift out the items from the box, taking note of how they are arranged. This can include the product itself, manuals, accessories, and any promotional materials.
5. **Documentation**: Keep any warranty information, user manuals, or return policies that may be included in the packaging. These documents are essential for future reference.
6. **Initial Assessment**: Once all items are removed, conduct a preliminary inspection of the product to ensure that it is free from defects and matches the description provided at the time of purchase.
7. **Recycling and Disposal**: After the unboxing is complete, consider the environmental impact of the packaging materials. Recycle or dispose of them responsibly.
By following these steps, you can ensure a thorough and respectful unboxing experience that enhances your engagement with the product.
**Open the Box**: Carefully open the LEGO box and take out all the bags of pieces. Make sure to keep the instruction manual accessible
**Opening the Box**: Please proceed to carefully open the LEGO box and remove all bags containing the individual pieces. It is advisable to keep the instruction manual readily accessible for reference during the assembly process.
Explore the fascinating world of LEGO cars, from their evolution and building techniques to customization and educational benefits. Discover how these models blend creativity and engineering, offering endless fun for builders of all ages.
Explore the exciting world of LEGO cars! This article delves into their history, design principles, educational benefits, and the vibrant community surrounding LEGO car building.