Discover our step-by-step guide to assembling the LEGO Porsche RSR. Perfect for enthusiasts, this guide ensures a smooth and enjoyable building experience!
Assembling the LEGO Porsche RSR can be a fun and rewarding experience. Below is a step-by-step guide to help you through the process. Make sure you have all the pieces and tools ready before you start.
### Step 1: Gather Your Materials
– **LEGO Porsche RSR Set**: Ensure you have the complete set with all pieces.
– **Instructions Manual**: The official LEGO instruction manual that comes with the set.
– **Flat Surface**: A clean, flat workspace to build your model.
### Step 2: Sort Your Pieces
– **Organize**: Before you start building, sort the LEGO pieces by color and type. This will make it easier to find the pieces you need as you follow the instructions.
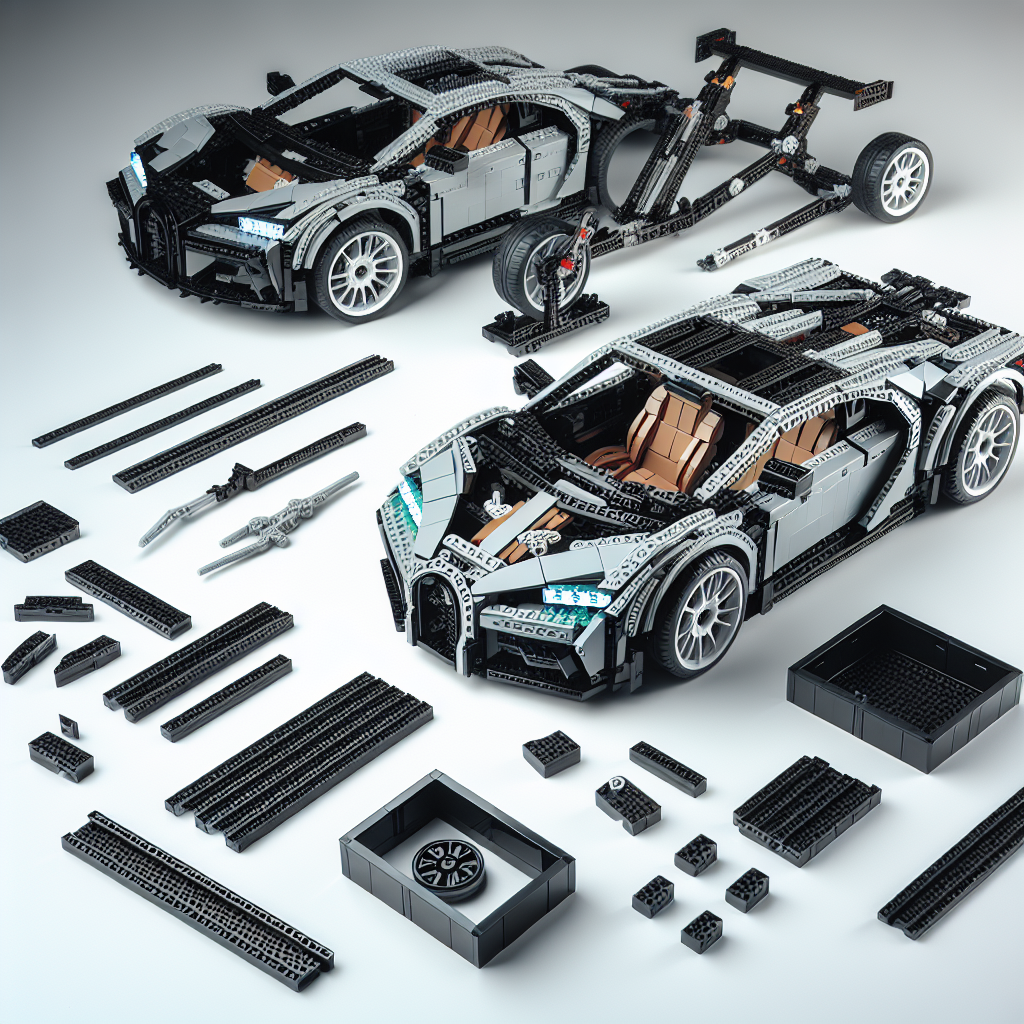
### Step 3: Start Building the Chassis
1. **Base Plate**: Begin with the base plate of the car. This is usually a larger piece that will serve as the foundation.
2. **Add Structural Elements**: Follow the instructions to add structural elements to the base. This may include beams and connectors that will support the body of the car.
### Step 4: Build the Engine
1. **Locate Engine Pieces**: Find the pieces designated for the engine.
2. **Assemble the Engine**: Follow the instructions carefully to build the engine. This may involve multiple small components that fit together.
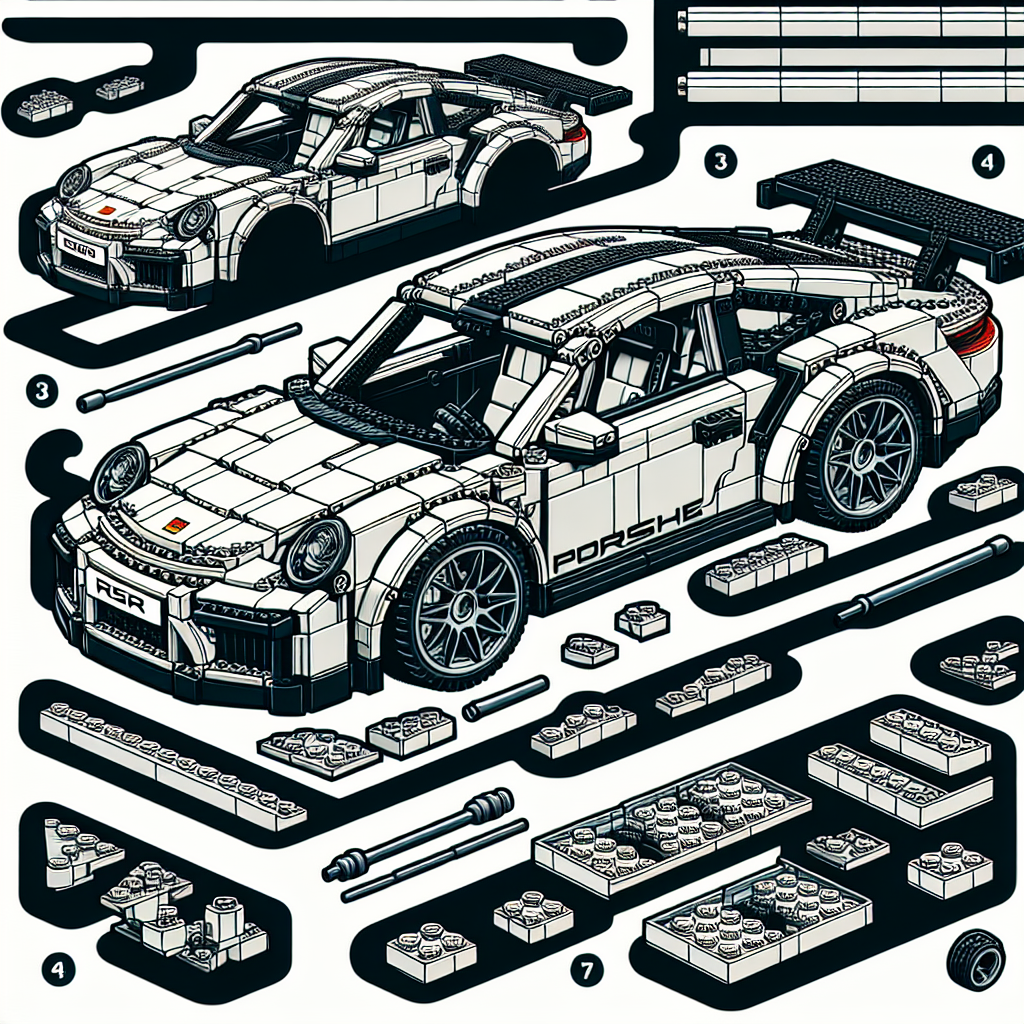
### Step 5: Construct the Body
1. **Side Panels**: Start building the side panels of the car. Attach them to the chassis as per the instructions.
2. **Front and Rear Bumpers**: Add the front and rear bumpers. These pieces often have unique shapes and may include additional details.
3. **Roof and Windshield**: Assemble the roof and windshield. Make sure they fit snugly into place.
### Step 6: Add Wheels and Tires
1. **Wheel Hubs**: Attach the wheel hubs to the chassis.
2. **Tires**: Fit the tires onto the wheel hubs. Ensure they are securely attached and can rotate freely.
### Step 7: Detail the Interior
1. **Seats**: Add the seats inside the car. These may be separate pieces that need to be positioned correctly.
2. **Dashboard**: Assemble and attach the dashboard components, including any steering wheels or controls.
### Step 8: Final Touches
1. **Decals and Stickers**: If your set includes decals or stickers, apply them to the appropriate areas of the car for added detail.
2. **Check Stability**: Ensure all pieces are securely attached and that the car is stable.
### Step 9: Display Your Model
– **Showcase**: Once completed, find a nice spot to display your LEGO Porsche RSR. Consider using a display case to protect it from dust.
### Step 10: Enjoy!
– **Play or Display**: You can either enjoy playing with your new model or simply admire it as a display piece.
### Tips:
– **Take Your Time**: Don’t rush through the assembly. Enjoy the process!
– **Follow the Manual**: Always refer to the instruction manual for specific piece placements.
– **Use a Light Source**: Good lighting can help you see small pieces more clearly.
Happy building! Enjoy your LEGO Porsche RSR!
Assembling the LEGO Porsche RSR is a fun and rewarding experience. Below is a step-by-step guide to help you through the process. Please note that this guide assumes you have the official LEGO set (set number 42096) and the instruction manual that comes with it.
### Step-by-Step Guide to Assembling the LEGO Porsche RSR (Set Number 42096)
Assembling the LEGO Porsche RSR is an enjoyable and fulfilling activity. This guide will provide you with a structured approach to building your model, ensuring that you can complete it efficiently and effectively. Please ensure you have the official LEGO set (set number 42096) and the accompanying instruction manual before you begin.
#### Materials Needed:
– LEGO Porsche RSR set (42096)
– Instruction manual (included in the set)
– A clean, flat workspace
#### Assembly Steps:
1. **Preparation:**
– Clear your workspace to ensure you have ample room to organize the pieces.
– Open the LEGO set and sort the pieces by color and size to facilitate easier access during assembly.
2. **Familiarize Yourself with the Instruction Manual:**
– Review the instruction manual to understand the overall structure of the model and the sequence of assembly.
– Note any special features or components that may require extra attention.
3. **Begin with the Chassis:**
– Start by assembling the base of the car, which includes the chassis and the frame.
– Follow the step-by-step instructions in the manual, ensuring that each piece is securely attached.
4. **Construct the Suspension:**
– Once the chassis is complete, proceed to build the suspension system.
– Pay close attention to the orientation of the suspension components, as they are crucial for the car’s functionality.
5. **Build the Engine:**
– Assemble the engine block and any additional components as indicated in the manual.
– Ensure that all parts fit snugly together, as this will enhance the overall stability of the model.
6. **Attach the Body Panels:**
– Begin adding the body panels to the chassis, starting with the front and rear sections.
– Follow the instructions carefully to ensure that each panel aligns correctly with the chassis.
7. **Install the Wheels:**
– Once the body is complete, attach the wheels to the axles.
– Ensure that the wheels rotate freely and are securely fastened.
8. **Add Final Details:**
– Complete the assembly by adding any final details, such as decals, lights, and other decorative elements.
– Double-check that all pieces are in place and that the model is structurally sound.
9. **Review Your Work:**
– Take a moment to review the completed model against the images in the instruction manual.
– Make any necessary adjustments to ensure accuracy and completeness.
10. **Display Your Model:**
– Once you are satisfied with your assembly, find a suitable location to display your LEGO Porsche RSR.
– Consider using a display case to protect your model from dust and damage.
#### Conclusion:
Assembling the LEGO Porsche RSR is a rewarding project that allows you to engage with the intricacies of model building. By following this step-by-step guide and utilizing the instruction manual, you can create a stunning replica of this iconic vehicle. Enjoy your building experience!
### Step 1: Gather Your Materials
### Step 1: Gather Your Materials
To ensure a successful and efficient process, it is essential to collect all necessary materials prior to commencing your task. This preparation will facilitate a smoother workflow and minimize interruptions. Below is a list of items you may need to consider:
1. **Documentation**: Ensure you have all relevant documents, including reports, guidelines, and reference materials.
2. **Tools and Equipment**: Identify and gather any tools or equipment required for the task, such as computers, software, or specialized instruments.
3. **Supplies**: Collect any necessary supplies, including stationery, materials for presentations, or any other items pertinent to your project.
4. **Workspace**: Prepare a clean and organized workspace that is conducive to productivity. Ensure that all materials are easily accessible.
5. **Contact Information**: Compile a list of key contacts who may be needed for consultation or collaboration during the process.
By systematically gathering these materials, you will be well-prepared to proceed with your task effectively.
– **LEGO Set**: Ensure you have the complete LEGO Porsche RSR set
To ensure you have the complete LEGO Porsche RSR set, please follow these steps:
1. **Verify Set Number**: Confirm that you have the correct set number, which is 42096 for the LEGO Technic Porsche 911 RSR.
2. **Check Contents**: Open the box and carefully check that all bags of LEGO bricks are present. The set should include:
– A specific number of LEGO bricks and pieces (refer to the instruction manual for the exact count).
– Any additional components such as stickers or decals.
3. **Review Instruction Manual**: Ensure that the instruction manual is included and in good condition. This will guide you through the assembly process.
4. **Inspect for Damage**: Examine all pieces for any signs of damage or defects. If you find any issues, consider contacting the retailer or LEGO customer service for assistance.
5. **Assembly**: If you have all the pieces, proceed with the assembly according to the instructions provided.
6. **Post-Assembly Check**: Once assembled, review the model to ensure all parts are correctly placed and functioning as intended.
By following these steps, you can confirm that you have the complete LEGO Porsche RSR set.
Explore the fascinating world of LEGO cars, from their evolution and building techniques to customization and educational benefits. Discover how these models blend creativity and engineering, offering endless fun for builders of all ages.
Explore the exciting world of LEGO cars! This article delves into their history, design principles, educational benefits, and the vibrant community surrounding LEGO car building.