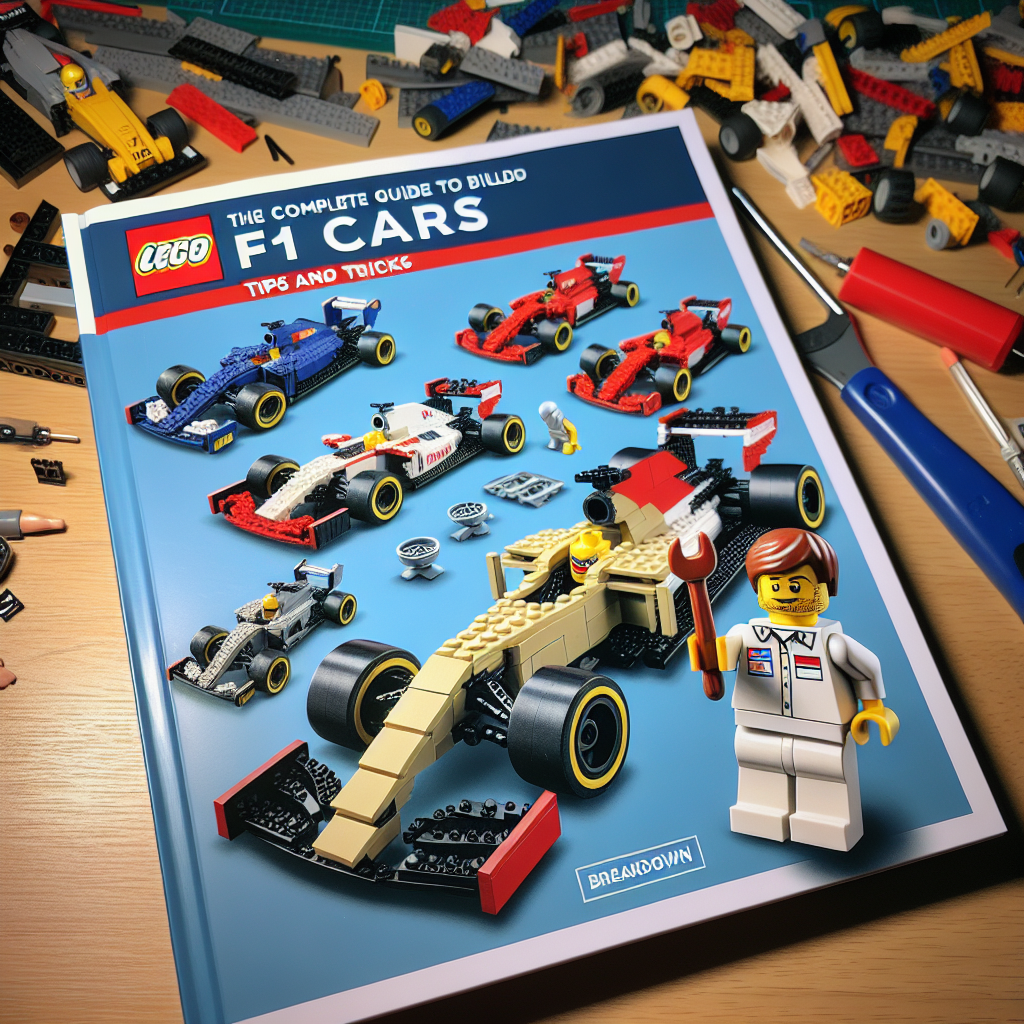
Discover expert tips and tricks in "The Complete Guide to Building LEGO F1 Cars." Unleash your creativity and race to build the ultimate model!
Building LEGO F1 cars can be a fun and rewarding experience, whether you’re a seasoned builder or a newcomer to the world of LEGO. Here’s a complete guide filled with tips and tricks to help you create your own stunning LEGO F1 car.
### 1. **Gather Your Materials**
– **LEGO Sets**: Start with official LEGO sets that feature F1 cars, such as the LEGO Technic series. These sets often come with specialized pieces.
– **Loose Bricks**: If you want to create a custom design, gather a variety of bricks, including plates, slopes, and wheels.
– **Reference Images**: Look for images of real F1 cars for inspiration. Pay attention to details like aerodynamics, color schemes, and sponsor logos.
### 2. **Design Your Car**
– **Scale and Proportions**: Decide on the scale of your model. A smaller scale will require more intricate building techniques, while a larger scale allows for more detail.
– **Chassis Design**: Start with a strong base. Use Technic beams for structural integrity and ensure the chassis can support the weight of the car.
– **Aerodynamics**: Incorporate elements like spoilers and side skirts to mimic the aerodynamic features of real F1 cars.
### 3. **Building Techniques**
– **SNOT (Studs Not On Top)**: Use SNOT techniques to create smooth surfaces and interesting shapes. This can help achieve the sleek look of an F1 car.
– **Curved Pieces**: Utilize curved bricks and slopes to replicate the rounded shapes of F1 car bodies.
– **Modular Design**: Consider building the car in sections (chassis, body, wings) that can be easily assembled and disassembled.
### 4. **Wheels and Suspension**
– **Wheel Selection**: Choose wheels that are proportional to your car. LEGO Technic wheels are often a good choice for F1 models.
– **Suspension System**: If you want your car to have functional suspension, use LEGO Technic parts to create a working suspension system that can absorb bumps.
### 5. **Color and Detailing**
– **Color Scheme**: Choose a color scheme that reflects your favorite F1 team or driver. Use stickers or decals for sponsor logos to add realism.
– **Details**: Add small details like mirrors, exhaust pipes, and cockpit elements. Use small pieces to create intricate designs.
### 6. **Finishing Touches**
– **Driver Minifigure**: Include a minifigure to represent the driver. Customize the minifigure with a helmet and racing suit that matches your car’s design.
– **Display Stand**: Consider building a display stand or pit box to showcase your F1 car. This adds an extra layer of presentation.
### 7. **Testing and Modifications**
– **Test Drive**: If your car is designed to roll, take it for a test drive! Check for stability and make adjustments as needed.
– **Iterate**: Don’t be afraid to modify your design. Building is an iterative process, and you can always improve your model.
### 8. **Join the Community**
– **Online Forums**: Engage with other LEGO enthusiasts on forums and social media groups. Share your designs and get feedback.
– **Competitions**: Participate in LEGO building competitions or exhibitions to showcase your F1 car and gain inspiration from others.
### 9. **Resources for Inspiration**
– **YouTube Tutorials**: Watch building tutorials and time-lapse videos for techniques and ideas.
– **LEGO Ideas**: Check out LEGO Ideas for fan-created designs and concepts that might inspire your own build.
### Conclusion
Building a LEGO F1 car is a creative endeavor that combines engineering, design, and artistry. With the right materials, techniques, and a bit of imagination, you can create a stunning model that captures the essence of Formula 1 racing. Happy building!
# The Complete Guide to Building LEGO F1 Cars: Tips and Tricks
# The Complete Guide to Building LEGO F1 Cars: Tips and Tricks
Building LEGO Formula 1 (F1) cars can be an exciting and rewarding endeavor for both enthusiasts and casual builders alike. This guide aims to provide a comprehensive overview of the techniques, tips, and tricks necessary to create impressive and functional LEGO F1 models.
## 1. Understanding the Basics of F1 Car Design
Before embarking on your LEGO F1 car project, it is essential to familiarize yourself with the fundamental design elements of a real F1 car. Key components include:
– **Chassis**: The main structure that supports the car and houses various components.
– **Aerodynamics**: Features such as wings and diffusers that enhance downforce and reduce drag.
– **Suspension**: The system that connects the wheels to the chassis, allowing for better handling and stability.
– **Wheels and Tires**: The choice of wheels and tires can significantly affect the car’s performance and aesthetics.
## 2. Selecting the Right LEGO Pieces
### 2.1. Essential LEGO Elements
To build a realistic F1 car, consider the following types of LEGO pieces:
– **Bricks**: Standard bricks for the chassis and body.
– **Plates**: Thin pieces for creating smooth surfaces and details.
– **Wheels**: Choose wheels that resemble those used in F1 racing.
– **Technic Elements**: Gears, axles, and beams for functional components like steering and suspension.
### 2.2. Color Scheme
F1 cars often feature vibrant color schemes. Select LEGO pieces that match the colors of your favorite team or create a custom design.
## 3. Building Techniques
### 3.1. Chassis Construction
– **Stability**: Use a combination of bricks and plates to create a sturdy chassis. Reinforce corners and joints to prevent flexing.
– **Scale**: Decide on the scale of your model. A smaller scale may require more intricate building techniques, while a larger scale allows for more detail.
### 3.2. Aerodynamic Features
– **Wings**: Use angled plates and slopes to create front and rear wings. Ensure they are securely attached to withstand handling.
– **Bodywork**: Incorporate curved pieces to mimic the sleek lines of an F1 car. Utilize slopes and tiles for a polished finish.
### 3.3. Suspension and Steering
– **Functional Suspension**: Implement LEGO Technic pieces to create a working suspension system. This can enhance realism and allow for movement.
– **Steering Mechanism**: Use gears and axles to create a functional steering system that can turn the front wheels.
## 4. Detailing Your Model
### 4.1. Decals and Stickers
Consider using custom decals or stickers to replicate sponsor logos and other details found on real F1 cars. You can print these at home or purchase them from specialized vendors.
### 4.2. Interior Features
If your model allows, add details to the cockpit, such as a steering wheel, seat, and dashboard. This adds an extra layer of realism to your build.
## 5. Display and Maintenance
### 5.1. Display Options
Once your LEGO F1 car is complete, consider how you will display it. Options include:
– **Display Cases**: Protect your model from dust and damage.
– **Custom Stands**: Create a stand that highlights the car’s features.
### 5.2. Maintenance
Regularly check your model for loose pieces or wear. Clean it gently with a soft cloth to maintain its appearance.
## Conclusion
Building a LEGO F1 car is a fulfilling project that combines creativity, engineering, and a passion for motorsport. By understanding the design principles, selecting the right pieces, employing effective building techniques, and adding detailed features, you can create a stunning model that captures the essence of Formula 1 racing. Happy building!
Building LEGO F1 cars can be a fun and rewarding experience, whether you’re a seasoned builder or a newcomer to the world of LEGO. This guide will provide you with tips and tricks to help you create your own stunning F1 car models.
### Guide to Building LEGO F1 Cars
Building LEGO F1 cars can be an enjoyable and fulfilling endeavor, appealing to both experienced builders and those new to the LEGO community. This guide aims to provide you with essential tips and techniques to help you create impressive and detailed F1 car models.
#### 1. **Gathering Materials**
– **LEGO Sets**: Consider purchasing official LEGO F1 sets, which often include specialized pieces and instructions. Alternatively, you can source individual bricks from various sets or online marketplaces.
– **Reference Materials**: Collect images and specifications of real F1 cars to inspire your design. Pay attention to details such as aerodynamics, color schemes, and sponsor logos.
#### 2. **Planning Your Design**
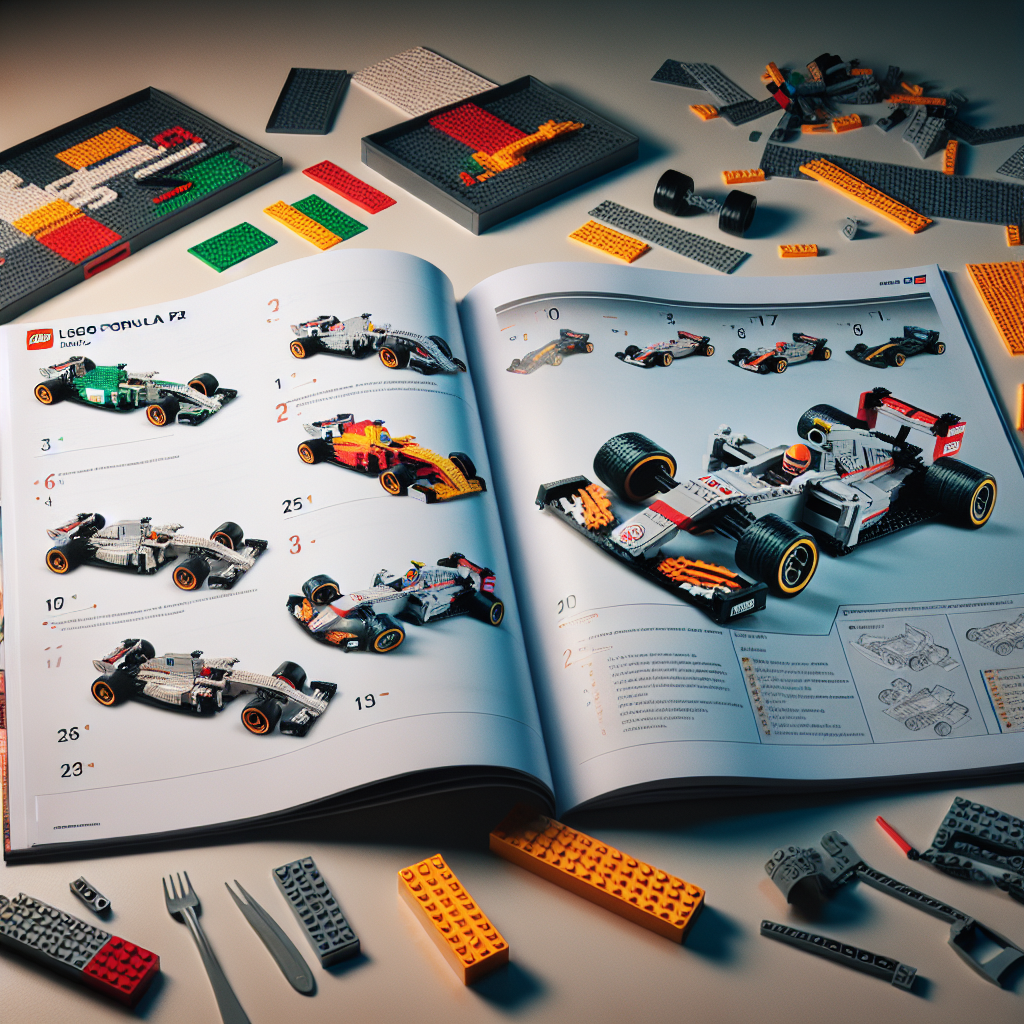
– **Sketch Your Model**: Before you start building, sketch your design on paper or use digital design software. This will help you visualize the proportions and layout of your car.
– **Choose a Scale**: Decide on the scale of your model. A smaller scale may require fewer pieces but can limit detail, while a larger scale allows for more intricate designs.
#### 3. **Building Techniques**
– **Chassis Construction**: Start with a sturdy chassis to support the weight of the car. Use a combination of plates and bricks to create a solid base.
– **Aerodynamics**: Incorporate sloped and curved pieces to mimic the aerodynamic shapes of real F1 cars. This not only enhances the visual appeal but also adds structural integrity.
– **Suspension and Wheels**: Utilize LEGO’s wheel and axle systems to create functional wheels. Consider adding a suspension system for realism, using flexible pieces to simulate movement.
#### 4. **Detailing Your Model**
– **Cockpit and Driver**: Design a detailed cockpit that includes a seat, steering wheel, and dashboard. A minifigure can serve as the driver, adding character to your model.
– **Sponsorship and Branding**: Use stickers or custom decals to replicate sponsor logos and branding found on real F1 cars. This adds authenticity to your build.
– **Color Scheme**: Choose a color palette that reflects the team or car you are modeling. Use a combination of primary and secondary colors to create a striking appearance.
#### 5. **Final Touches**
– **Testing Stability**: Once your model is complete, test its stability and balance. Make adjustments as necessary to ensure it can stand or roll without tipping over.
– **Display Options**: Consider creating a display stand or diorama to showcase your F1 car. This can enhance the overall presentation and protect your model from damage.
#### 6. **Sharing Your Creation**
– **Photography**: Capture high-quality images of your completed model from various angles. Good lighting and a clean background can enhance the visual appeal of your photos.
– **Community Engagement**: Share your creation on social media platforms or LEGO forums. Engaging with the community can provide valuable feedback and inspire future projects.
### Conclusion
Building LEGO F1 cars is a rewarding activity that combines creativity, engineering, and a passion for motorsport. By following this guide, you can develop your skills and create stunning models that reflect the excitement of Formula 1 racing. Enjoy the building process, and let your imagination drive your designs!
## 1. Gather Your Materials
### 1. Gather Your Materials
To ensure a successful and organized process, it is essential to collect all necessary materials prior to commencing your project or task. This step will facilitate a smoother workflow and minimize interruptions. Below is a list of items you may need to consider:
1. **Documentation**:
– Project guidelines or specifications
– Relevant research materials or references
– Any necessary forms or templates
2. **Tools and Equipment**:
– Specific tools required for the task (e.g., software, hardware, or manual tools)
– Safety equipment, if applicable (e.g., gloves, goggles)
3. **Supplies**:
– Consumables such as paper, ink, or other materials pertinent to the task
– Organizational supplies (e.g., folders, binders, or storage containers)
4. **Technology**:
– Computer or device with necessary software installed
– Internet access for research or communication purposes
5. **Workspace**:
– A clean and organized area conducive to productivity
– Adequate lighting and ergonomic considerations
6. **Support Resources**:
– Contact information for team members or collaborators
– Access to technical support or customer service, if needed
By systematically gathering these materials, you will be well-prepared to proceed with your project efficiently and effectively.
Explore the fascinating world of LEGO cars, from their evolution and building techniques to customization and educational benefits. Discover how these models blend creativity and engineering, offering endless fun for builders of all ages.
Explore the exciting world of LEGO cars! This article delves into their history, design principles, educational benefits, and the vibrant community surrounding LEGO car building.