Discover tips to elevate your LEGO Ideas submission with stunning visuals. Learn how to showcase your creativity and attract more support!
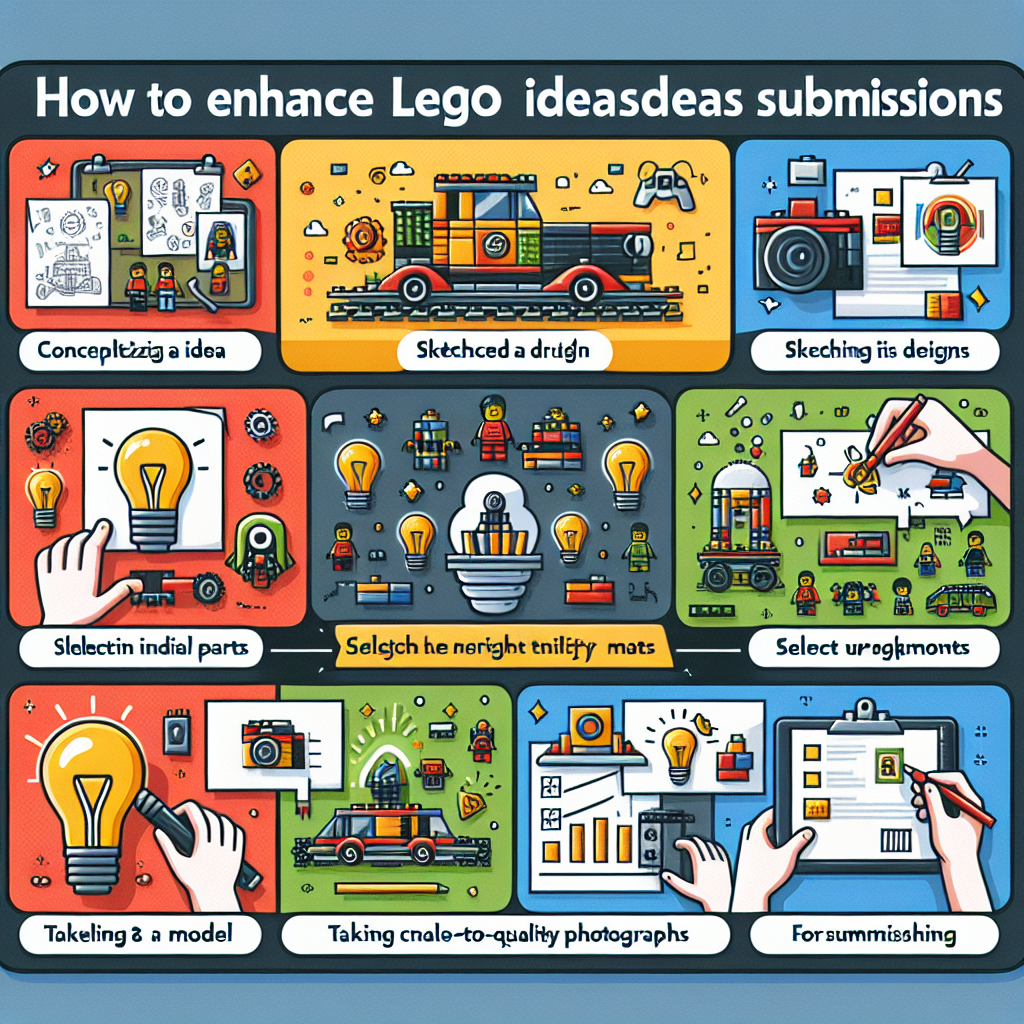
Enhancing your LEGO Ideas submission with visuals is crucial for capturing the attention of the community and increasing your chances of success. Here are some tips to help you create compelling visuals for your submission:
### 1. **High-Quality Images**
– **Use Good Lighting:** Ensure your photos are well-lit to highlight the details of your build. Natural light is often the best option.
– **Focus on Clarity:** Use a good camera or smartphone with a high-resolution setting. Make sure your images are sharp and clear.
### 2. **Multiple Angles**
– **Showcase Different Perspectives:** Include images from various angles to give viewers a complete understanding of your model. This can include front, back, sides, and top views.
– **Close-Ups:** Capture close-up shots of intricate details or unique features of your build.
### 3. **Contextual Images**
– **In-Use Scenarios:** Create scenes that show your LEGO model in action or in a relevant context. This helps viewers visualize how the model could be used or displayed.
– **Scale Comparisons:** Include images that show the size of your model in relation to other LEGO sets or objects to give a sense of scale.
### 4. **Digital Renderings**
– **Use Software:** If you have access to LEGO design software (like LEGO Digital Designer or BrickLink Studio), consider creating digital renderings of your model. These can provide a polished look and allow for creative backgrounds.
– **3D Models:** If possible, create 3D models that can be rotated and viewed from different angles.
### 5. **Step-by-Step Builds**
– **Build Process:** Document the building process with step-by-step images. This can show the complexity and thought that went into your design.
– **Instructions:** Consider including a few images that illustrate how to build specific parts of your model.
### 6. **Presentation**
– **Clean Backgrounds:** Use simple, uncluttered backgrounds to keep the focus on your model. A plain white or neutral-colored surface works well.
– **Consistent Style:** Maintain a consistent style in your images (e.g., similar lighting, angles, and backgrounds) to create a cohesive presentation.
### 7. **Graphics and Text**
– **Add Labels:** Use graphics to label different parts of your model or highlight special features. This can help viewers understand your design better.
– **Short Descriptions:** Include brief descriptions or captions for each image to provide context and explain the significance of certain features.
### 8. **Video Content**
– **Create a Video:** Consider making a short video that showcases your model. This can include a 360-degree view, a demonstration of moving parts, or a narrative about the inspiration behind your design.
– **Time-Lapse Builds:** A time-lapse video of the building process can be engaging and show the effort that went into your submission.
### 9. **Feedback and Iteration**
– **Seek Feedback:** Before finalizing your submission, share your visuals with friends or fellow LEGO enthusiasts for feedback. They may offer valuable insights on how to improve your presentation.
– **Iterate:** Don’t hesitate to make changes based on feedback. Continuous improvement can lead to a more polished final submission.
### 10. **Engage with the Community**
– **Share on Social Media:** Promote your submission on social media platforms and LEGO forums to gather support and feedback.
– **Participate in Discussions:** Engage with the LEGO Ideas community to build interest and gather insights that can help enhance your visuals.
By following these tips, you can create a visually appealing LEGO Ideas submission that stands out and effectively communicates your creativity and passion for building. Good luck!
Enhancing your LEGO Ideas submission with visuals is crucial for capturing the attention of both the LEGO community and the review team. Here are some tips to help you create compelling visuals for your submission:
Enhancing your LEGO Ideas submission with high-quality visuals is essential for effectively engaging both the LEGO community and the review team. Here are several formal tips to help you create compelling visuals for your submission:
1. **High-Quality Photography**: Utilize a good camera or smartphone with a high-resolution setting to capture clear and detailed images of your LEGO model. Ensure that the lighting is adequate to avoid shadows and reflections that may obscure details.
2. **Multiple Angles**: Provide images from various angles to showcase the model’s design and features comprehensively. This includes front, back, side, and top views, as well as close-ups of intricate details.
3. **Clean Background**: Use a neutral or uncluttered background to ensure that the focus remains on your LEGO model. A plain white or light-colored backdrop can help highlight the colors and details of your creation.
4. **Contextual Images**: Consider including images that depict your model in a relevant context or setting. This can help viewers visualize how the model might be used or displayed in real life.
5. **Digital Renderings**: If applicable, create digital renderings of your model using LEGO design software. This can provide a polished and professional look, allowing for additional angles and perspectives that may not be possible with physical photography.
6. **Instructional Images**: If your submission includes unique building techniques or features, consider including step-by-step images or diagrams that illustrate how these elements are constructed. This can enhance understanding and appreciation of your design.
7. **Engaging Presentation**: Arrange your images in a visually appealing manner. Consider using a collage or a slideshow format to present your visuals cohesively. Ensure that each image is well-composed and contributes to the overall narrative of your submission.
8. **Descriptive Captions**: Accompany your visuals with informative captions that explain key features, building techniques, or the inspiration behind your design. This additional context can enhance viewer engagement and understanding.
9. **Consistent Style**: Maintain a consistent visual style throughout your submission. This includes using similar lighting, backgrounds, and framing techniques to create a cohesive look that reflects your personal brand as a designer.
10. **Feedback and Iteration**: Before finalizing your submission, seek feedback from peers or members of the LEGO community. Constructive criticism can help you identify areas for improvement and refine your visuals for maximum impact.
By implementing these strategies, you can significantly enhance the visual appeal of your LEGO Ideas submission, thereby increasing its chances of capturing the attention of both the community and the review team.
### 1. **High-Quality Images**
High-quality images are essential in various fields, including marketing, design, and communication. They serve to enhance visual appeal, convey messages effectively, and engage audiences. High-resolution images ensure clarity and detail, which are crucial for professional presentations, advertisements, and online content.
When selecting or creating high-quality images, consider the following factors:
1. **Resolution**: Opt for images with a high pixel count to maintain clarity when scaled or printed. A resolution of at least 300 DPI (dots per inch) is recommended for print media, while 72 DPI is generally sufficient for web use.
2. **Composition**: A well-composed image draws the viewer’s attention and communicates the intended message more effectively. Utilize principles of design such as the rule of thirds, leading lines, and balance to create visually appealing images.
3. **Lighting**: Proper lighting is crucial for capturing high-quality images. Natural light is often preferred, but artificial lighting can also be used effectively. Ensure that the subject is well-lit to avoid shadows and enhance colors.
4. **Color Accuracy**: High-quality images should accurately represent colors. Use calibrated monitors and professional editing software to ensure that the colors in your images are true to life.
5. **Editing and Post-Processing**: Utilize photo editing software to enhance images further. Adjusting brightness, contrast, saturation, and sharpness can significantly improve the overall quality of an image.
6. **File Format**: Choose the appropriate file format based on the intended use. For web use, formats like JPEG and PNG are common, while TIFF and RAW formats are preferred for print and professional editing.
In conclusion, investing time and resources into producing high-quality images can significantly impact the effectiveness of visual communication. Whether for personal projects or professional endeavors, high-quality images are a vital component of successful visual storytelling.
– **Use Good Lighting:** Ensure your photos are well-lit to highlight the details of your model. Natural light is often the best option
– **Utilize Adequate Lighting:** It is essential to ensure that your photographs are well-illuminated to effectively showcase the intricate details of your model. Natural light is frequently the most favorable choice, as it provides a soft and even illumination that enhances the overall quality of the image.
Explore the fascinating world of LEGO cars, from their evolution and building techniques to customization and educational benefits. Discover how these models blend creativity and engineering, offering endless fun for builders of all ages.
Explore the exciting world of LEGO cars! This article delves into their history, design principles, educational benefits, and the vibrant community surrounding LEGO car building.