Discover tips for creating a successful collaborative LEGO Ideas project, from brainstorming to teamwork, and turning your vision into reality!
Building a collaborative LEGO Ideas project can be a fun and rewarding experience. Here’s a step-by-step guide to help you get started:
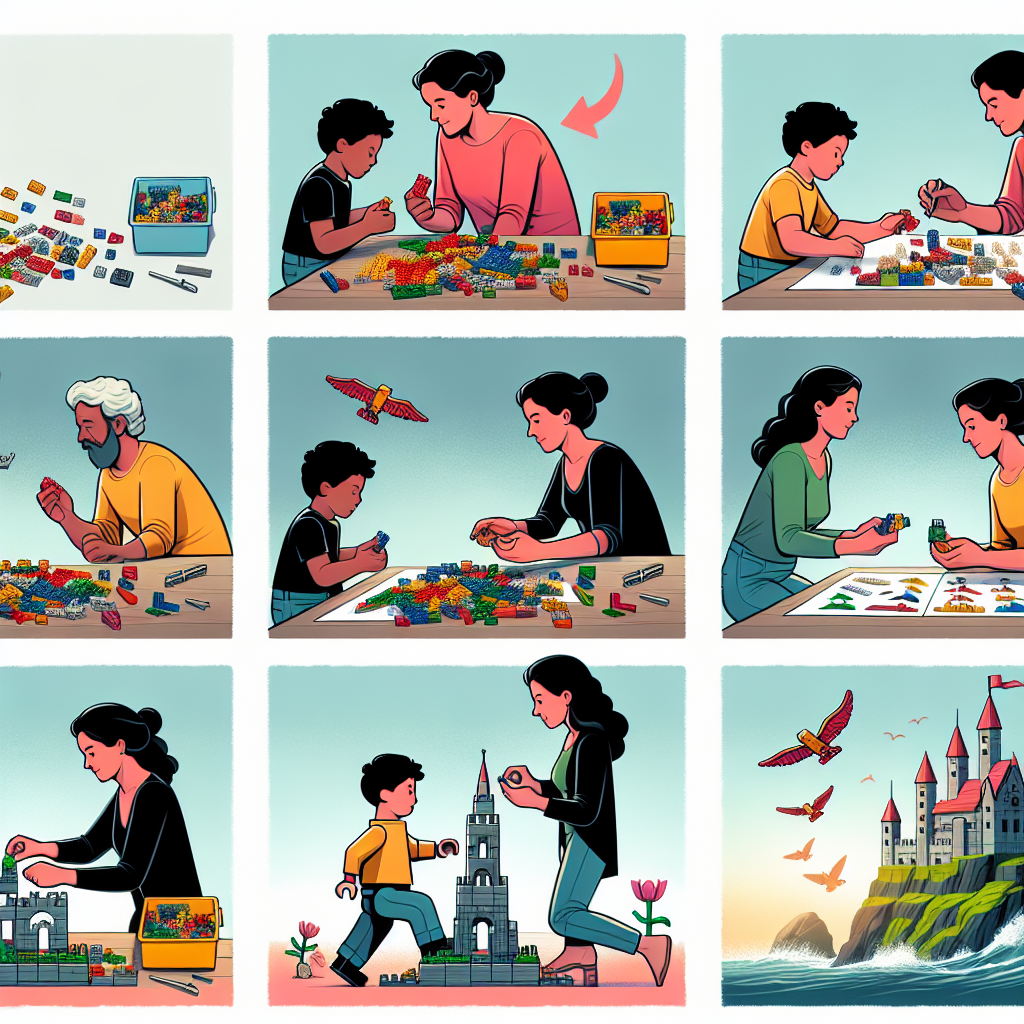
### 1. **Gather Your Team**
– **Find Collaborators**: Reach out to friends, family, or online communities who share your interest in LEGO and creativity.
– **Define Roles**: Assign roles based on each member’s strengths (e.g., designer, builder, writer, photographer).
### 2. **Choose a Theme or Concept**
– **Brainstorm Ideas**: Hold a brainstorming session to generate ideas. Consider popular themes, current trends, or unique concepts.
– **Research Existing Projects**: Look at successful LEGO Ideas projects for inspiration and to understand what resonates with the community.
### 3. **Develop Your Concept**
– **Create a Concept Sketch**: Visualize your idea with sketches or digital designs. This helps clarify the project and serves as a reference.
– **Define Key Features**: Identify the main elements of your project, such as minifigures, vehicles, or buildings.
### 4. **Build a Prototype**
– **Gather LEGO Pieces**: Use your existing collection or acquire new pieces to build a prototype.
– **Collaborate on Building**: Work together to construct the model, ensuring everyone contributes and shares ideas.
### 5. **Document Your Progress**
– **Take Photos**: Capture images of your building process and the final model from various angles.
– **Create a Story**: Write a narrative that explains your project, its inspiration, and its features.
### 6. **Prepare Your Submission**
– **Create a Presentation**: Compile your photos, story, and any additional information into a cohesive presentation.
– **Follow LEGO Ideas Guidelines**: Ensure your project meets the submission criteria outlined by LEGO Ideas, including image quality and description length.
### 7. **Promote Your Project**
– **Share on Social Media**: Use platforms like Instagram, Twitter, and Facebook to showcase your project and gather support.
– **Engage with the Community**: Join LEGO forums and groups to share your project and encourage feedback.
### 8. **Submit Your Project**
– **Upload to LEGO Ideas**: Once you’re satisfied with your project, submit it on the LEGO Ideas platform.
– **Encourage Support**: Ask friends, family, and community members to support your project by voting for it.
### 9. **Stay Engaged**
– **Respond to Feedback**: Engage with comments and suggestions from the community. This can help improve your project and build a following.
– **Update Your Project**: If you receive constructive feedback, consider making adjustments and resubmitting.
### 10. **Celebrate Your Efforts**
– **Acknowledge Contributions**: Thank your collaborators and supporters for their help and encouragement.
– **Reflect on the Experience**: Take time to discuss what worked well and what could be improved for future projects.
### Additional Tips:
– **Use Digital Tools**: Consider using LEGO design software like LEGO Digital Designer or BrickLink Studio for virtual building.
– **Stay Organized**: Keep track of tasks, deadlines, and responsibilities to ensure smooth collaboration.
– **Have Fun**: Remember that the primary goal is to enjoy the creative process and work together as a team.
By following these steps, you can create a collaborative LEGO Ideas project that showcases your creativity and teamwork. Good luck!
Building a collaborative LEGO Ideas project can be a fun and rewarding experience. Here’s a step-by-step guide to help you get started:
### Step-by-Step Guide to Building a Collaborative LEGO Ideas Project
#### Step 1: Define Your Project Concept
– **Brainstorm Ideas**: Gather your team and brainstorm potential themes or concepts for your LEGO project. Consider popular culture, historical events, or original ideas.
– **Establish Goals**: Determine the purpose of your project. Are you aiming for a specific audience, or do you want to create something that appeals to a broad range of LEGO enthusiasts?
#### Step 2: Assemble Your Team
– **Select Collaborators**: Choose team members who share your enthusiasm and bring diverse skills to the table, such as design, marketing, or project management.
– **Assign Roles**: Clearly define each member’s responsibilities to ensure a smooth workflow. Roles may include lead designer, researcher, and social media manager.
#### Step 3: Research and Inspiration
– **Explore Existing Projects**: Review successful LEGO Ideas submissions to understand what resonates with the community. Analyze their design, presentation, and marketing strategies.
– **Gather Inspiration**: Look for inspiration in various sources, including movies, books, art, and nature. Create a mood board to visualize your ideas.
#### Step 4: Design Your Model
– **Sketch Initial Concepts**: Begin with rough sketches of your model. Focus on key features and overall aesthetics.
– **Build a Prototype**: Use LEGO bricks to create a physical prototype of your design. This will help you identify any structural issues and refine your concept.
– **Iterate and Improve**: Gather feedback from your team and make necessary adjustments to enhance the design.
#### Step 5: Create a Compelling Presentation
– **Photography**: Take high-quality photos of your model from various angles. Consider using natural lighting and clean backgrounds to highlight your creation.
– **Write a Description**: Craft a clear and engaging project description that outlines the concept, features, and inspiration behind your model. Be sure to include any unique elements that set your project apart.
#### Step 6: Build a Community
– **Engage on Social Media**: Create accounts on platforms like Instagram, Twitter, and Facebook to share your progress and connect with potential supporters.
– **Utilize LEGO Forums**: Participate in LEGO-related forums and communities to gather feedback and promote your project. Engaging with fellow enthusiasts can help build a supportive network.
#### Step 7: Launch Your Project on LEGO Ideas
– **Submit Your Project**: Once you are satisfied with your model and presentation, submit your project on the LEGO Ideas platform. Ensure that you adhere to all submission guidelines.
– **Promote Your Submission**: Share your project link across your social media channels and encourage your team members to do the same. Engage with your audience by responding to comments and questions.
#### Step 8: Gather Feedback and Iterate
– **Monitor Reactions**: Keep an eye on the feedback and comments from the community. Use this input to make improvements or adjustments to your project.
– **Stay Active**: Continue to promote your project and engage with supporters. Regular updates can help maintain interest and encourage more votes.
#### Step 9: Celebrate Your Achievements
– **Acknowledge Contributions**: Recognize the hard work of your team members and celebrate milestones, whether it’s reaching a certain number of votes or receiving positive feedback.
– **Reflect on the Experience**: After the project concludes, take time to reflect on the collaborative process. Discuss what worked well and what could be improved for future projects.
By following these steps, you can create a successful collaborative LEGO Ideas project that not only showcases your creativity but also fosters teamwork and community engagement. Enjoy the building process!
### 1. **Gather Your Team**
### 1. Gather Your Team
In order to effectively address the task at hand, it is imperative to assemble a diverse group of individuals who possess the necessary skills, knowledge, and experience. This team should be composed of members from various departments or areas of expertise to ensure a comprehensive approach to problem-solving.
**Steps to Gather Your Team:**
1. **Identify Key Stakeholders**: Determine who will be impacted by the project and who can contribute valuable insights. This may include team members, department heads, and external partners.
2. **Define Roles and Responsibilities**: Clearly outline the roles each team member will play in the project. This will help to establish accountability and ensure that all aspects of the task are covered.
3. **Schedule a Kick-off Meeting**: Organize an initial meeting to introduce team members, discuss the project objectives, and set expectations. This meeting should foster open communication and collaboration.
4. **Establish Communication Channels**: Determine the most effective means of communication for the team, whether through email, project management software, or regular check-in meetings.
5. **Encourage Collaboration**: Create an environment that promotes teamwork and the sharing of ideas. Encourage team members to voice their opinions and contribute to the decision-making process.
By following these steps, you will lay a strong foundation for your team, enabling them to work cohesively towards achieving the project goals.
– **Find Collaborators**: Reach out to friends, family, or online communities who share your interest in LEGO and are willing to contribute ideas and skills
**Identify Potential Collaborators**: Engage with individuals within your personal network, including friends and family, as well as online communities that share a passion for LEGO. Seek out those who are interested in contributing their ideas and skills to collaborative projects. Consider utilizing platforms such as social media, forums, or dedicated LEGO groups to connect with like-minded enthusiasts. Establish clear communication regarding project goals and expectations to foster a productive collaborative environment.
Explore the fascinating world of LEGO cars, from their evolution and building techniques to customization and educational benefits. Discover how these models blend creativity and engineering, offering endless fun for builders of all ages.
Explore the exciting world of LEGO cars! This article delves into their history, design principles, educational benefits, and the vibrant community surrounding LEGO car building.